Hanging Tool Chest
Right after the industrial revolution began craftsmen were flooding into the cities. The classical tool chest of the country was not suited for the smaller densely packed shops in the city. As a result tool storage moved from chests to wall hung cabinets. Workers would store their tools in their own locked cabinet next to their bench or working area. When I found this out I was surprised as I had only ever seen one or two tool cabinets, ever.
Near as I can figure the hanging tool cabinet fell out of common use somewhere between World War I and II. I am guessing this had a lot to do with the changing nature of the workforce with craftsmen being less common as workers became parts of an assembly line.
At some point the idea of tool cabinets got stuck in my head and I had to make one. Hanging tool chests appealed to me since they don't take up much shop space for the crazy amount of storage they provide.
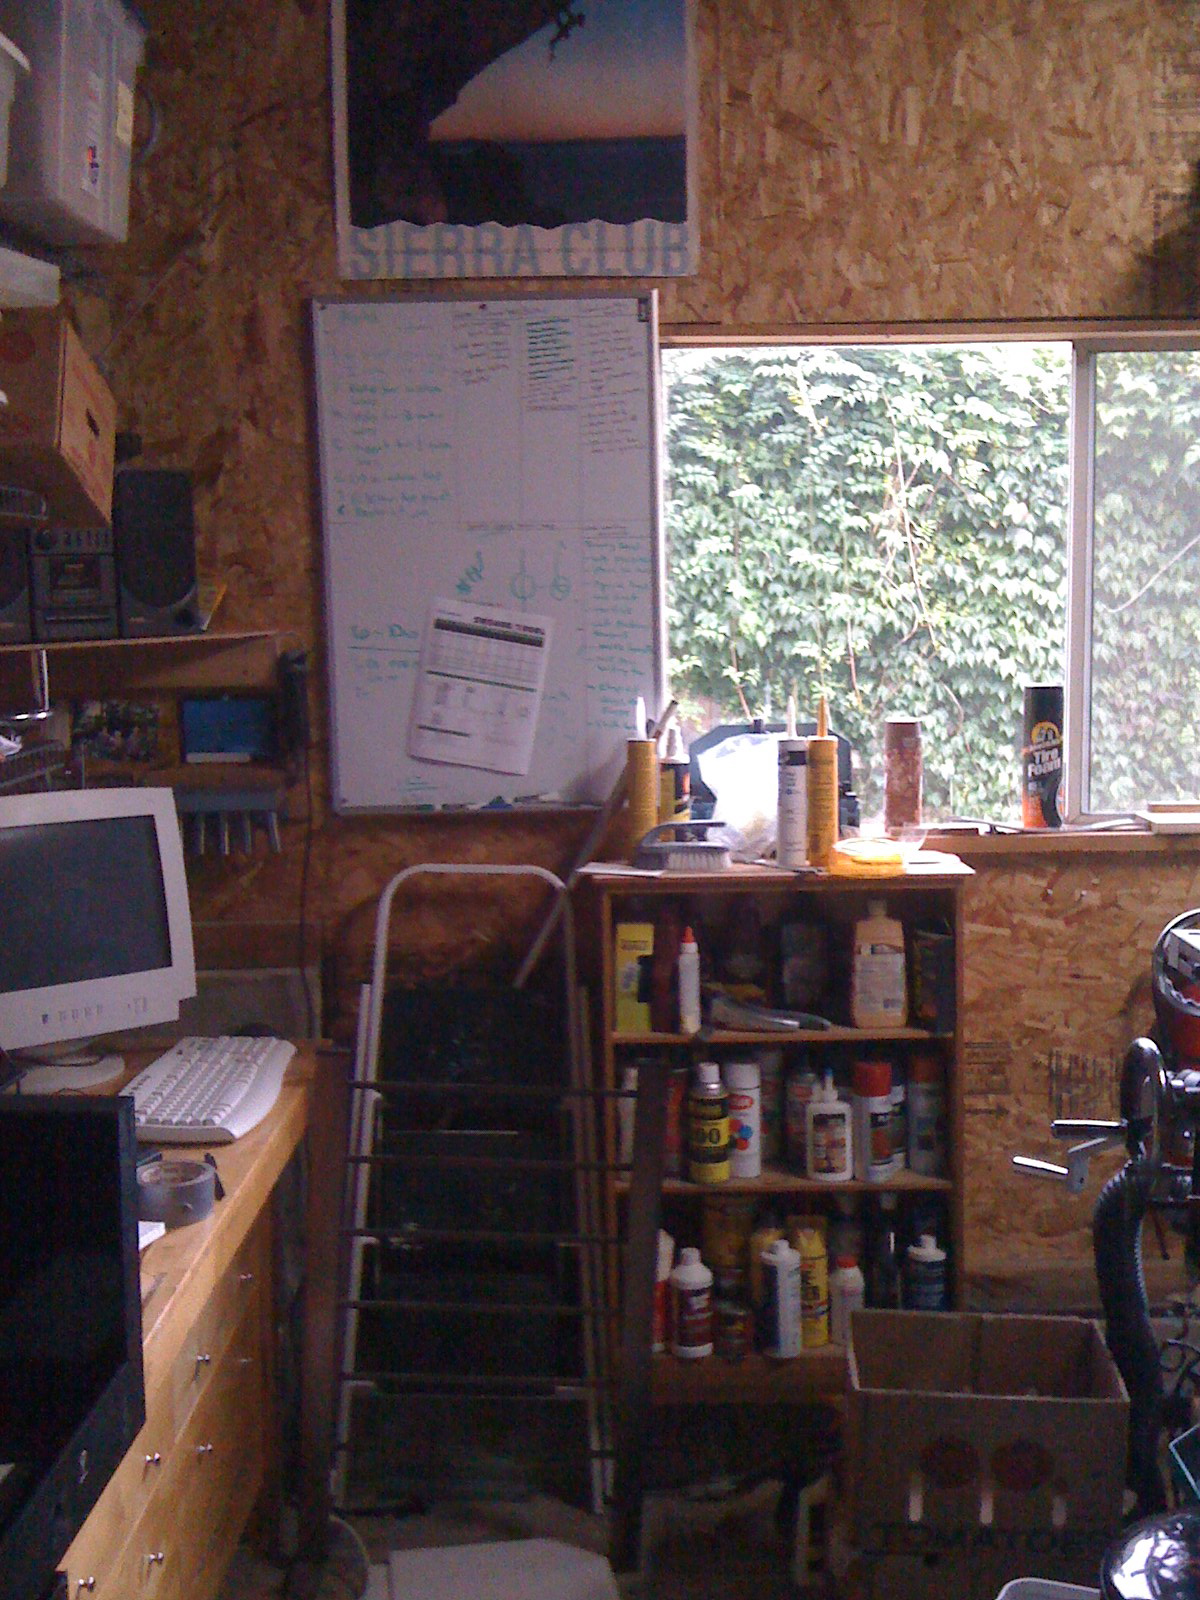
The before and after
I am rather fond of dry erase boards in my workspaces. It struck me that if I made my new tool chest to have a dry erase front I would gain a large amount of easily accessible tool storage space in my shop without impacting its layout. Essentially it just looks like my dry erase board is five inches thick!
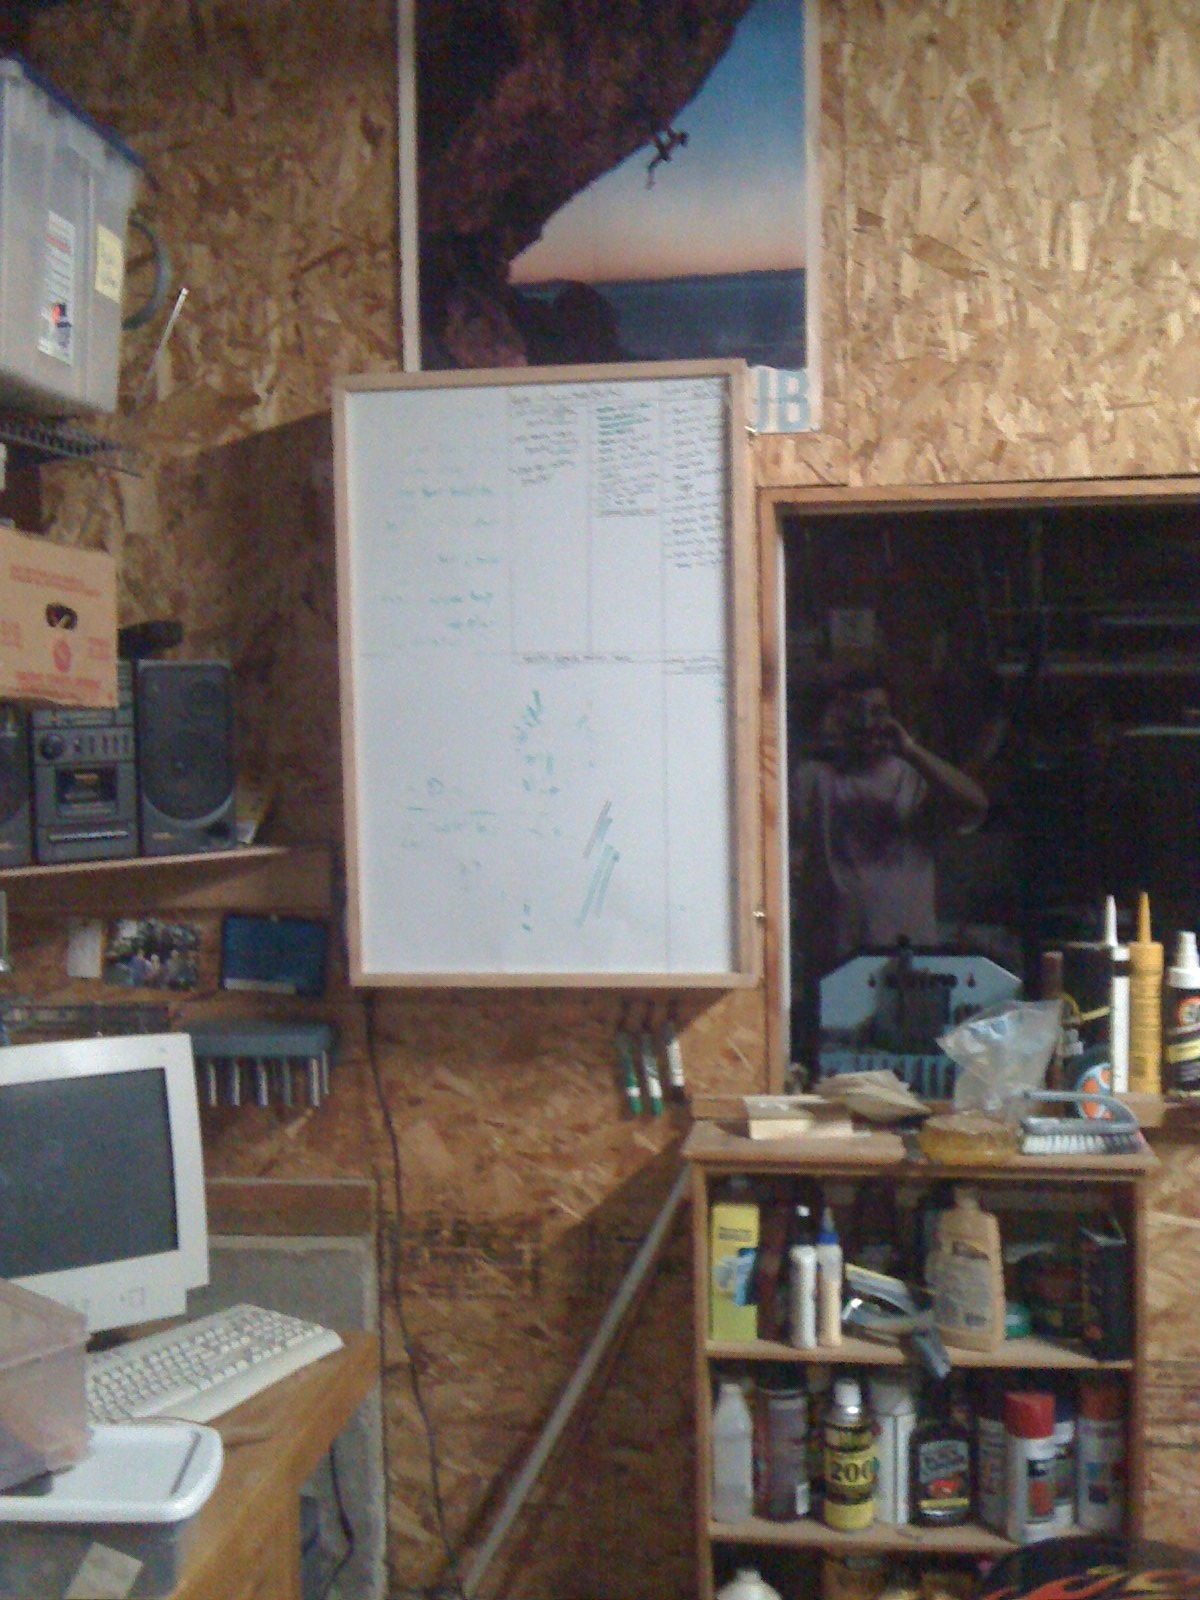
I figure it creates 2-2.5 new feet of prime storage space in the shop. That might not sound like much but that space is right at hand, easy to access, and keeps your tool sorted. It may just be me, but I also think that raising the white board off of the wall also makes it more usable.
Making the case
I ended up making a simple dove tailed carcass with mortise and tenon supports in the door. The main carcass was done in soft pine and the door in poplar. Why such a stellar choice of woods? Well I figured I would be using this chest for decades if it came out at all well and so I decided to use the wood from my old college futon. Crazy I know but I did not just want to burn it or throw it away after sleeping on it for a decade. When I used up the futon on the back case I switched to poplar as a cheap "hard" wood.
I am happy with how it turned out but I did discover the dirty little secret of hanging tool chests. Each tool holder is custom made so they can hold a lot of tools. However that also means filling one up takes forever. So given how insanely useful they seem to be my new theory of why hanging tool chests fell out of fashion was the investment of time required to build one. I noticed Stanley sold them for a while, but without custom tool holders the tool packing density was not all that great.
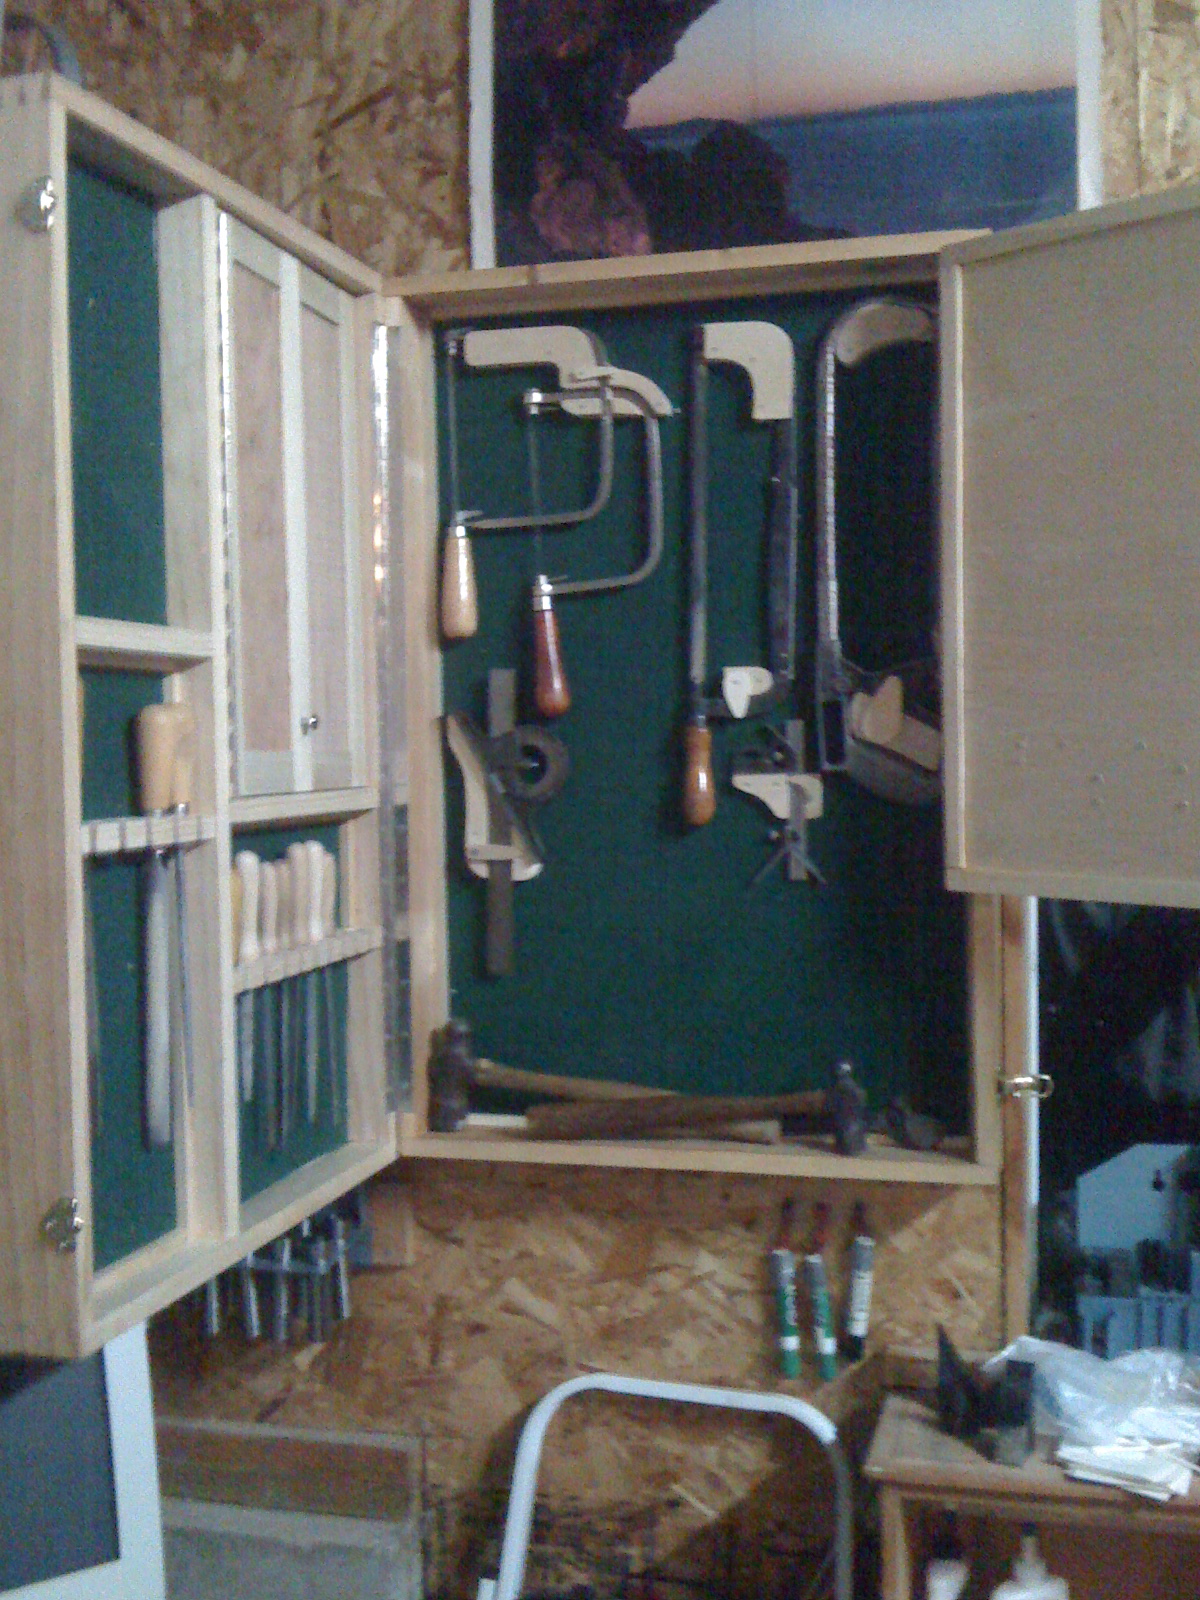
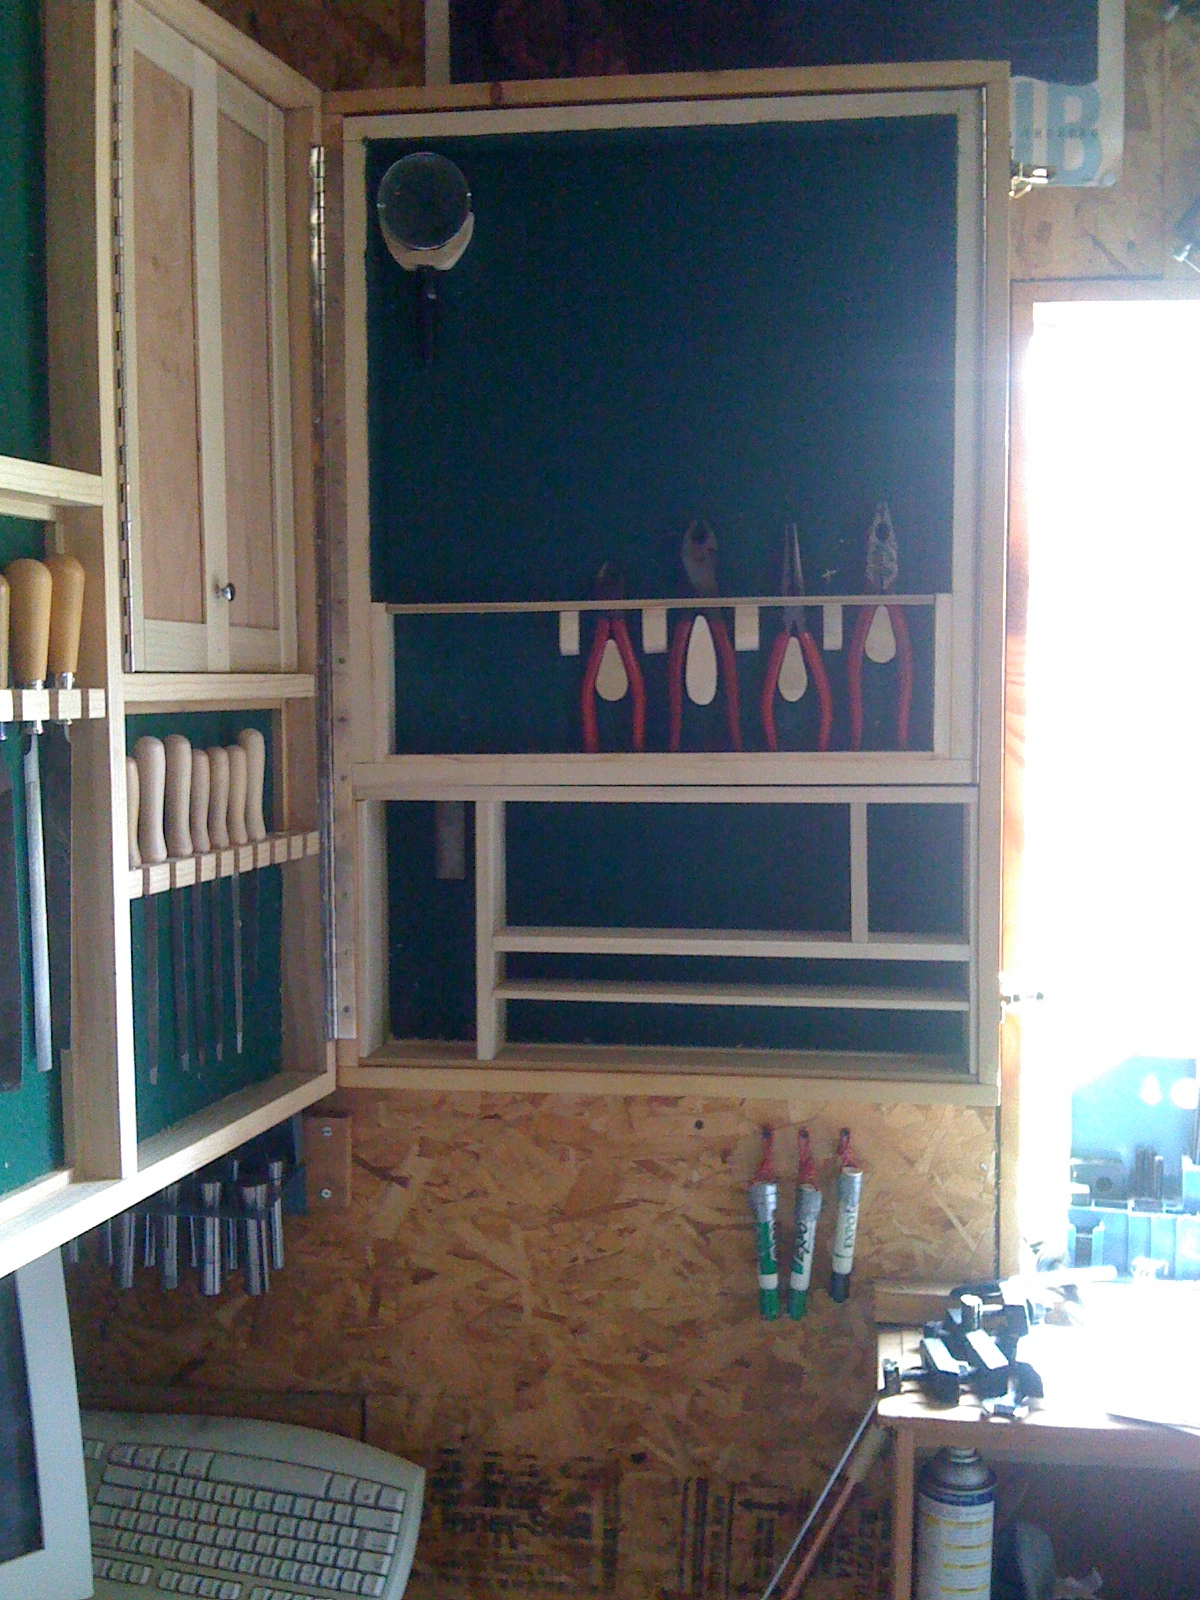
I only have the chest about half full. The door holds a basic collection of metalworking files I like to have close at hand. Inside the carcass is a swing out panel housing hand tools. The area below the panel is supposed to be for a bunch of drawers I have yet to make.
In the area behind the panel I keep some saws and layout equipment. As you can see the case is only about half full at present. From here on out I will be adding tools that I find I use frequently and want easily at hand, letting the case slowly fill up.