Categories
Knifemaking Projects

First prototype in hand

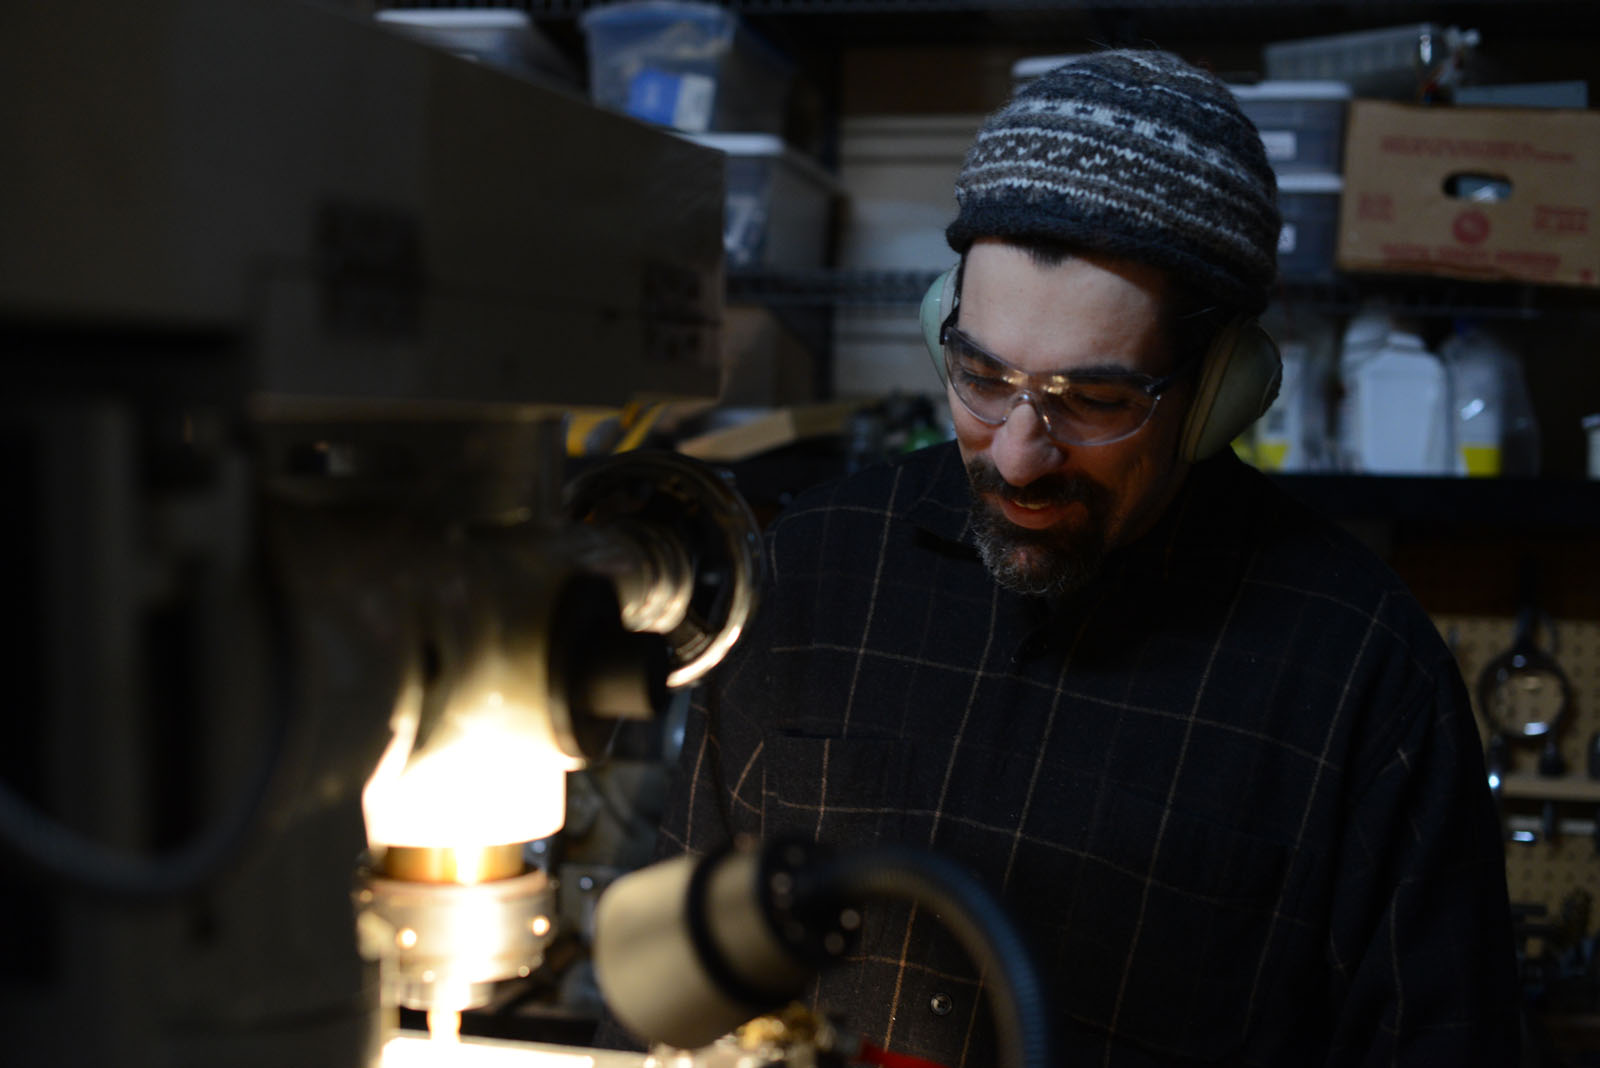
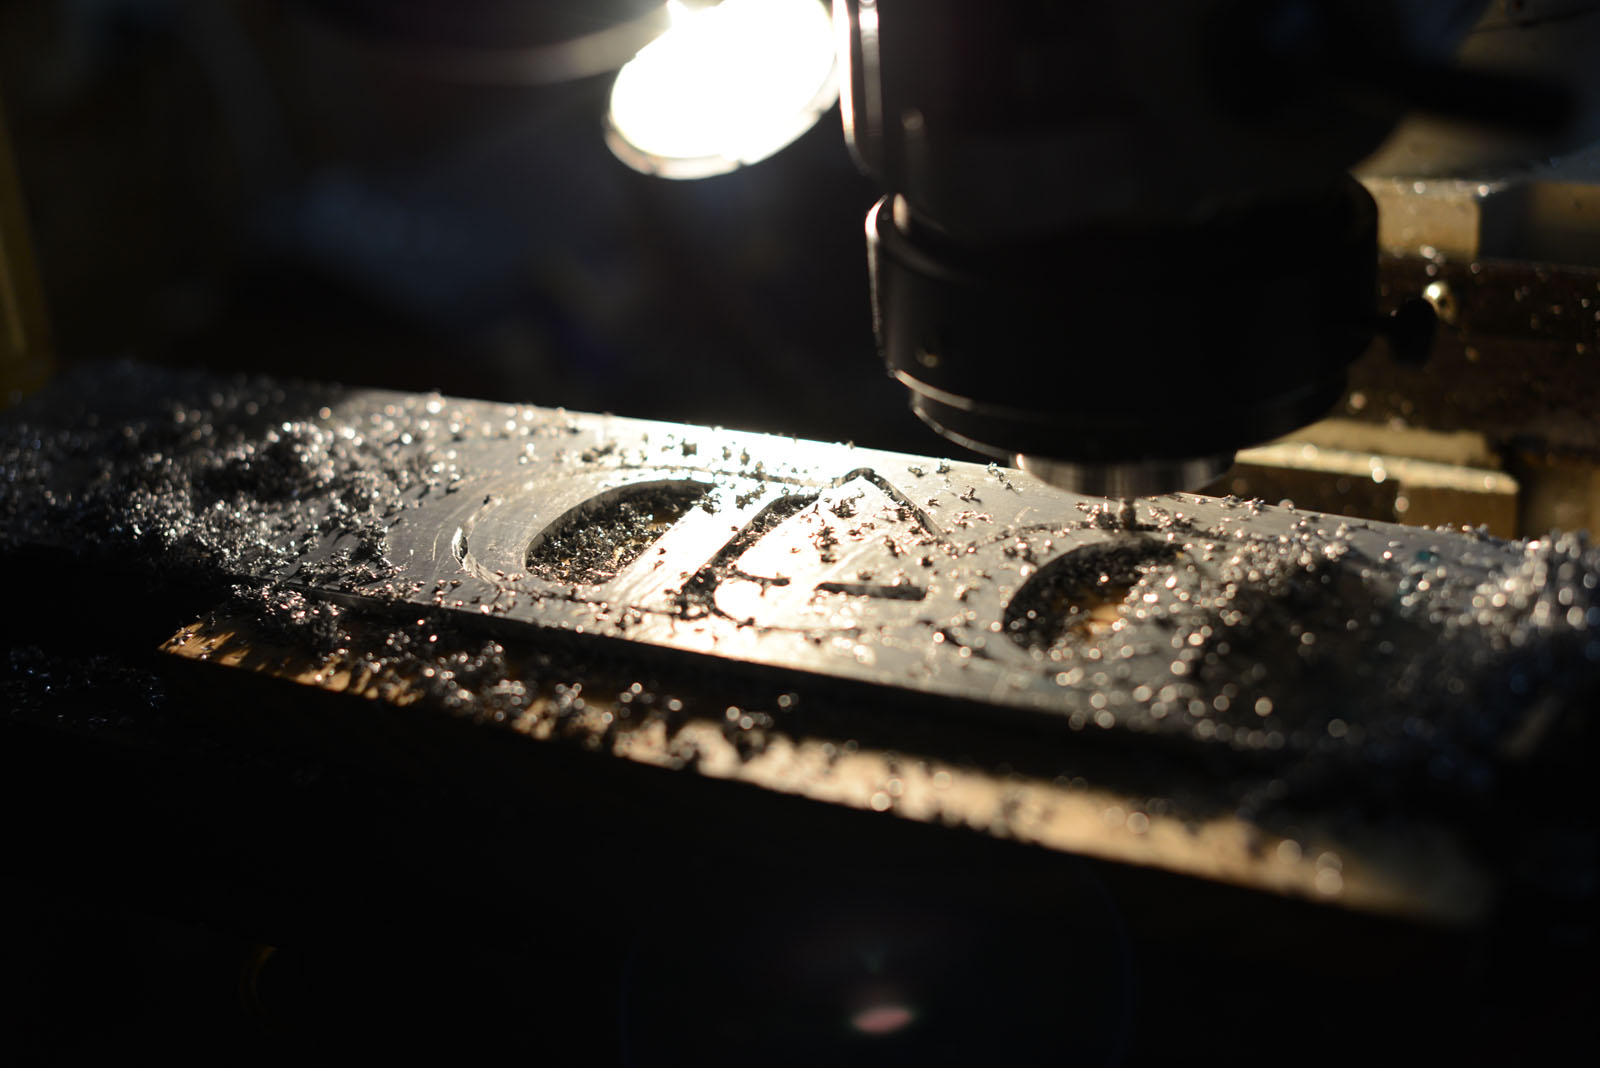
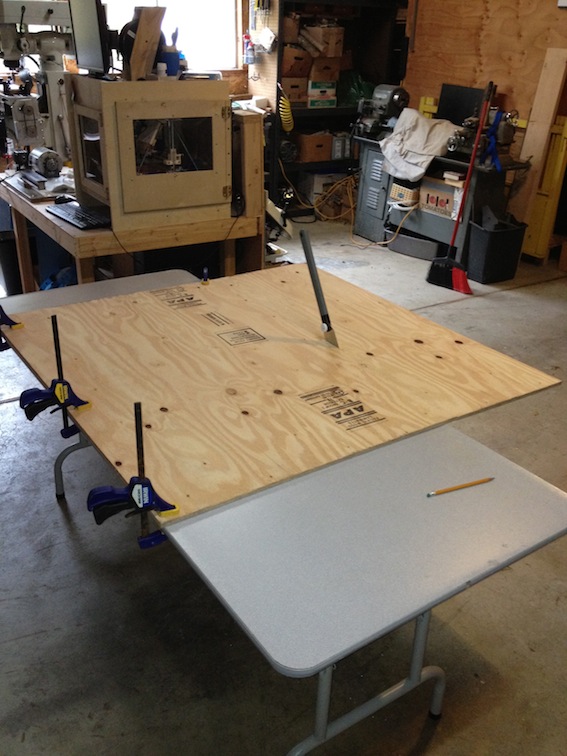
So I got some time to play in the shop this weekend. Once I adjusted g-code generation to just pencil line the profile of the blades I got the cut time for both blades down to 17 minutes. That was going super slow at 5IPM, since I did not want to drive Z faster and the g-code generator was not playing nice if I tried to have the axis at different top speeds.

For this first blade I worked off the loveless 9 point hunter. I really liked the lines on the keen-edge knives pattern for the loveless. In the end it seems a little small in my hand. Maybe I got the pattern wrong but the finger guard presses into my hand.

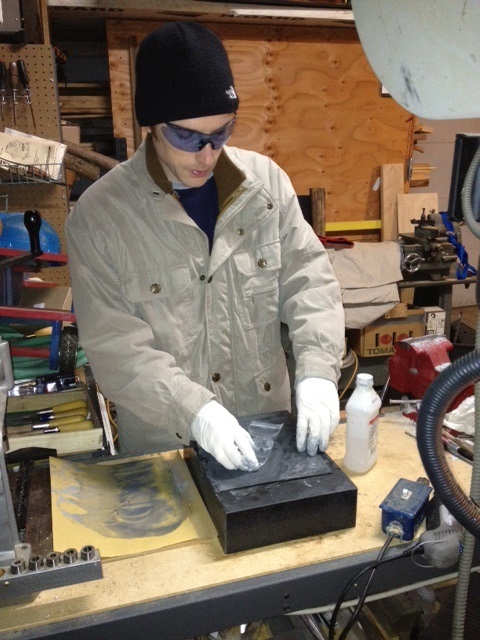
I did both the handle wrap and the over wrap with 3mm para cord – so the handle also feels a bit thick to me. Interestingly that bulk made it seem handle heavy to me, but as soon as I placed the knife in a friends hand who is a knife fighter her immediate comment was that it was blade heavy. Adding a false blade profile should help – but this drove home that I am going to need to get a lot of feedback from blade people to make this project work.

The reverse grip feels a little less “fat” in my hand, but I don’t know now how to improve it. A little stumped here.

Categories
Knifemaking Projects

Making training blades – First Attempt

So eventually I want to try making some real knives, but first I want to make some training blades. Basically knife shaped and weighted objects, but constructed with out points or blades. You use training blades like this to train in the martial arts. It allows realistic attacks, without the pesky side effects of “oops” – “I think I just cut open your jugular vein” or “I think I just stabbed you in the kidney for real!”.

While I have never done business with them, Empire training blades (http://www.empiretrainingblades.com/Training%20Knives.htm) has a nice looking catalog of training knives. In particular I liked their loveless training blade – so for my first knife I figured I would use that as inspiration / target. The Empire blades are only like $30, and so unless you are trying to learn from making the knife, like I am, or trying to go into business making them I suggest just buying one and finding some place else to spend your time. Like training with the blade.

Any way, my first attempt cutting out the knife was going well enough until I realized, all too late, that the g-code assumed a roughing pass had been done. So the mill buried the cutter into the stock, then snapped off the bit trying to do a heavy cut. Luckily it was a small cutter designed to snap under those conditions.

Categories
Ideas Projects

Engraving Plastic

So Ian came over again this weekend with a weird project – he wanted to make some protective plastic covers for photographic filters, which is easy enough, but he wanted to try engraving them.

I had never done engraving with the mill, but Ian had mentioned it before, and I had been meaning to try it, so I already had purchased some engraving bits. All in all I thought the engraving came out ok. Main lesson learned is I need to make some specialty mounting fixtures for working with thin stock.

Normally I used double sided tape, but Ian wanted to preserve surface finish on the soft plastics so we ended up making a jig from wood to hold the parts.

I really need to make a real engraving fixture

This post is mostly a reminder to make such a jig in the future.

Categories
Projects Shop

Moving the mill

So really I should Ban Ian from my shop entirely – but that is hard to do when he shows up for things like moving the mill. The middle picture there shows my justifications to ban him – the ridiculous poses he strikes around my tools whenever a camera comes out – the other pictures show why I am unlikely to ban him – the mill he showed up to move.

The move was part of optimizing my shop layout. I moved the mill over to where I had space to build a coolant cage around it, and added vibration dampening feet to it. The feet really help with vibrations caused by “high speed” CNC moves. Without the feet my mill would walk whenever I drove it faster than about 30IPM.


Categories
Projects

Machining an Aluminum plaque

So Ian came over again Sunday – he brought the bottle of Johnny walking black and the second half of his Christmas gift project. A man who knows how to get invited back.

So this plaque was for his dad, and was the word DAD with the A replaced with a stylized sail boat.

We cut the part from some 1/8in 6061 Aluminum stock I had in the scrap pile. After the part was fixtured we tried something new. Normally I do an air cut of a pencil outline of the part to be cut, checking the clearance and placement of the part relative to the stock. This time I held a sharpie against the endmill. The result provides a pretty useful way to visualize where the pattern to be cut will sit on the stock.  I am definitely going to use this trick more often.

After that we just cut out the part. My spindle was going 1280rpm, and we used a 12.8ipm federate with an 1/8in diameter end mill. Seemed to like cuts just shy of 1/16th of an inch. Once we had the part cut out Ian filed the edges and polished it with 150/320/400 grid sand paper on my surface block. Wetting fluid with Isopropanol and not water, but other than that pretty straight forward. I unfortunately forgot to tell him I had a scotch wheel – so he de-burred the edges with small files.

Categories
Projects Woodworking

Machining wood

So Ian came over Sunday with a project and a bottle of Johnny Walker black. An excellent combination.

The project was milling two plaques – one for his mother and the other for his father. His mom is a pilot – so her plaque were the letters MOM with an airplane at as the hole in the O. For his father’s plaque the A in DAD was replaced by a boat.

We spent a while messing with software and screwing around getting things set up – so we only cut the MOM plaque. Cut it from a 1/8 inch thick strip of wild cherry I had in the shop.

For fixturing we clamped a board to the mill – then screwed the cherry into that board. This way we could machine through the cherry into the wood below with a sacrificial cut. Doing this helps get a clean edge on the cut.

Categories
Coil Winder Projects

Roughing out coil winder

So Ross suggested a CAM lock that was better than what I was originally thinking. If the ABS flexing is not problematic I think it will work. I am less happy with the spring loaded spool. I wanted it to help provide tension in the system – but I think it looks like overkill.

Hmmm, I think I am going to add the mount points and start building. Just build the carriage last after I have thought about it some more.

Categories
Coil Winder

Making a Coil winder

So I need to make a bunch of custom wrapped magnets as part of building a batch of eletro-permanent magnetic actuators. So far all my prototypes have been hand wound – which is just about as fun and time consuming as it sounds. So I decided to make a CNC coil winder. I am making not buying one as the decent ones are crazy expensive.

I roughed out a model for the frame, motor mounts, and sled this weekend. Over the holiday I am going to finish the sled, the tensioner, and bobbin support. If the design looks a bit weird I also designed all the parts so that they would print on a 3D printer that did not have a support material.

I am using roller skate bearings, springs, and some nuts and bolts – but the ideas is to keep everything else printed. I will probably just throw together a UI to drive it that talks to a micro-controller board. Either an Arduino or a UC3L. I have not decided yet.


Categories
Ideas

Zoetropes

So it was a bit weird – but I was in this guys office interviewing for a new position and saw this sweet thing on his desk. I totally had forgotten about how cool zoetropes were! Excellent thing for messing with my nephews head and sneaking in a little science lesson at the same time. I like this tiny design as well – going on the projects list.

Categories
Casting

A test run for casting metal in the garage

In this modern age people have forgotten how to be truly horrifically bad hosts. I like to start by inviting new friends over to do something dangerous, then build on that momentum by spending the entire time out in the garage. Letting people actually come in the house sends the wrong message. Then to truly sell the experience I generally have them do some manual labor when they arrive. It is the bad host hat trick.

In this case Ian and Dave came over to test cast some belt buckles. We started by making a “sandbox” so we could cast in the garage. I live in Seattle and that means lots of rain. Rain does not mix well with molten metal.

I was surprised how well the sandbox ended up working. With the garage door open and an extraction fan ventilation was not a problem. The sand also gives a clear working area over which to keep anything hot, and minimizes the hazards of a spill. So all in all it looks like I will be able to cast in the winter time.

One nice thing about sand – it lets you wiggle items a bit to seat them. Even hot items. So you know they wont tip or move on you. Very useful.

And here is Ian’s first pour. More videos describing the process of casting to follow.