Categories
Thing a day

Thing a day, Thing #6 Bed Auto-leveling

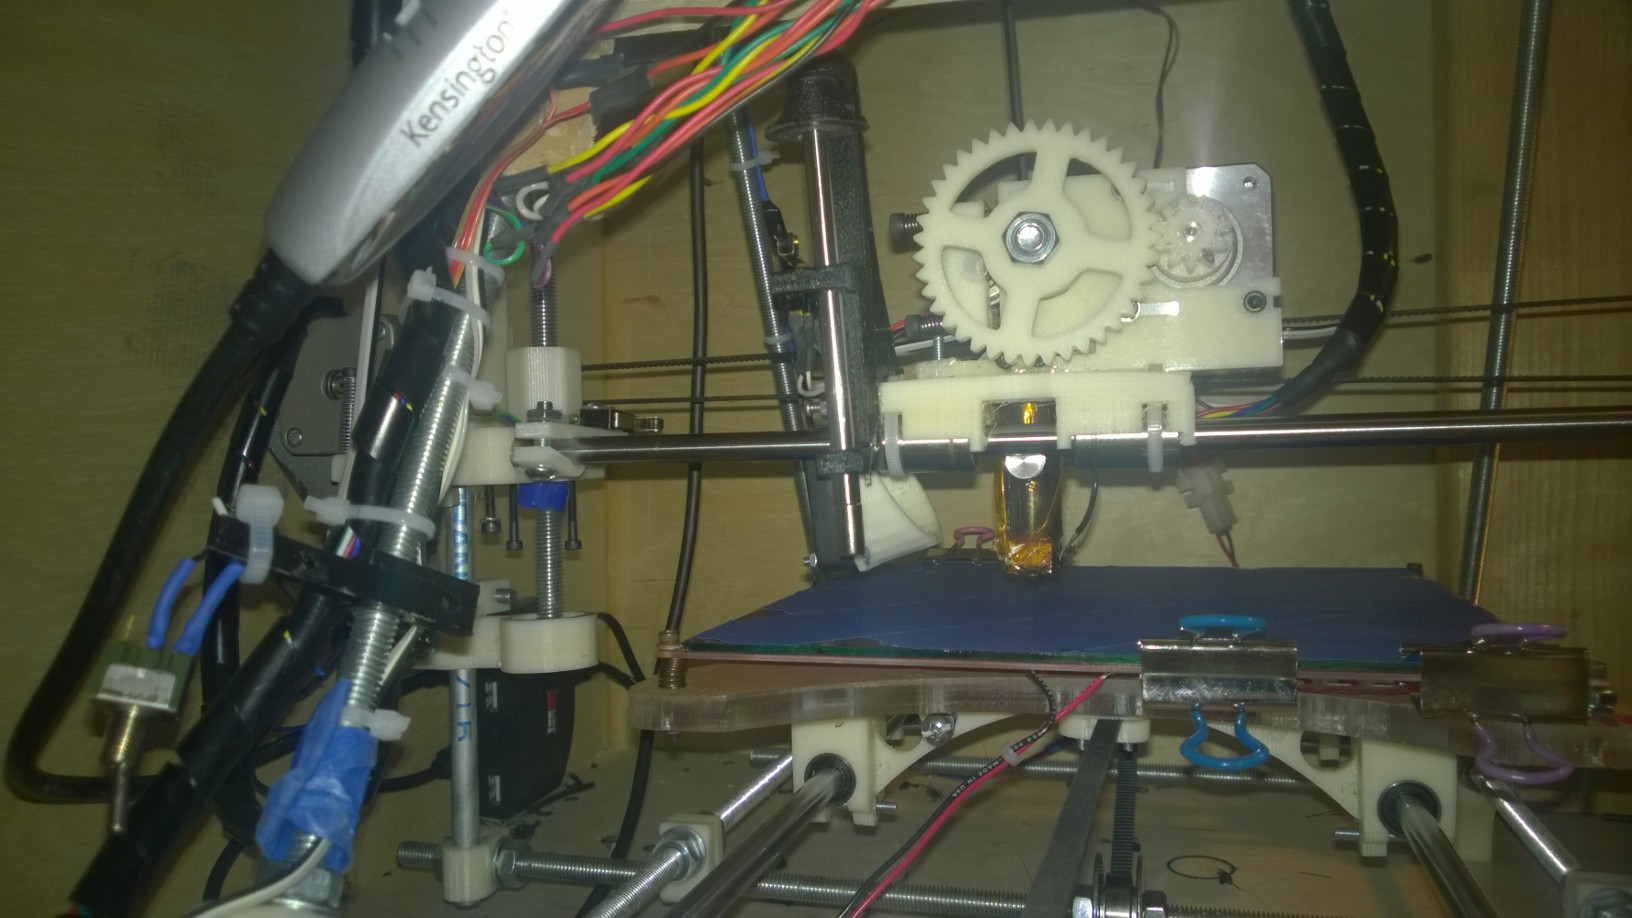
I want to test out an idea for a startup over the holidays, and expect to be doing a lot of printing. So today’s thing is an auto bed leveler for my 3D printer. The new Marlin firmware supports bed leveling, but unfortunately I built the printer a while ago using Generation 6 electronics – which does not have suitable pins to break out for auto leveling.

My solution was to design something borrowing from a switch design I saw a RepRapper called NOPHEAD post a few years back. Basically a magnet keeps a probe shaft retracted normally, but you can easily press on a cap attached to the shaft dropping and activating the sensor.
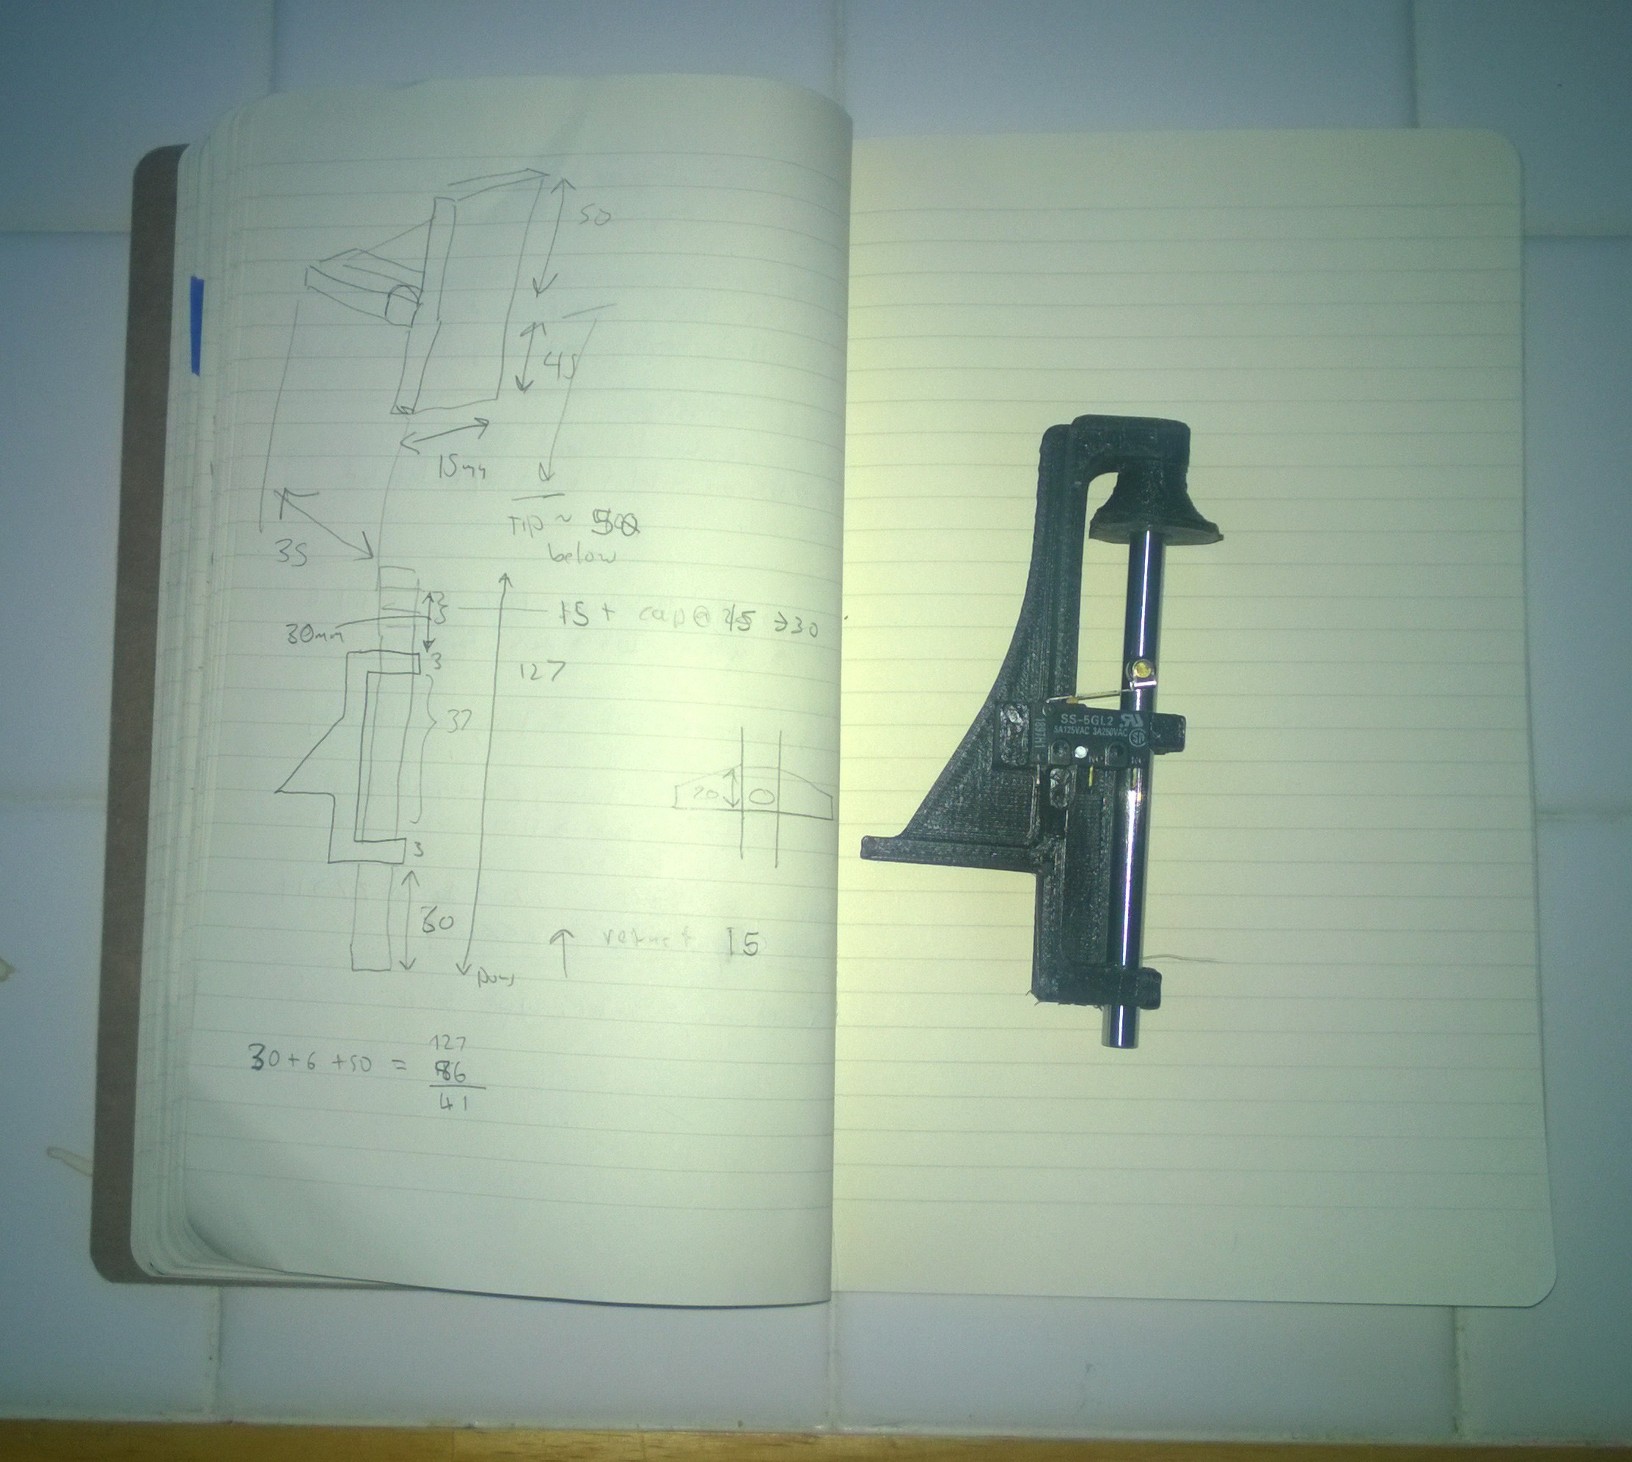
For my design I added a switch. So now I can G29 auto level the bed, then cut the probe out of the circuit, and retract the shaft, while printing. I also extend the shaft with a neodymium magnet. That way if the probe does drop onto the object being printed, the horizontal shear forces should just dislodge the magnet and not crash the X sled if there is a failure.
Categories
Thing a day

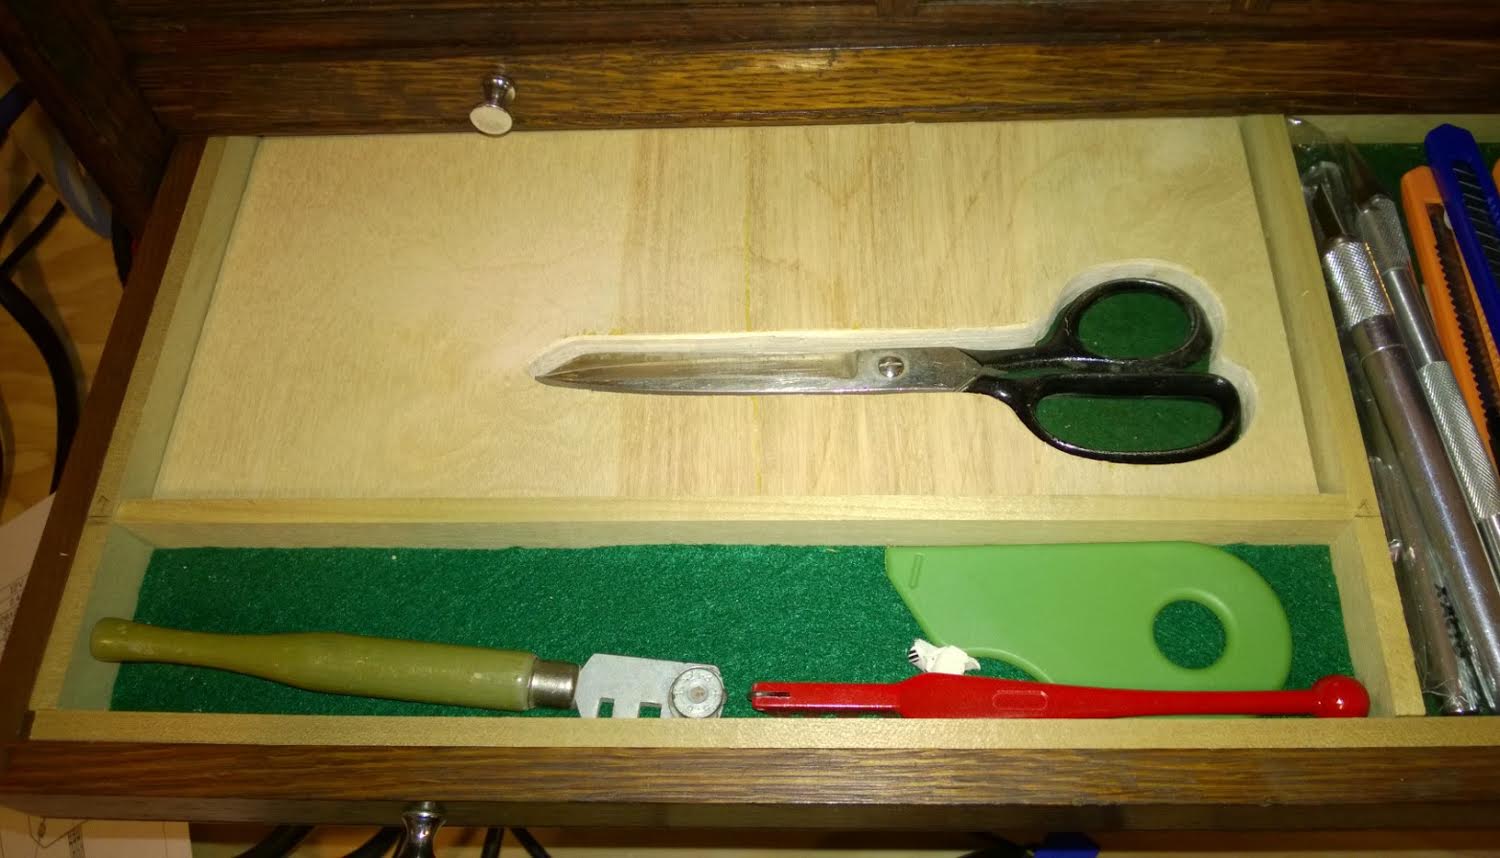
Thing a day, Thing #5 French for Scissors

A good set of quality scissors are another one of those tools you need rarely, but when you do it is exactly what you need. Today’s thing, thing number 5, is a French fitting to add a reasonable set of scissors to my tool chest. I still need to go rehab the scissors, but they are already an order of magnitude better than the ones I had been using.

Categories
Thing a day

Thing a day, Thing #4 French Fit Nibbler

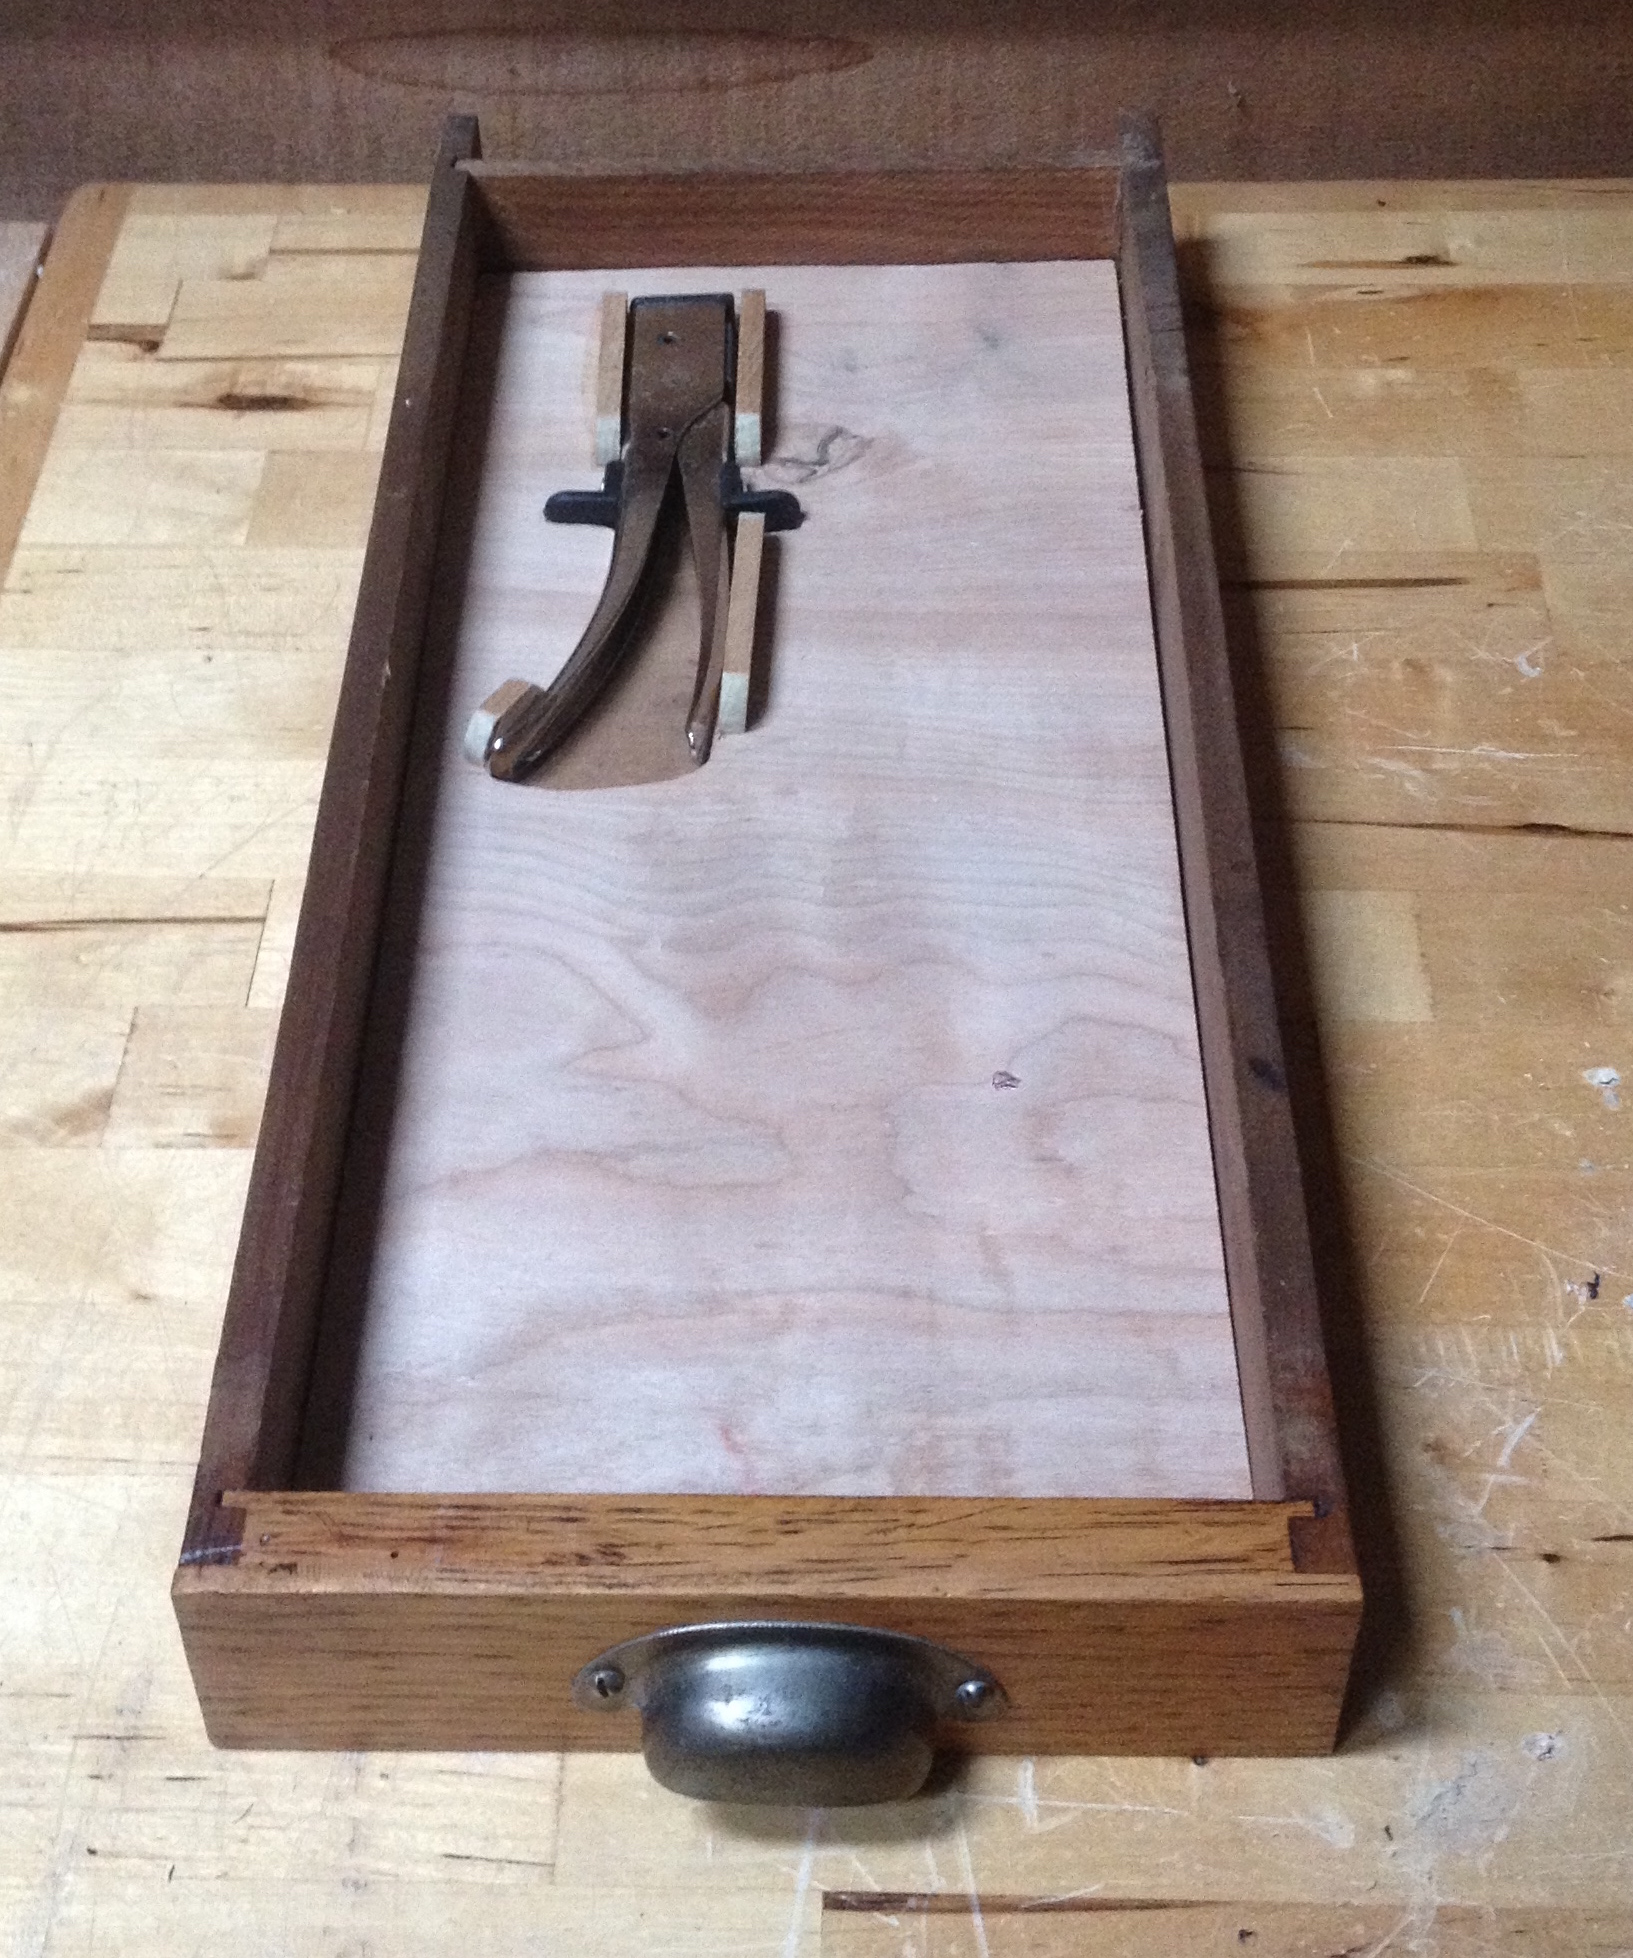
So a few years ago I tried French fitting some of my tool chest drawers as an experiment. I was blown away at the difference it makes. By having cutouts explicitly for each tool you know exactly where each tool lives, and can tell at a glance if any of the tools were not put back after the last time they were used.

So thing number four is a French fitting of one of the drawers in my watchmaker’s bench, adding a cutout for the Nibbler. I only use the nibbler infrequently, but when you need it, it is exactly the tool you want. That makes for an ideal tool to French fit, since you know exactly where it is next time you need it, even if that is several months later.

The nimbler is spring loaded, so I added wooden risers to hold it in the much smaller closed position in order to save drawer space.

Categories
Thing a day

Thing a day, Thing #3 Forceps Holder

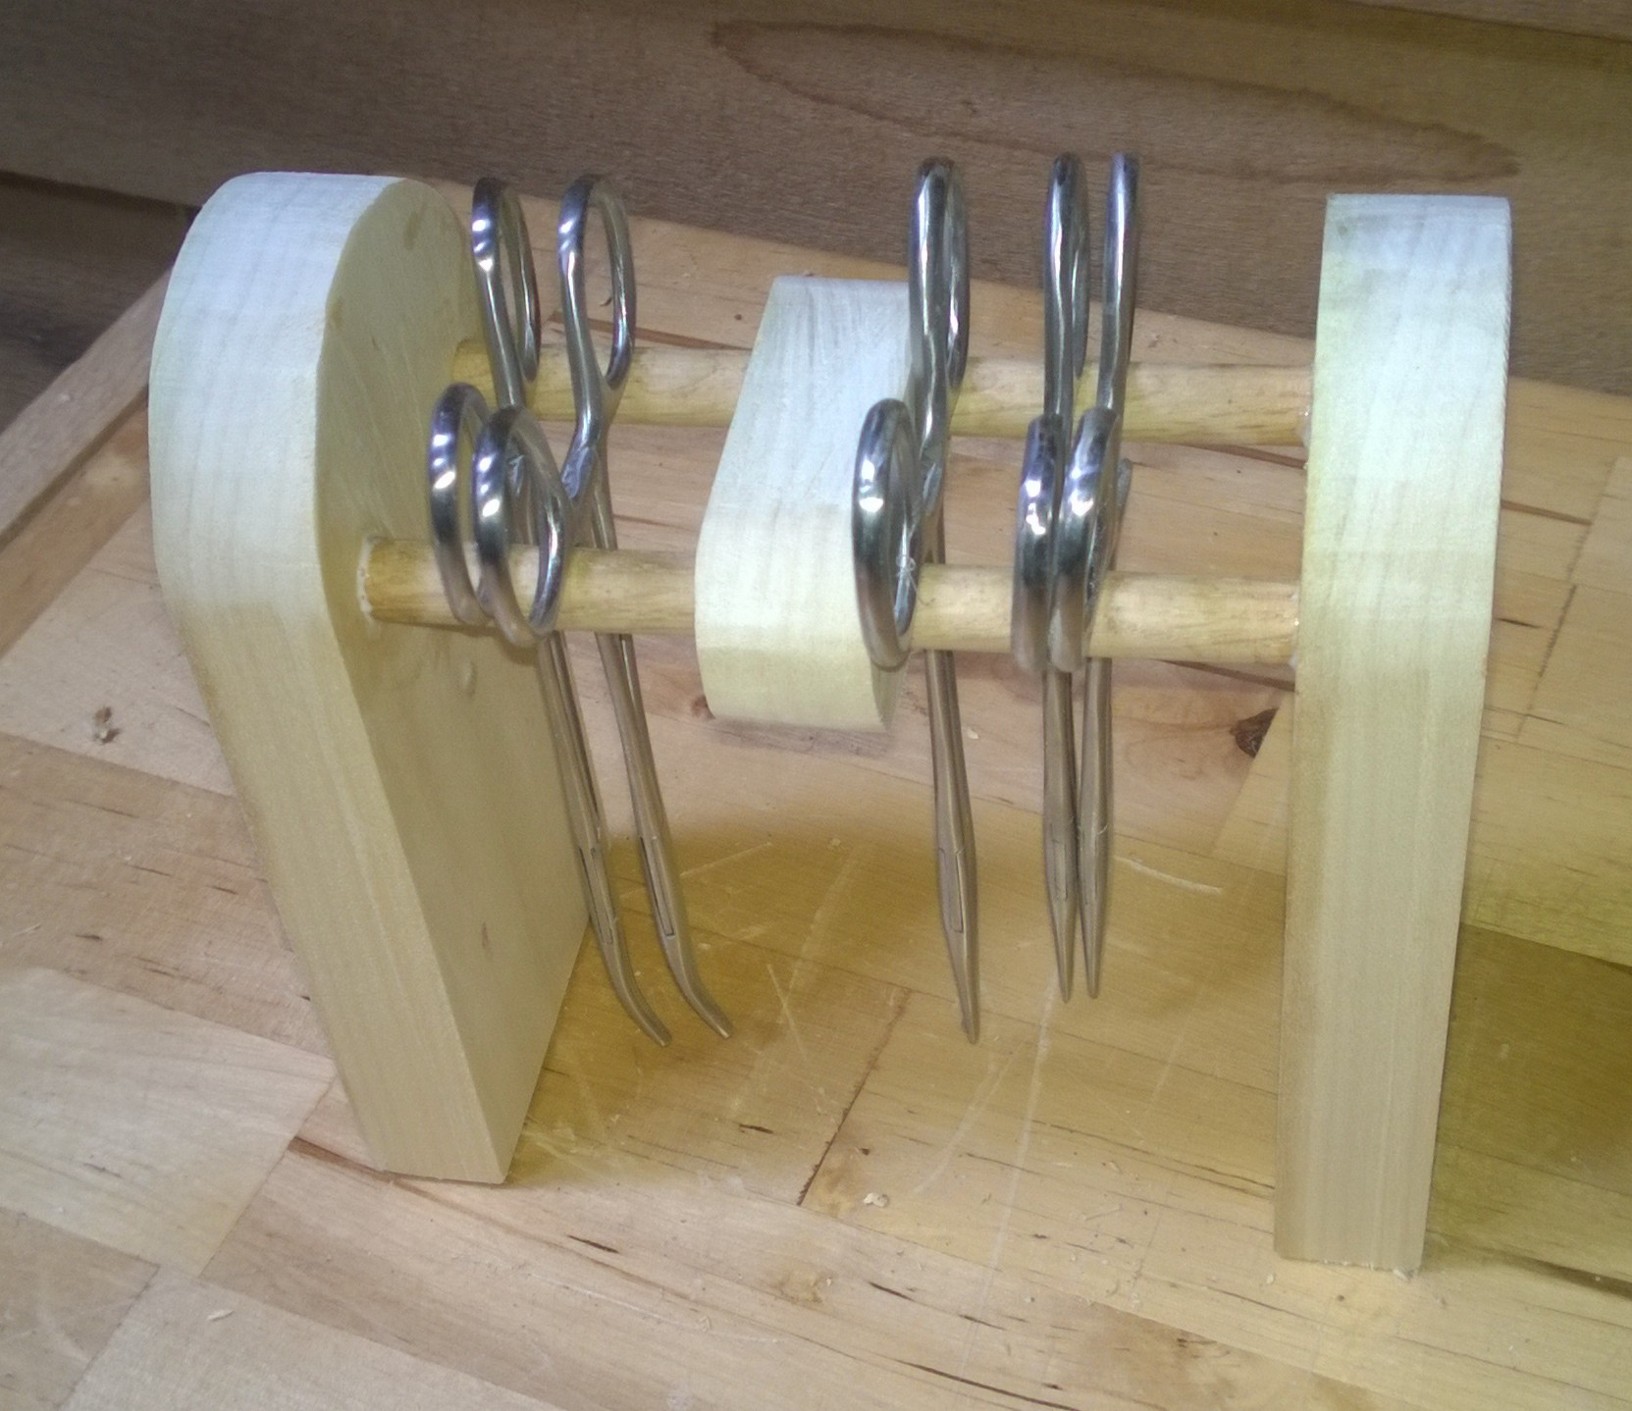
So with the pliers neatly racked, I realized I wanted a better way to store some of the other hand tools. I use forceps on the assembly bench, and some times on the soldering bench. Just yesterday I was carrying some back and forth between benches on a project, so I figure the next “thing a day”, thing #3, would be a holder for my small 4″ and 5” forceps that could be carried between benches easily.

Categories
Thing a day Uncategorized

Thing a day, Thing #2 Small wire cutters and pliers holder

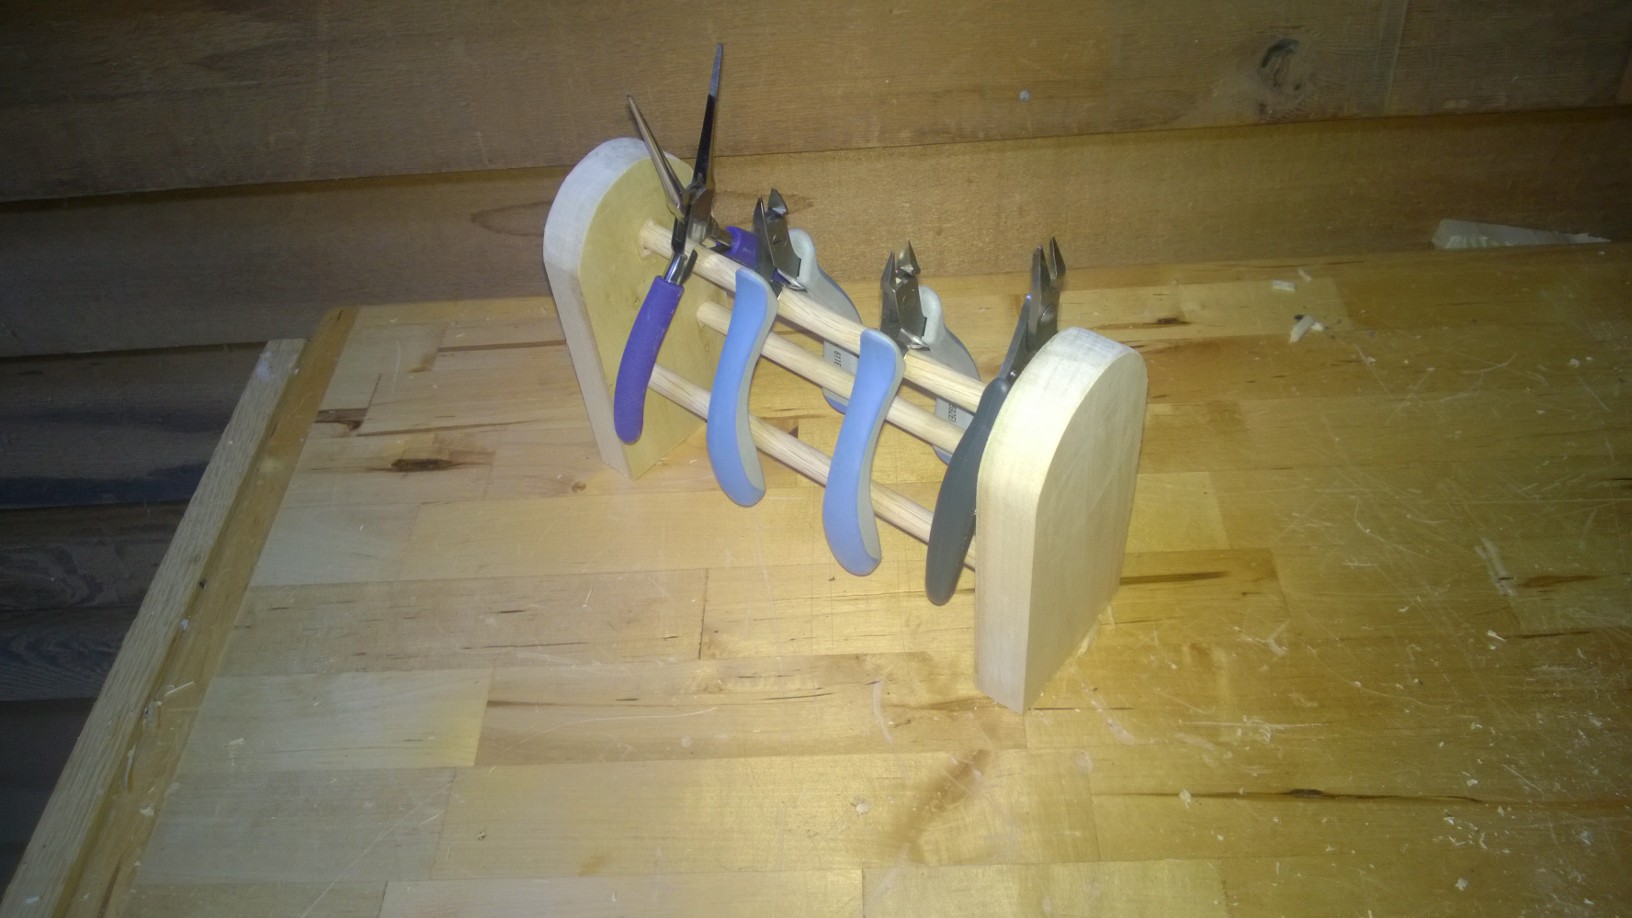
Thing number two in my build a thing a day for the shop experiment is a small wire cutter and plier holder. It should live near the soldering station, but be transportable to wherever in the lab I am working.

Thing a day, thing #2 – small wire cutters and pliers holders.
Categories
Thing a day

Thing a day

Some of the things I build for the shop as part of my “see a task do a task” experiment started making an immediate difference in how I work. So I decided to try another experiment. I liked Jonathan Coulton’s thing a week song writing experiment, so I am going to try a build of a “thing a day” from now until next year. I am thinking simple things for the shop that take less than an hour to make.

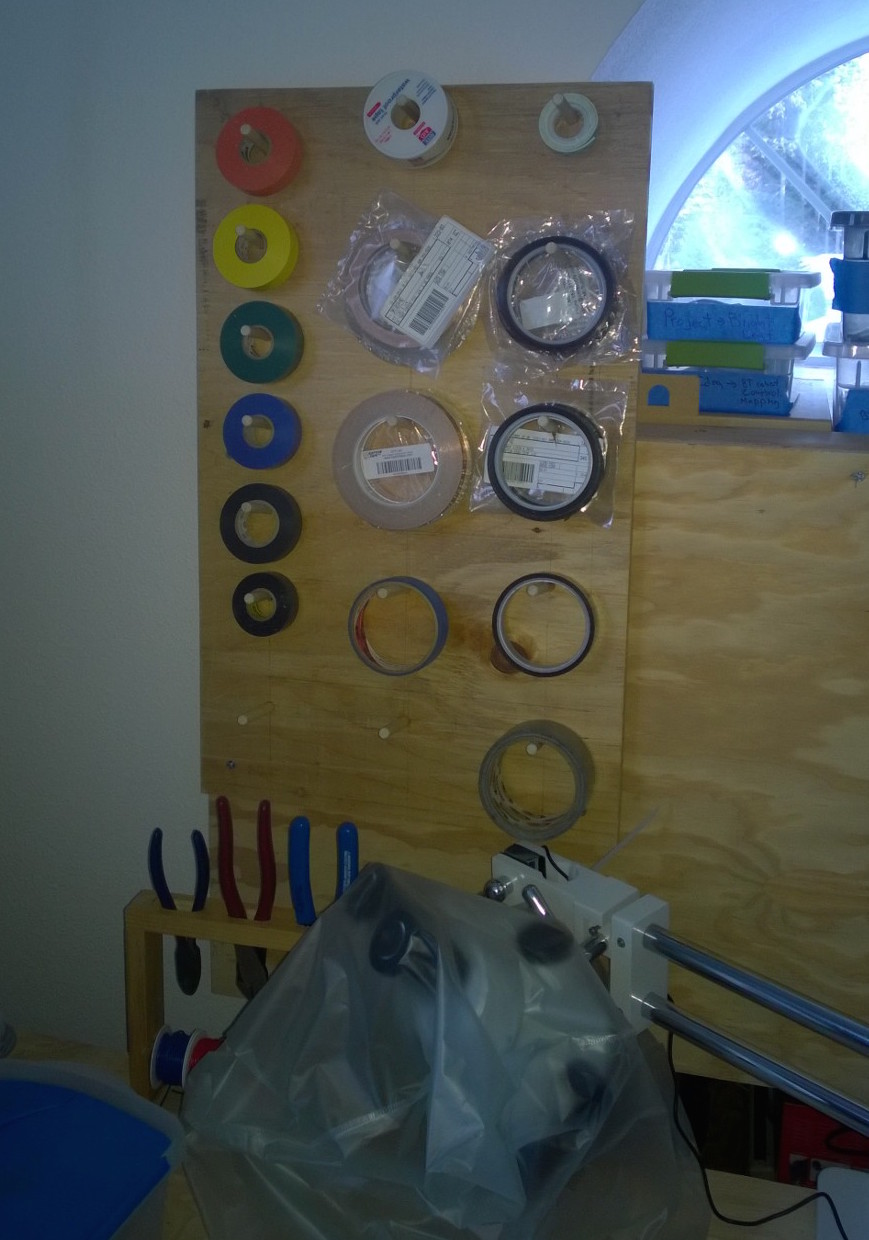
So here’s thing zero – a tape spool holder. The idea was to stop having to rummage through a tape bin every time I needed something.

Thing a day, thing #1
Categories
Knifemaking Projects

Gebhard Solutions training knives

Gebhard Solutions has some interesting training blades for small folders.  I want make one like this but I think I will make a pattern from scratch. Mostly as a learning experience.

Categories
Knifemaking Projects

Revisiting the second Loveless Prototype

Finally got a chance to take pictures of the second loveless prototype. First thoughts are that the white under wrap with black over wrap did not look as nice as I was hoping.

I still want to try a flat under wrap – which should let me space out the over wrap a little better,  and father apart. Regardless the top side insert was about 4-4.5mm too long, leading to the notch of empty space by the lanyard hole.

I do think this blade fits better in my hand. With the insets the wraps make the handle about 4mm thinner. I think I could take it down another 2mm and then weight the handle to shift the center of mass back into the hand. Before I do any major reshaping of the design I think I will make the next blade from steel and see how that impacts things.

Categories
Knifemaking Projects

Testing blade strikes

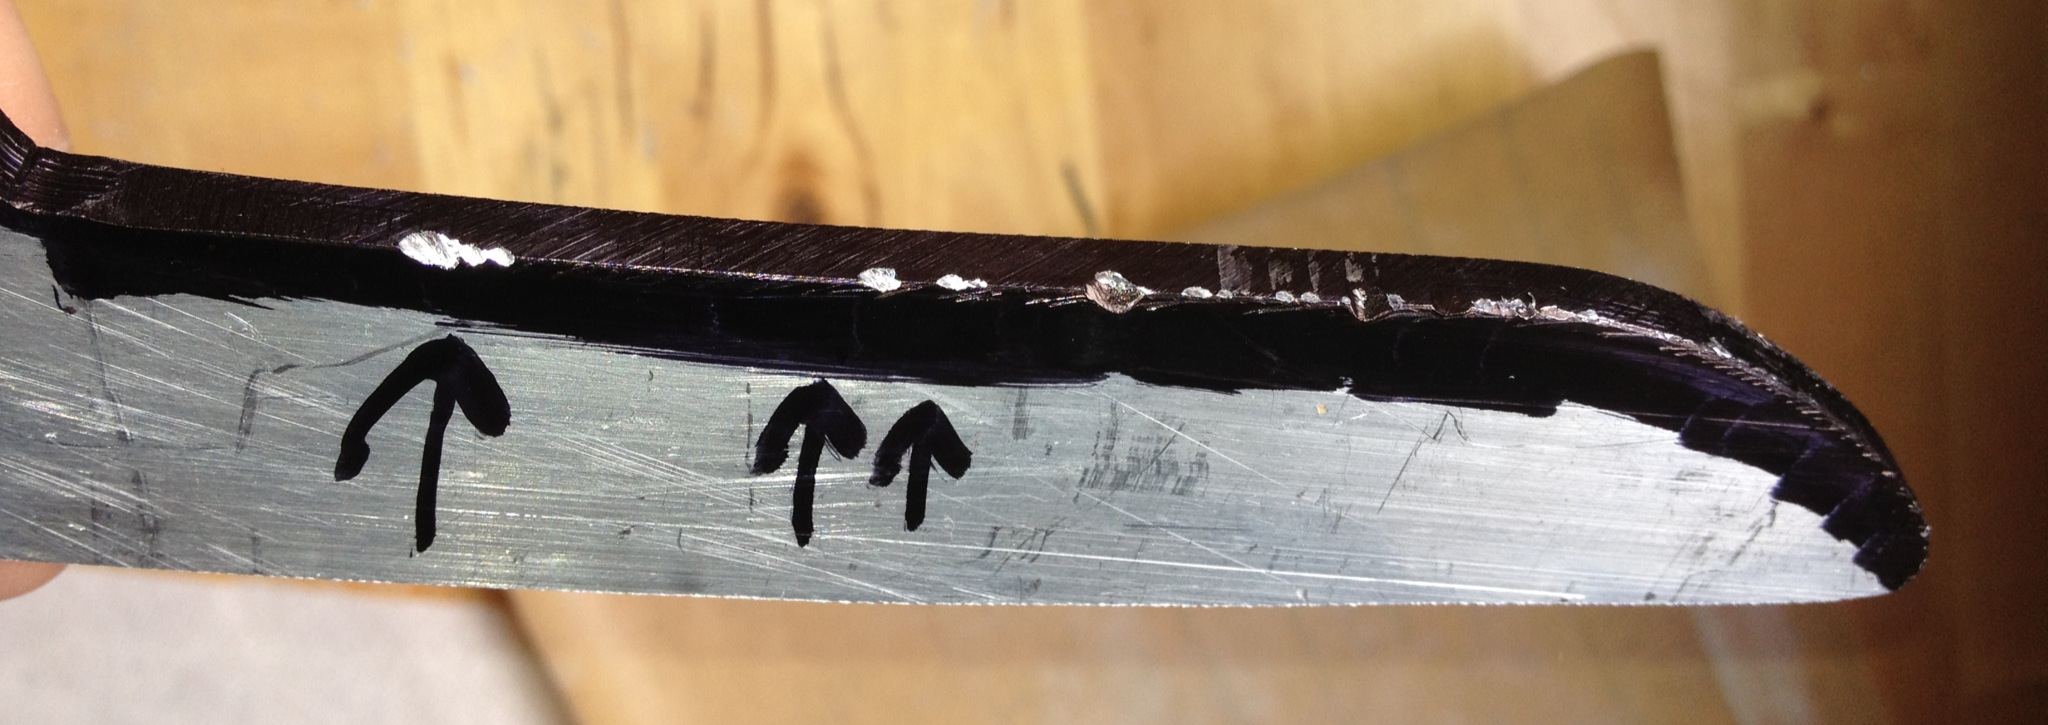
So the second bit of feedback I got from my knife fighter friend was that her training blades always get banged up in knife to knife fighting. I made the blades form 6061 aluminum, and was curious how it would hold up.

I mounted some scrap stock in a vise and did some slash cuts on it, then let my friend do the same. I marked the blades with sharpie so that the damage would show up better.

*Ahem* I looked like I was waving a tiny baseball bat around with one hand and her strokes looked like she was performing an appendectomy. The result of both our cuts though was gouges on the blade. So while 6061 Aluminum is probably fine for training knife defenses, I think I will want to make the final training blades from tool steel so that they can also be used in knife to knife training.

Categories
Knifemaking Projects

Rethinking the handle wrap

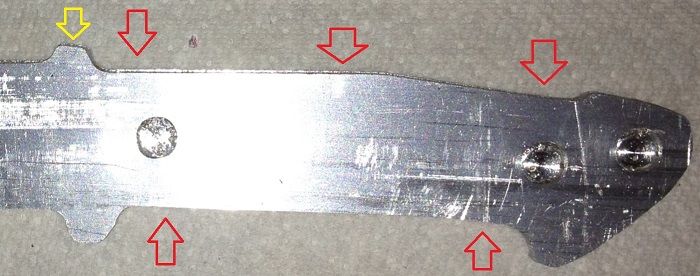
This blade design is inspired by the keen-edge blades 9 inch loveless. After the handle felt fat in my hand, I took a second look at their pattern. I double wrapped my handle – so right off the bat my dimensions were bigger than theirs by 6mm. So I figured I would cut the same knife but with either side of the handle inset by 3mm on each side. (Inset shown with the red arrows).

I also added a small guard on the back side of the blade opposite to the finger guard. The idea is the extra guards and insets would simultaneously make the blade thinner even after I added a double wrap, and help keep the under wrap from sliding around on the handle over time. All in all I think I want to play with this idea more. I like making the handle feel thicker with a double wrap – but without its feeling wider.

Unfortunately I dropped the knife off at the dojo for people to play with before taking pictures of the new design.