|
|
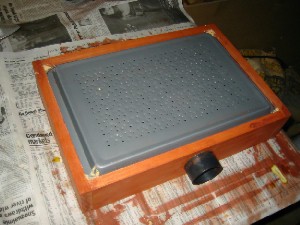
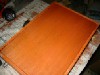
Cut a groove around each of the boards that will form the vacuum box.
The cookie sheets edges then fits into the groove when the box is formed.
|

|
|
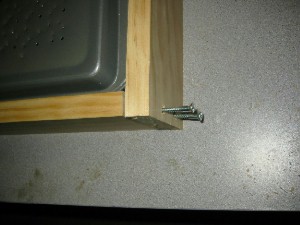
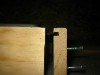
Unless you have a router or a lot of time you will probably
just use a table saw to cut a groove the length of the board.
You should be able to see these grooves pictured left. This
method leaves 4 divots in the box, which should be plugged. I used
wooden pegs glued into the holes before filling and sanding. The
end result that is important though is that portion of the box
not leak vacuum.
|
|
|
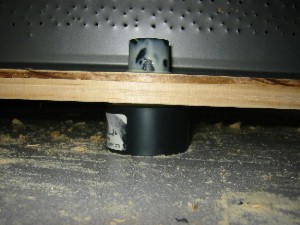
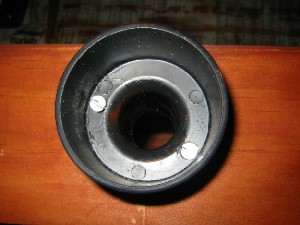
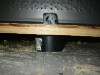
The mate between the vacuum box and the vacuum hose is a
2.5in to 1.5in adaptor. You should be able to buy them at the
hardware store in the same section as the shop vacuums. As you
can see pictured I installed the hardware right after I formed the box.
This turned out to be a mistake. The box needs to have corner boards
installed and it is easier to install the mate after the corner boards.
|
|
|
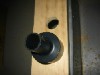
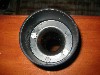
With the vacuum adaptor screwed down to the box with wood screws
a hole of just larger then the diameter of the outside of the adaptor
is sealed with a thin layer of wood glue.
|
|
|
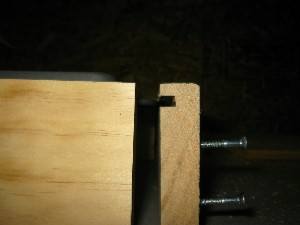
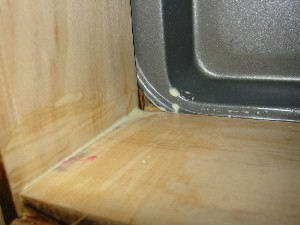
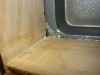
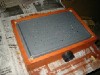
In order to seal the area around the rounded edges of the cooking
sheet I needed to install the square wooden blocks (shown left). The
vacuum adaptor should be installed after the corner blocks as it will
hinder their installation. I would also recommend that you do not
screw down the adaptor until after staining the box.
|

|
|
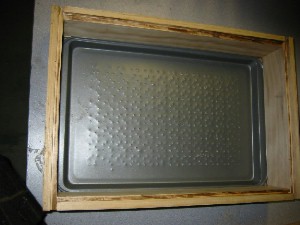
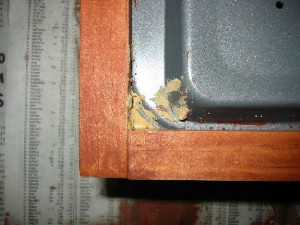
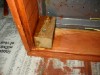
As you can see in the above picture the corners of the cooking sheet
are rounded. You can get around this problem by cutting a deep enough
groove in the wood stock that the corner is swallowed. That approach would
require using thicker stock. Instead I installed the corner blocks described
earlier and then filled the top corners of the vacuum box with wood putty.
This picture was taken prior to sanding, this approach looks a lot better
after clean up.
|
|
|
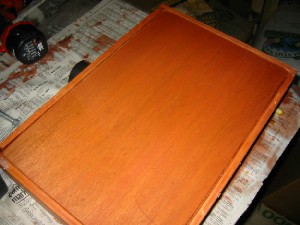
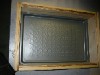
Left you can see the completed vacuum box. A quarter inch Dato
was cut along each of the wallboards of the box. The bottom of the
box is then glued down to the dato and tacked down with cabinet nails
for strength.
|