My Second Perlite Foundry
|
|
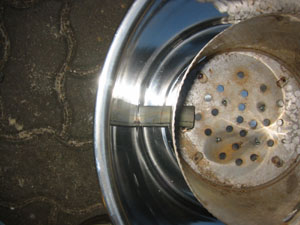
This design is basically a larger version of my
first perlite foundry. After we melted through the
bottom of the milkshake container, which we were
using as a crucible, we upgraded to a cast iron stock
pot. With any metal crucible you contaminate the
melt and will eventually eat through the crucible
and cause a leak. Care should be taken to check and
replace your crucible frequently if you are using a
makeshift metal crucible. I keep using the metal
crucibles with charcoal furnaces since I am not sure
how to get the heat uniform enough that a clay
crucible would not shatter.
|
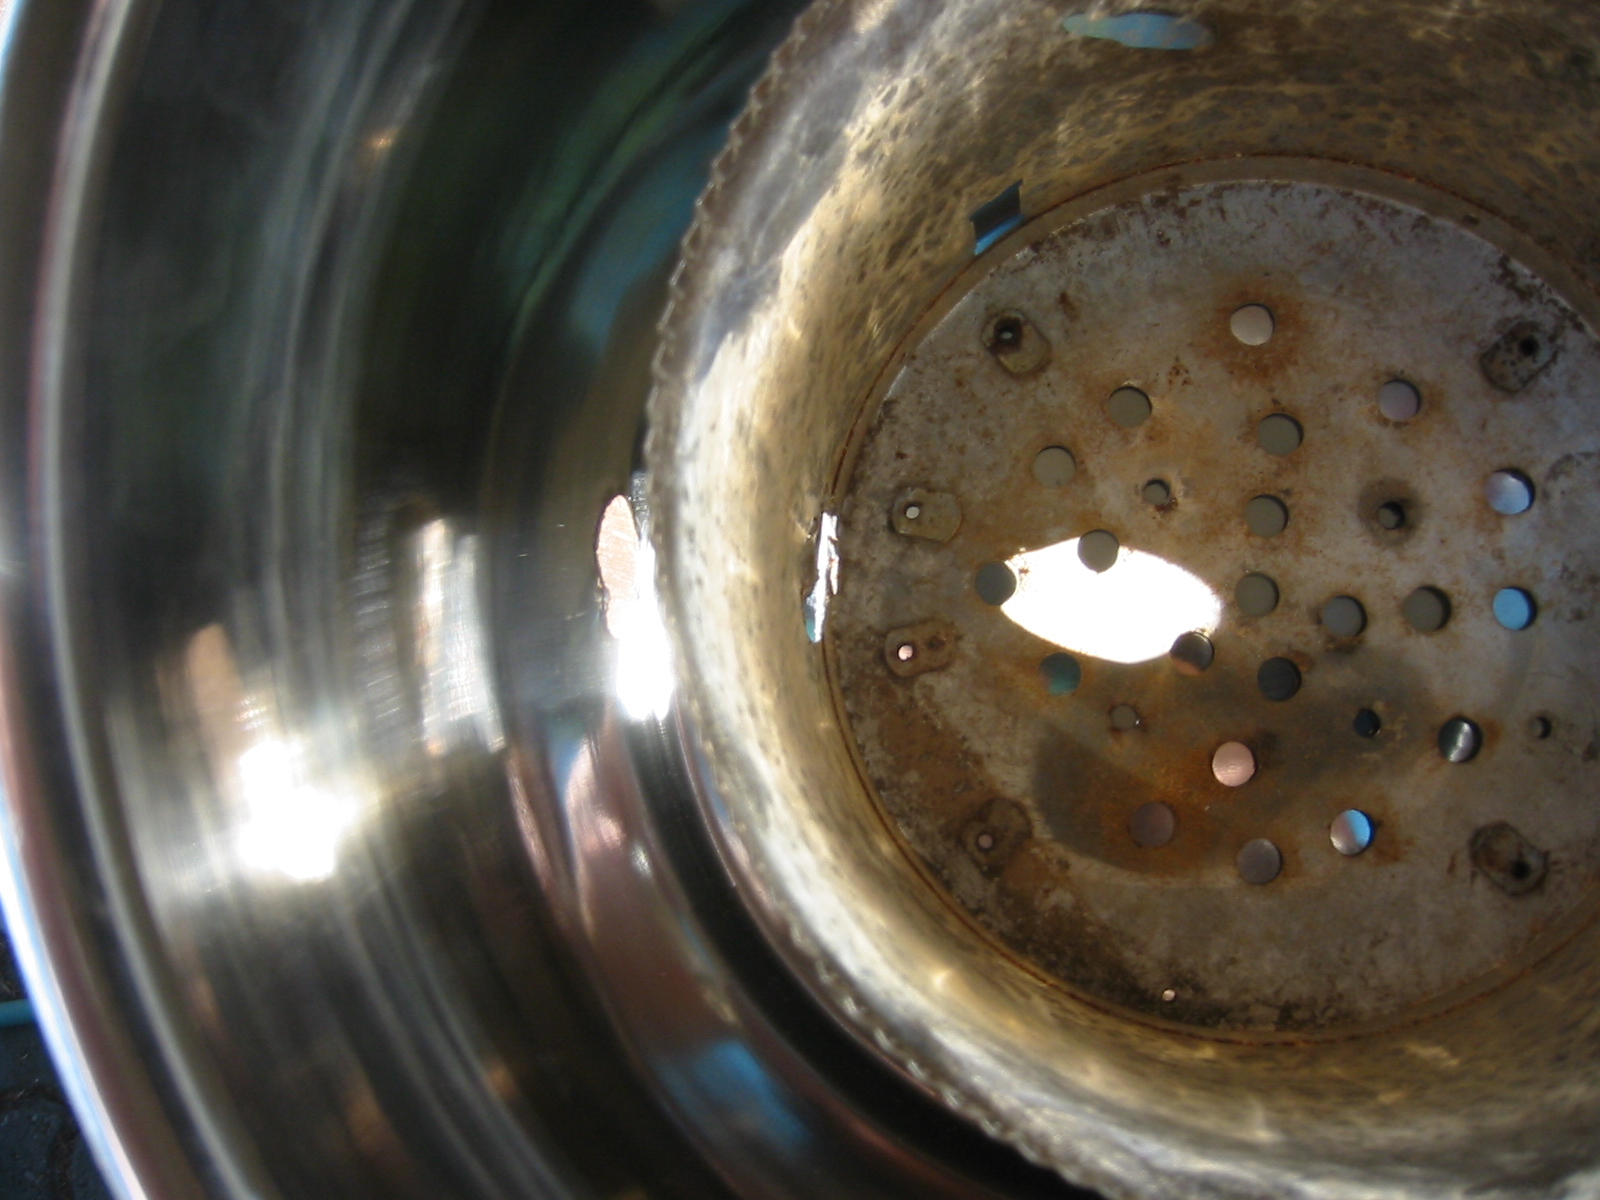
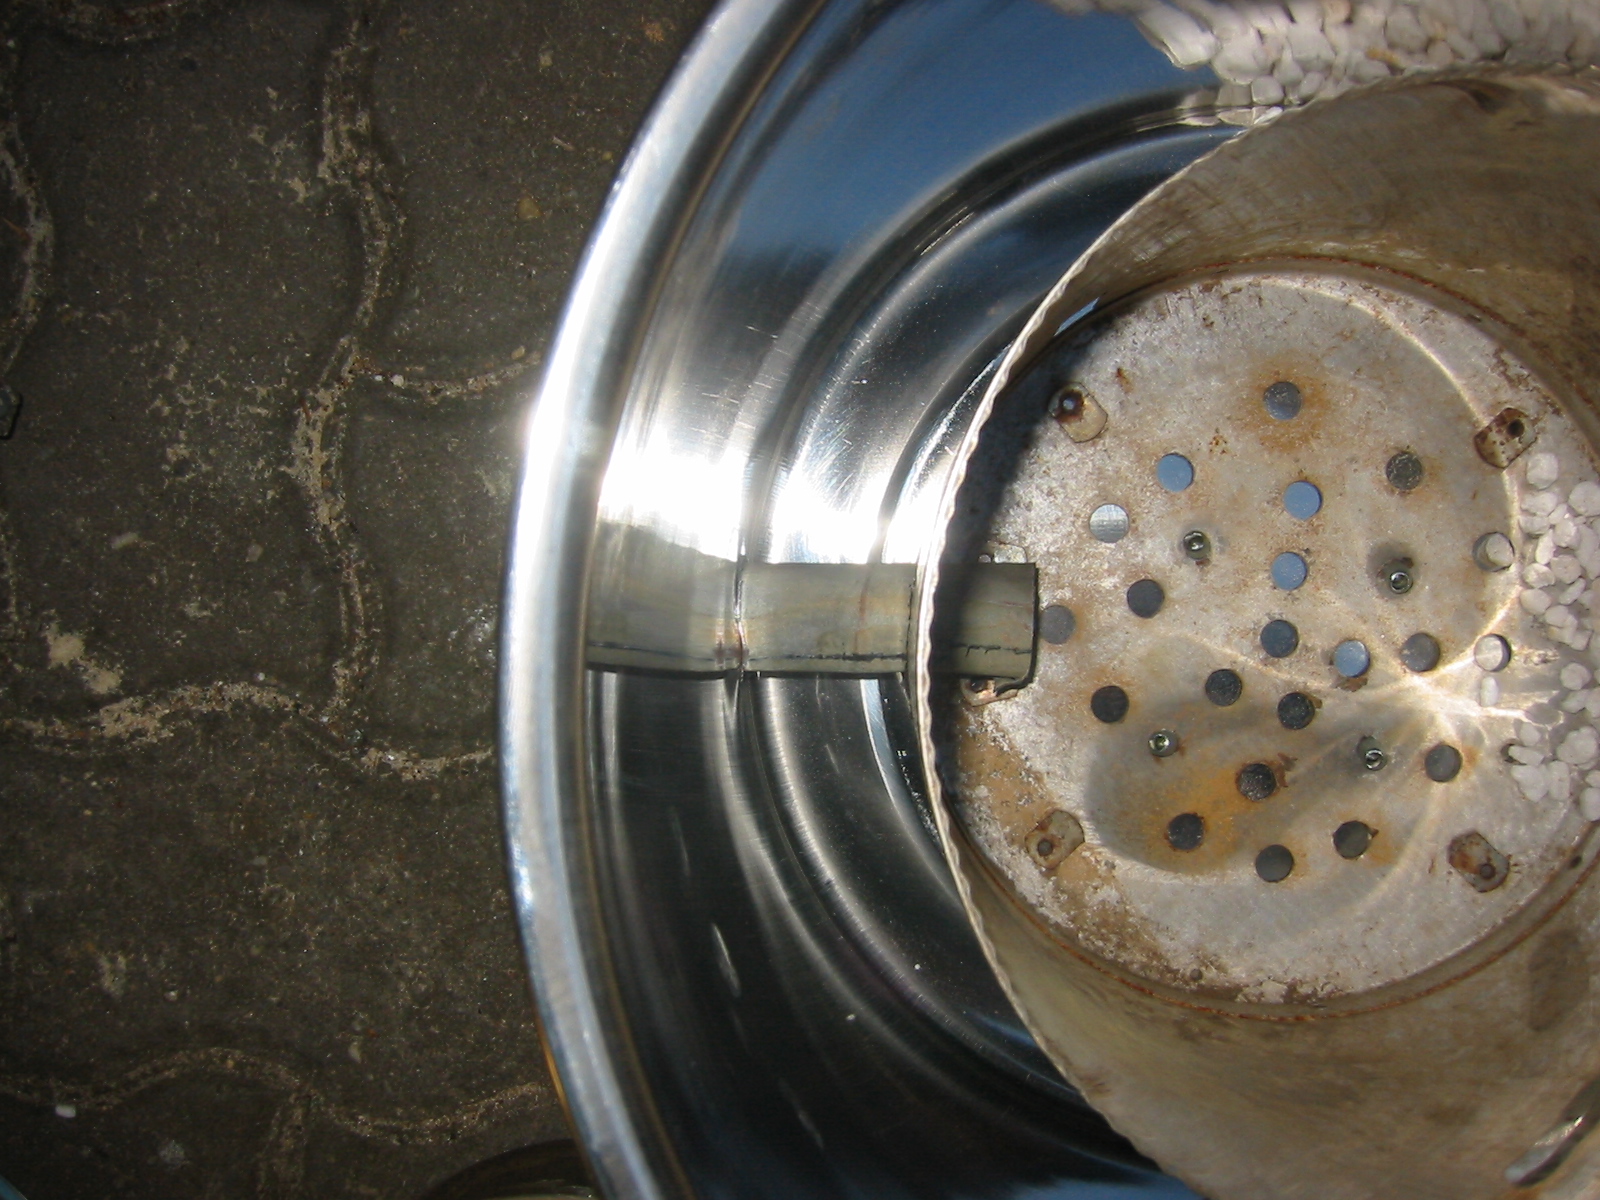
Building The Foundry
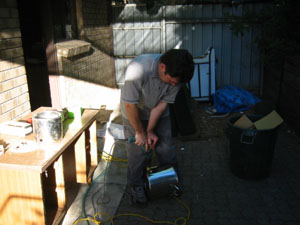


The first design worked so well, and was so cheap, that we really could not see replacing it
with anything fancier unless we started to cast more frequently. The bucket that formed the
outside of the first foundry was scavenged to act as the inner hull for this, larger,
second foundry. The inner hull is pop riveted to the outer hull. The outer hull is a
stockpot with a hole drilled in its side in order to allow for the forced air pipe. This
design also cost under $20 and we ever upgrade this design to use refractory we should
even be able to scavenge the stockpot.
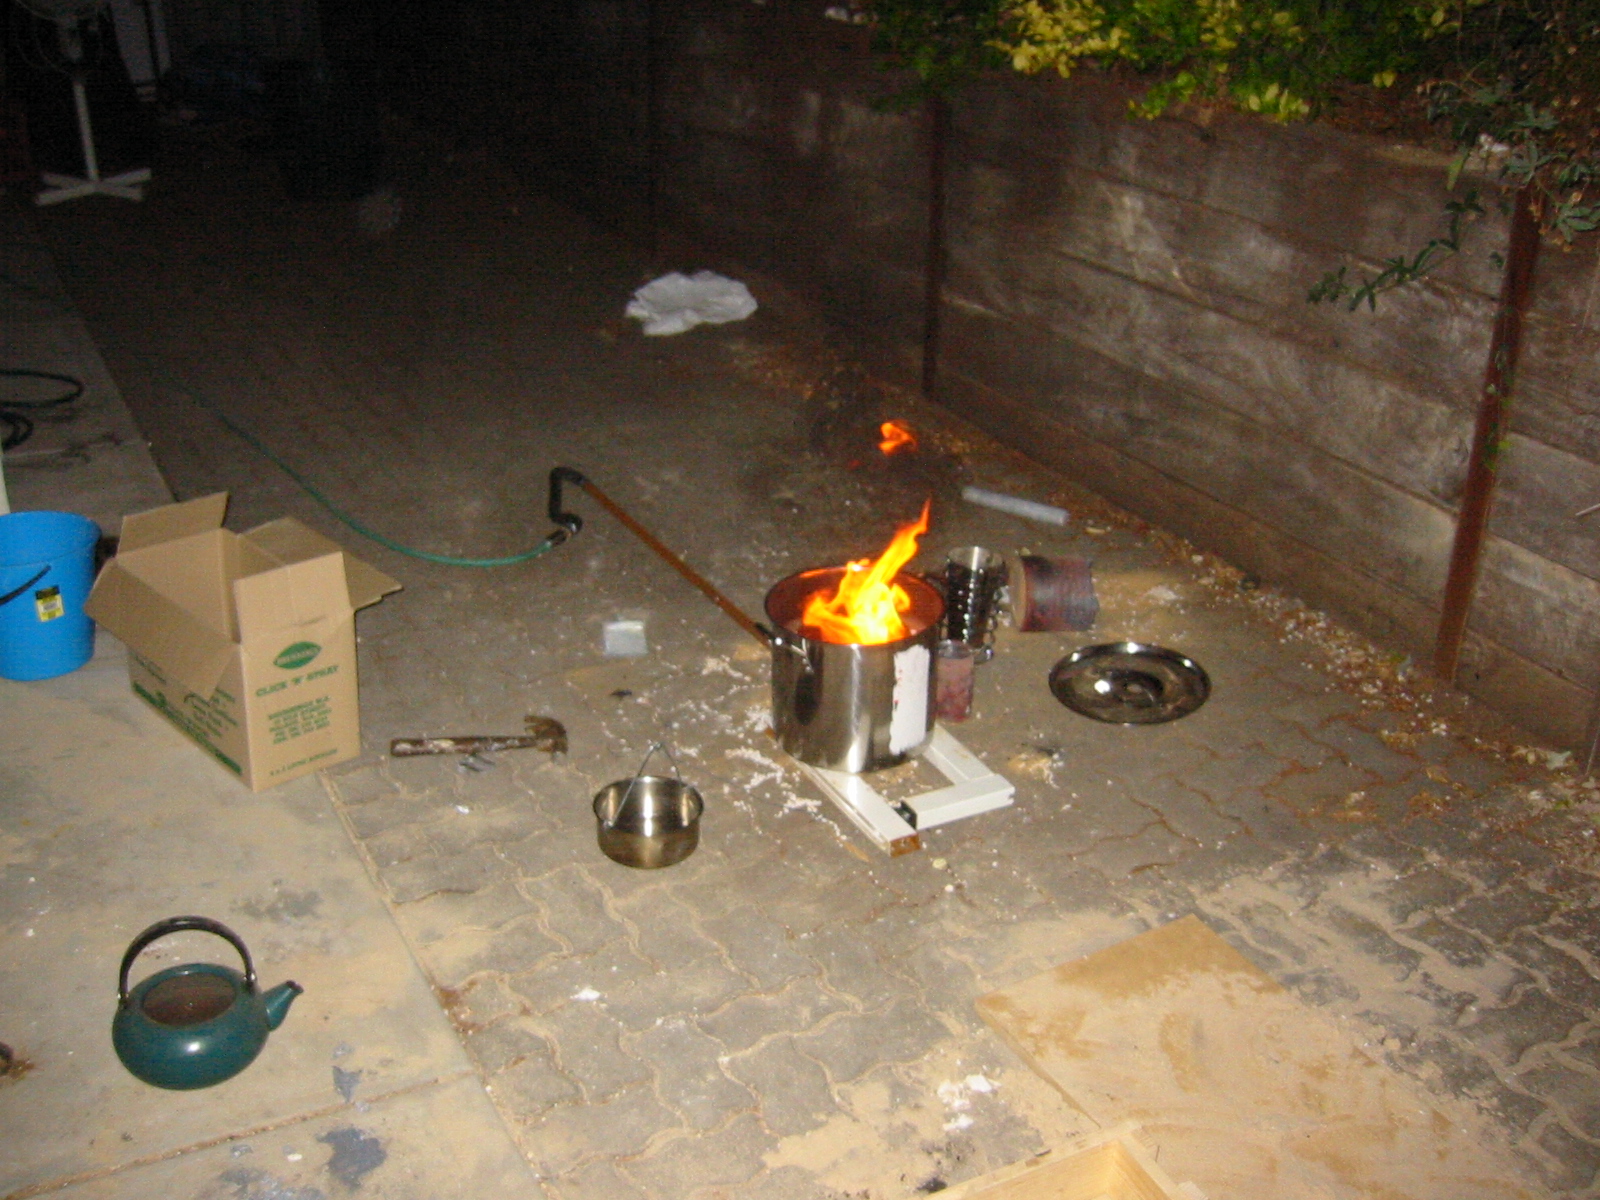
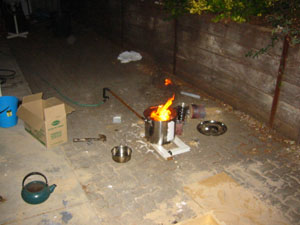
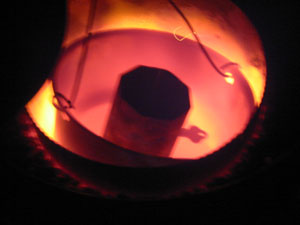
Night Firing
|
|
The area where we had the foundry set up was well lit. As a result we could
work into the night. During a night casting session we turned the lights off for a few
short pictures in order to take some photos of the
foundry at night.
|