Adding the doors to my 3D printer


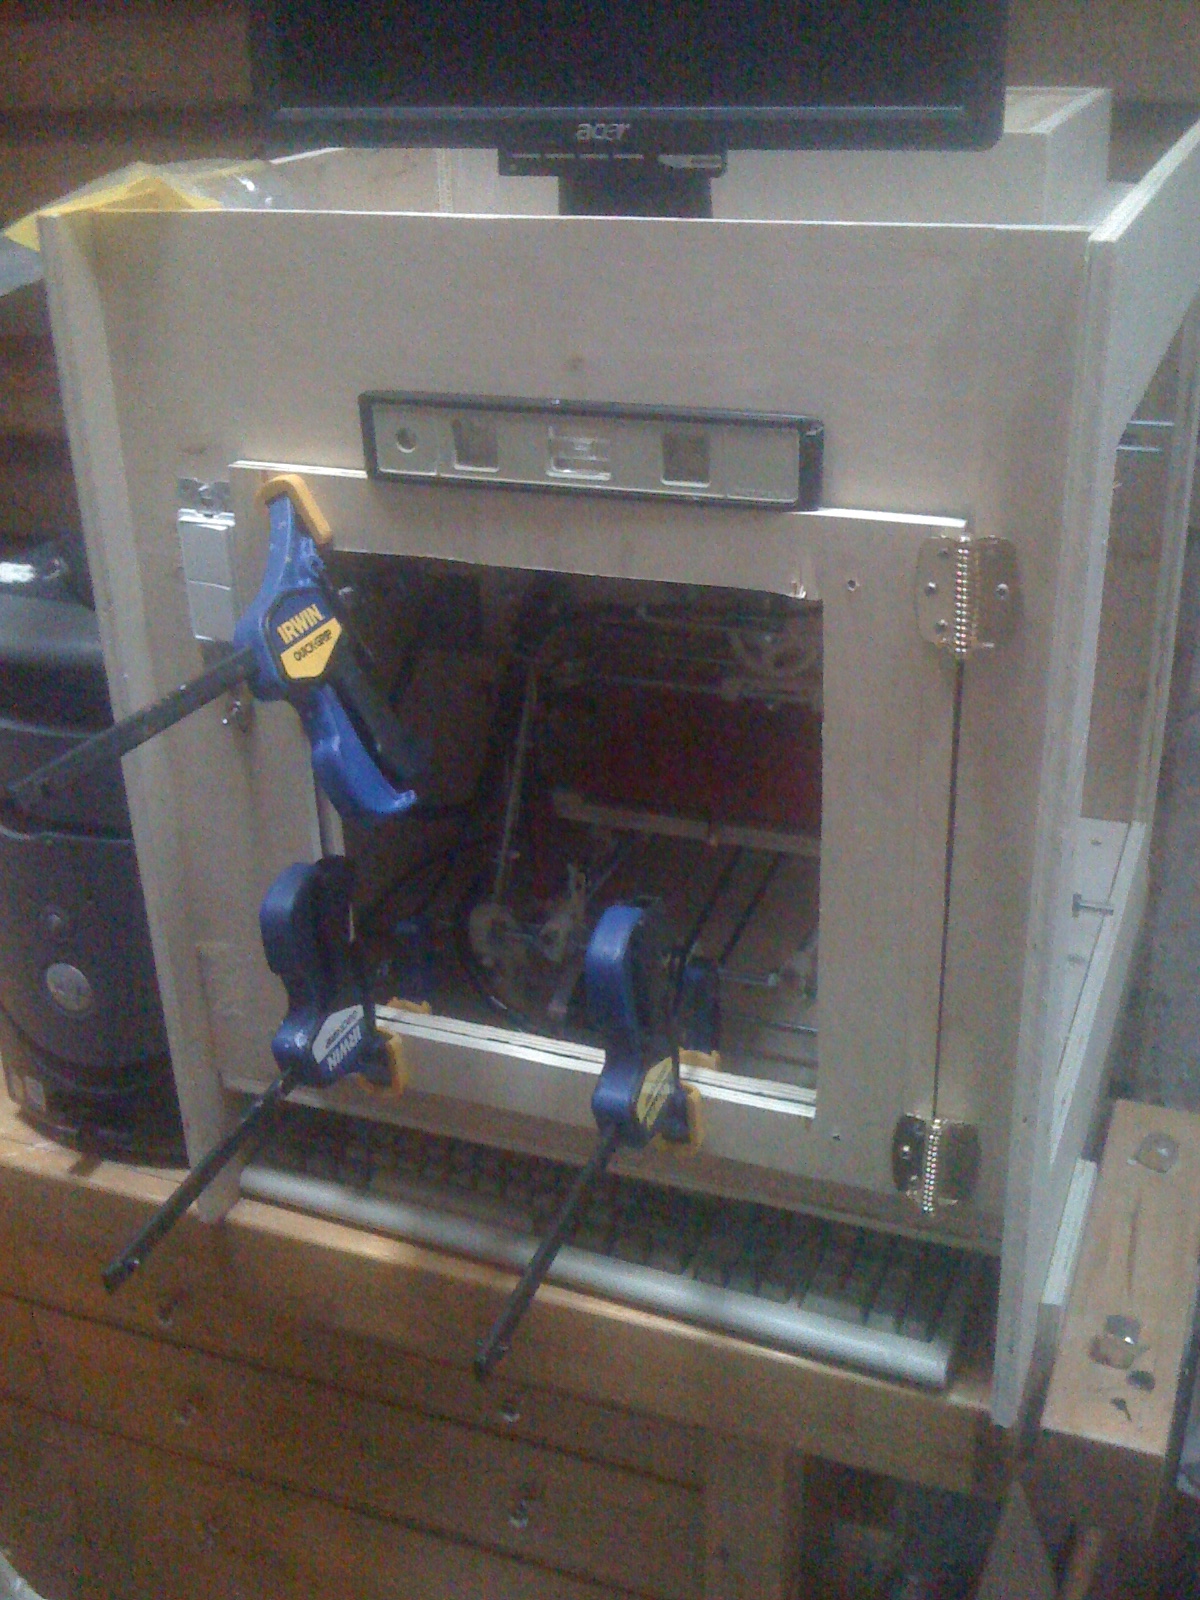
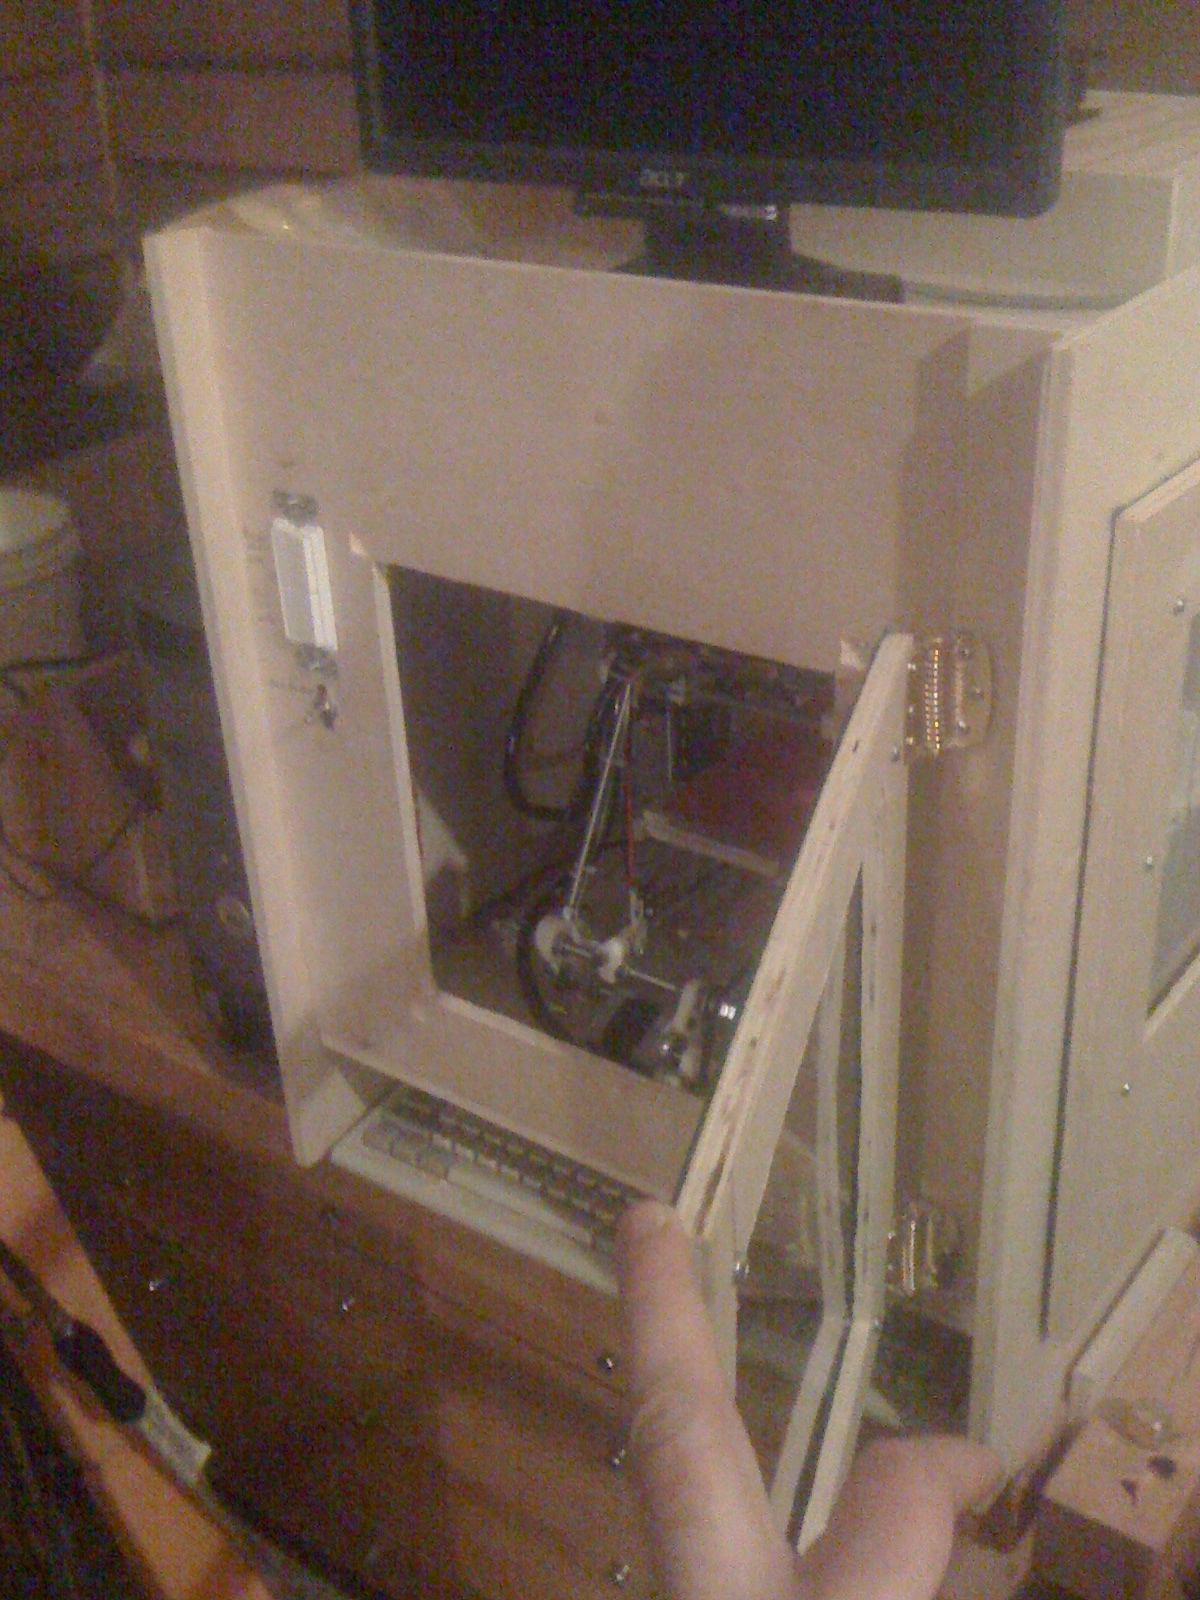
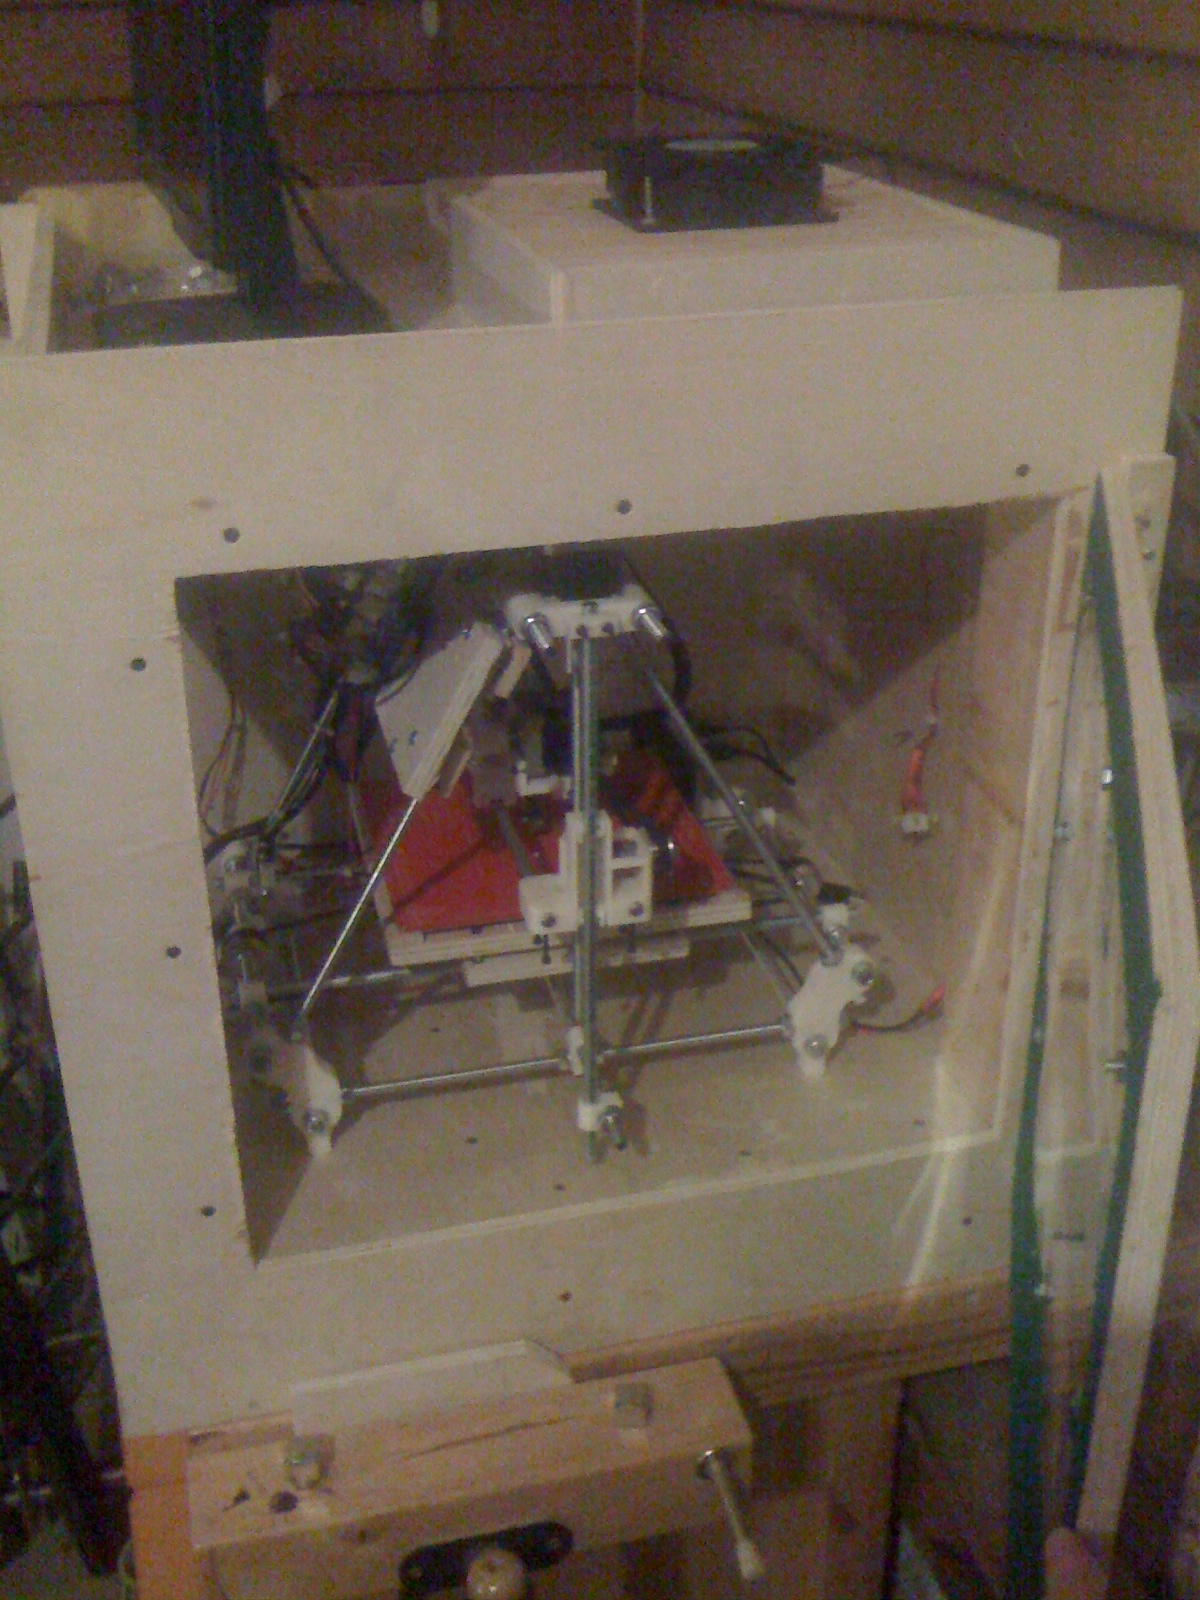
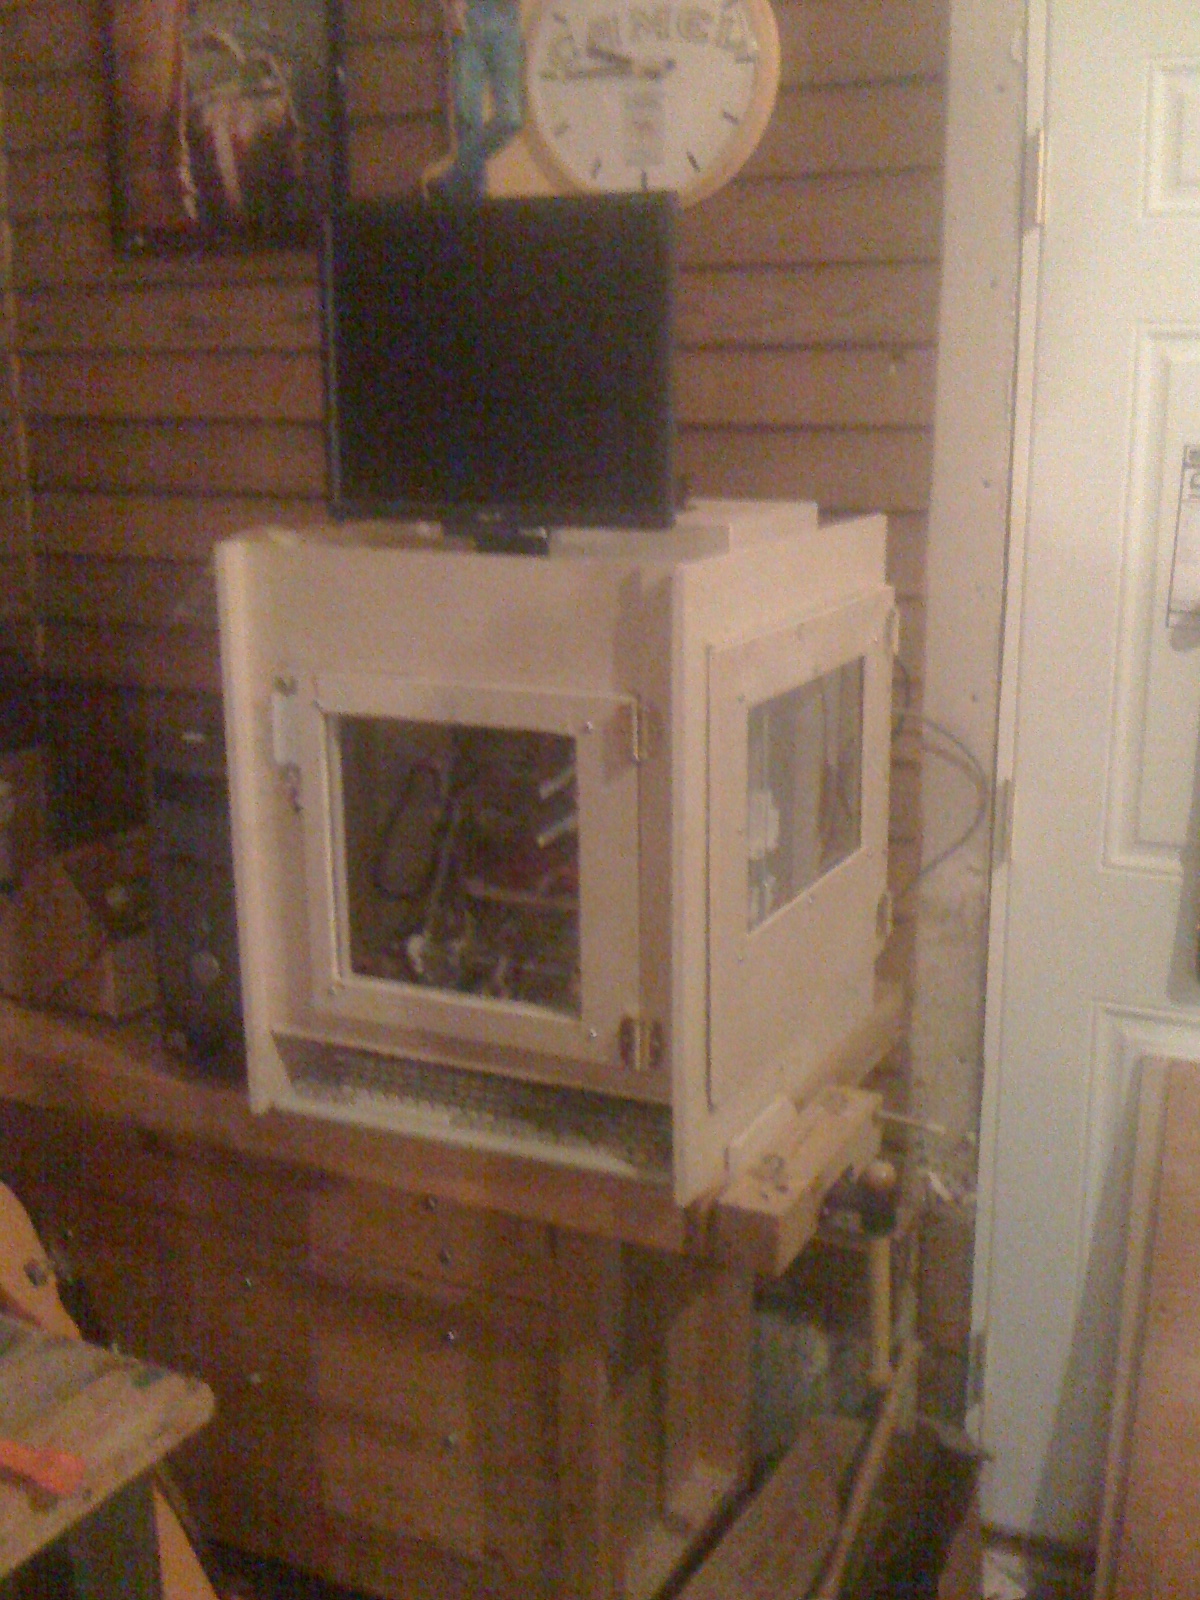
Adding doors to the printer helps keep the heat in. Eventually the plan is to add a heater to an inlet fan and a PID controller to regulate temperature. That should let me control the internal temperature even when the exhaust fan is on.

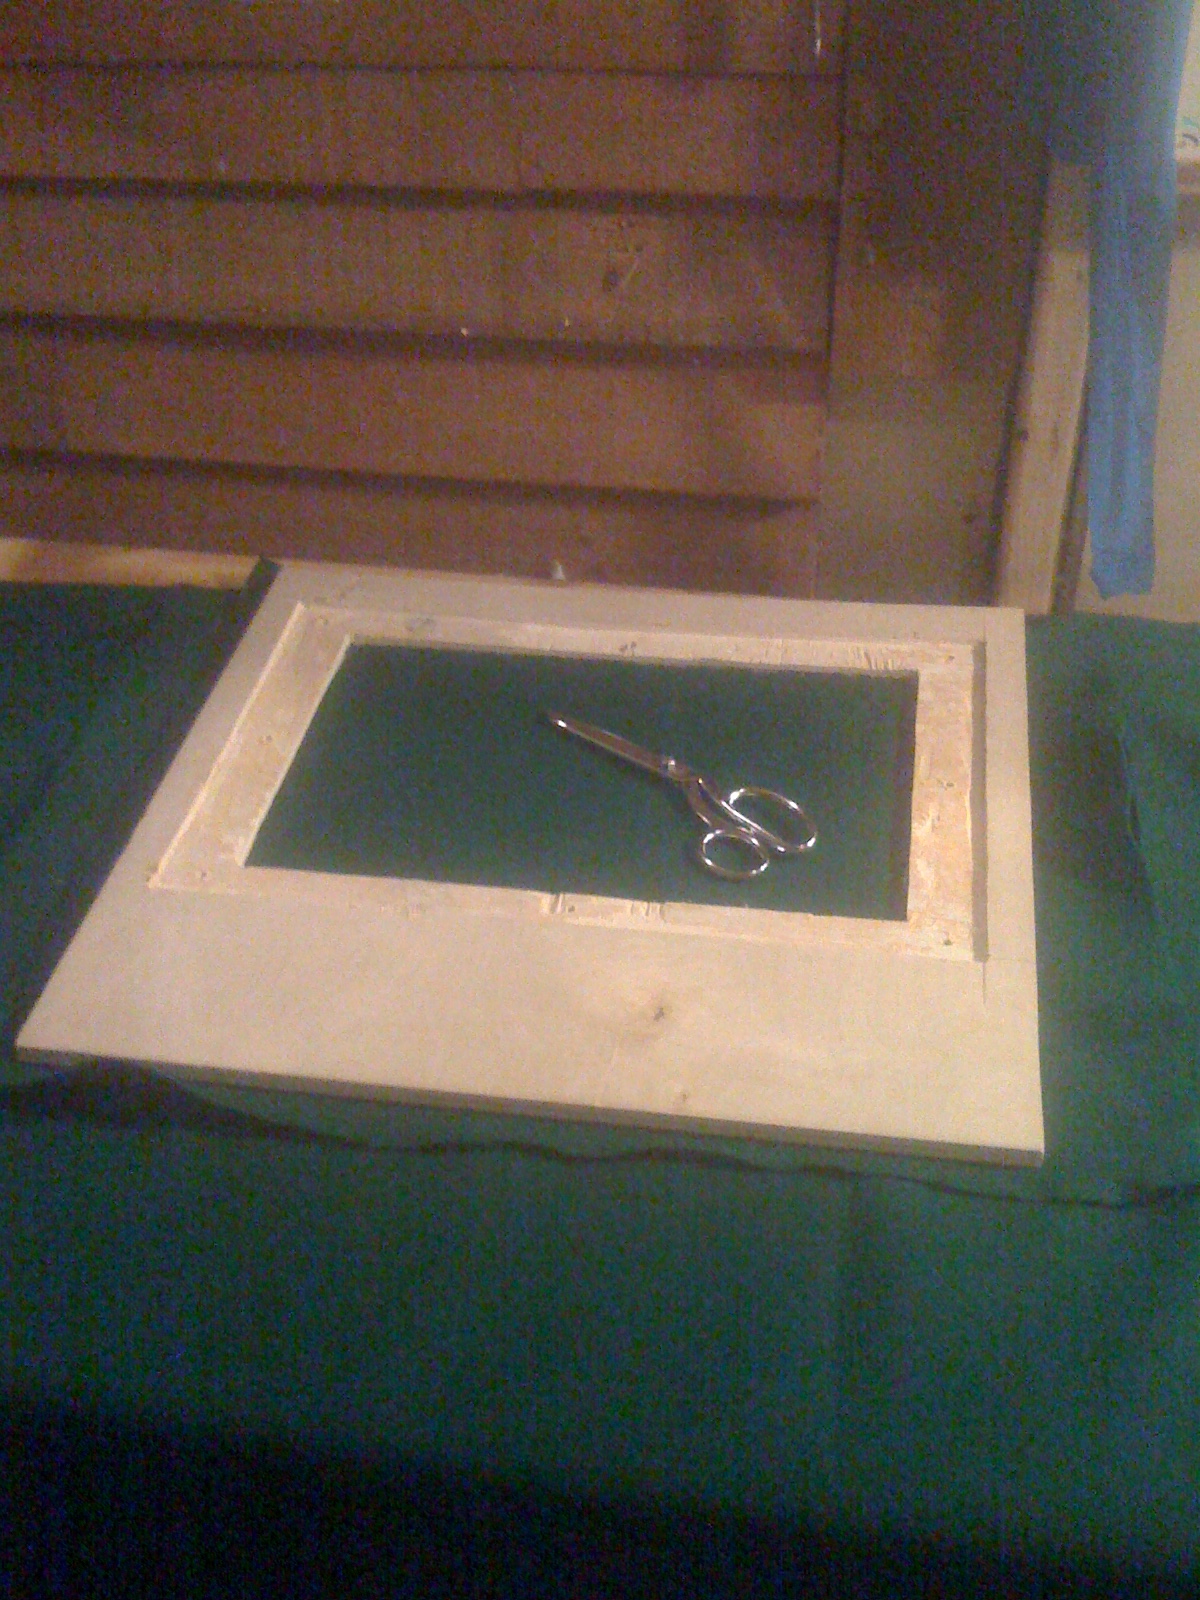
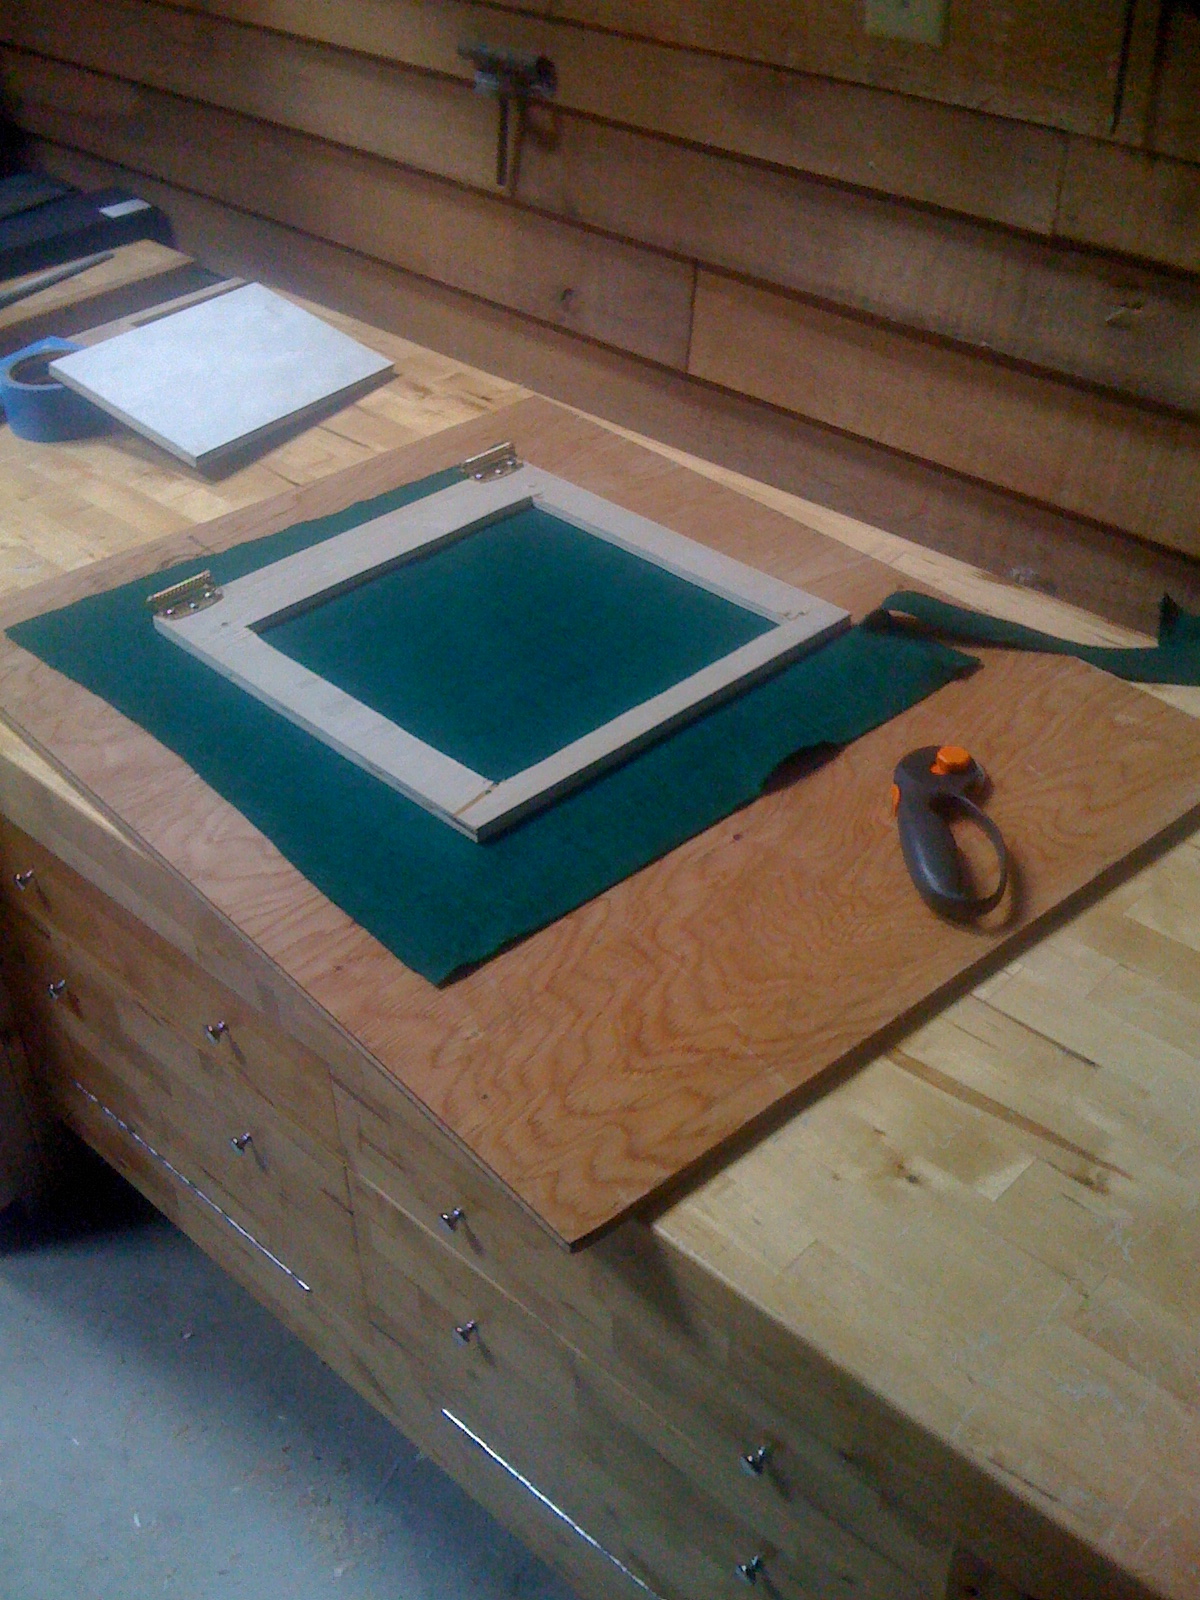
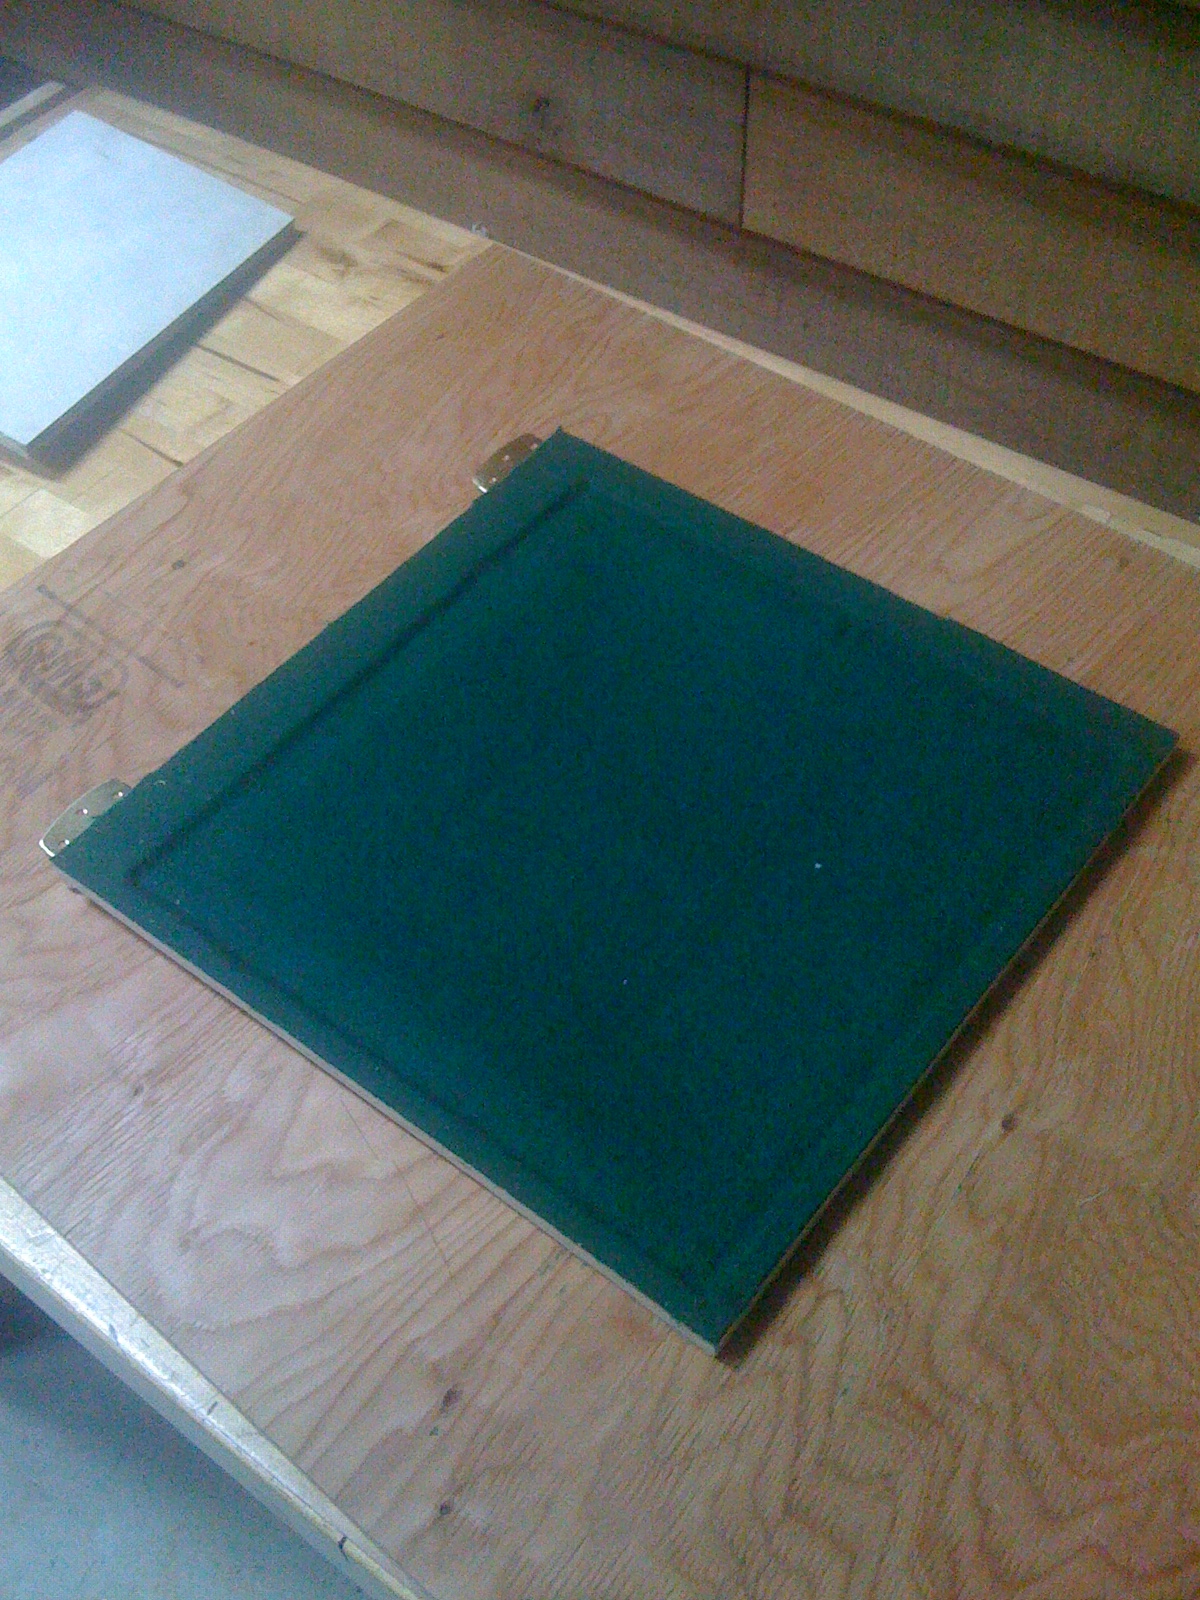
The felt on the doors helps provide a better air seal between the door and the case. It is not air tight – but it is good enough to keep fumes from leaking out of the case when running the printer with the fan off.

The case also keeps the noise down. Not a huge problem – but I noticed it was much quieter when running.

I used spring-loaded hinges to keep the doors pressed closed unless I was explicitly holding them open.

Making the doors


So I cut the doors pretty much as you would expect. Cut the doors to size, mark out a recess for the window, then drilled inside the corners of the window hole, and then cut out the window panel between the drilled holes to create the window cutout.

I wanted the window to be recessed into the door. To do that I used a stair saw to cut back a one-inch border around the window hole. A stars saw is just a rounded hand saw for partially cutting through material without having to start at the edge. I then used my hand router to remove the material to the depth of the thickness of the acrylic sheet plus the thickness of the felt I would be using.

A word about hand routers. Electric routers are nice – but are too loud to use if you are working in an apartment or at night. I suggest a hand router. My router is over a hundred and ten years old and I think I got it for $30 on eBay. If you don’t own one I highly recommend getting one. I use it so much I ended up making a wall mount for it so it would always be at hand when needed. Best part is they are quiet.

Cutting the acrylic


So the fine Japanese crosscut saws turned out the be excellent for cutting acrylic. I supported the sheet by having the cut line only a half-inch from a table lip, and then held the sheet clamped to the table with a second sheet of plywood. This let me cut the sheet with the acrylic supported, minimizing the risk of the sheet cracking.

Felting the doors


So I used some heavy felt I bought at a fabric store. I cut a piece of fabric that left about two inches of extra fabric hanging past the edges of the door.

To mount the felt I masked off the door with painters tape and sprayed it with 3M adhesive. Then I laid the felt over the door and smoothed it into place. The extra felt around the edges is handy for stretching it while smoothing the felt after gluing.

After I glued the felt in place I flip the door over and trim the excess off the door. I use a rolling fabric cutter to let you cut a clean straight line guided by the wood. A few spots required the use of an exacto knife to get all the felt off.

When I cut the recess into the door for the acrylic sheet I left about and eighth of an inch of extra padding on the dimensions to account for adding the felt. At this point I flipped over the doors and cut out the felt from the center of the window.

Before felting I had previously installed the acrylic sheet and drilled the bolt holes though both the sheet and the wood. With the felt on I had cut through the felt. Don’t use a DRILL! That will snag the felt and stretch it around the drill. Just use something sharp and pointy to push the felt out of the way.

Hanging the doors


I put the hinges on the door first, then clamp the door in place and level it. This lets you screw the hinges into the case with the door leveled.

Adding the doors


The large side door lets me pull the printer out of the case to work on when needed. All the electrical connections connecting the printer are set up on connectors for when I need to pull out the printer. The smaller front door lets me access the print bed when needed. In retrospect if I did this over again I would just go with a single larger door in the front of the printer.