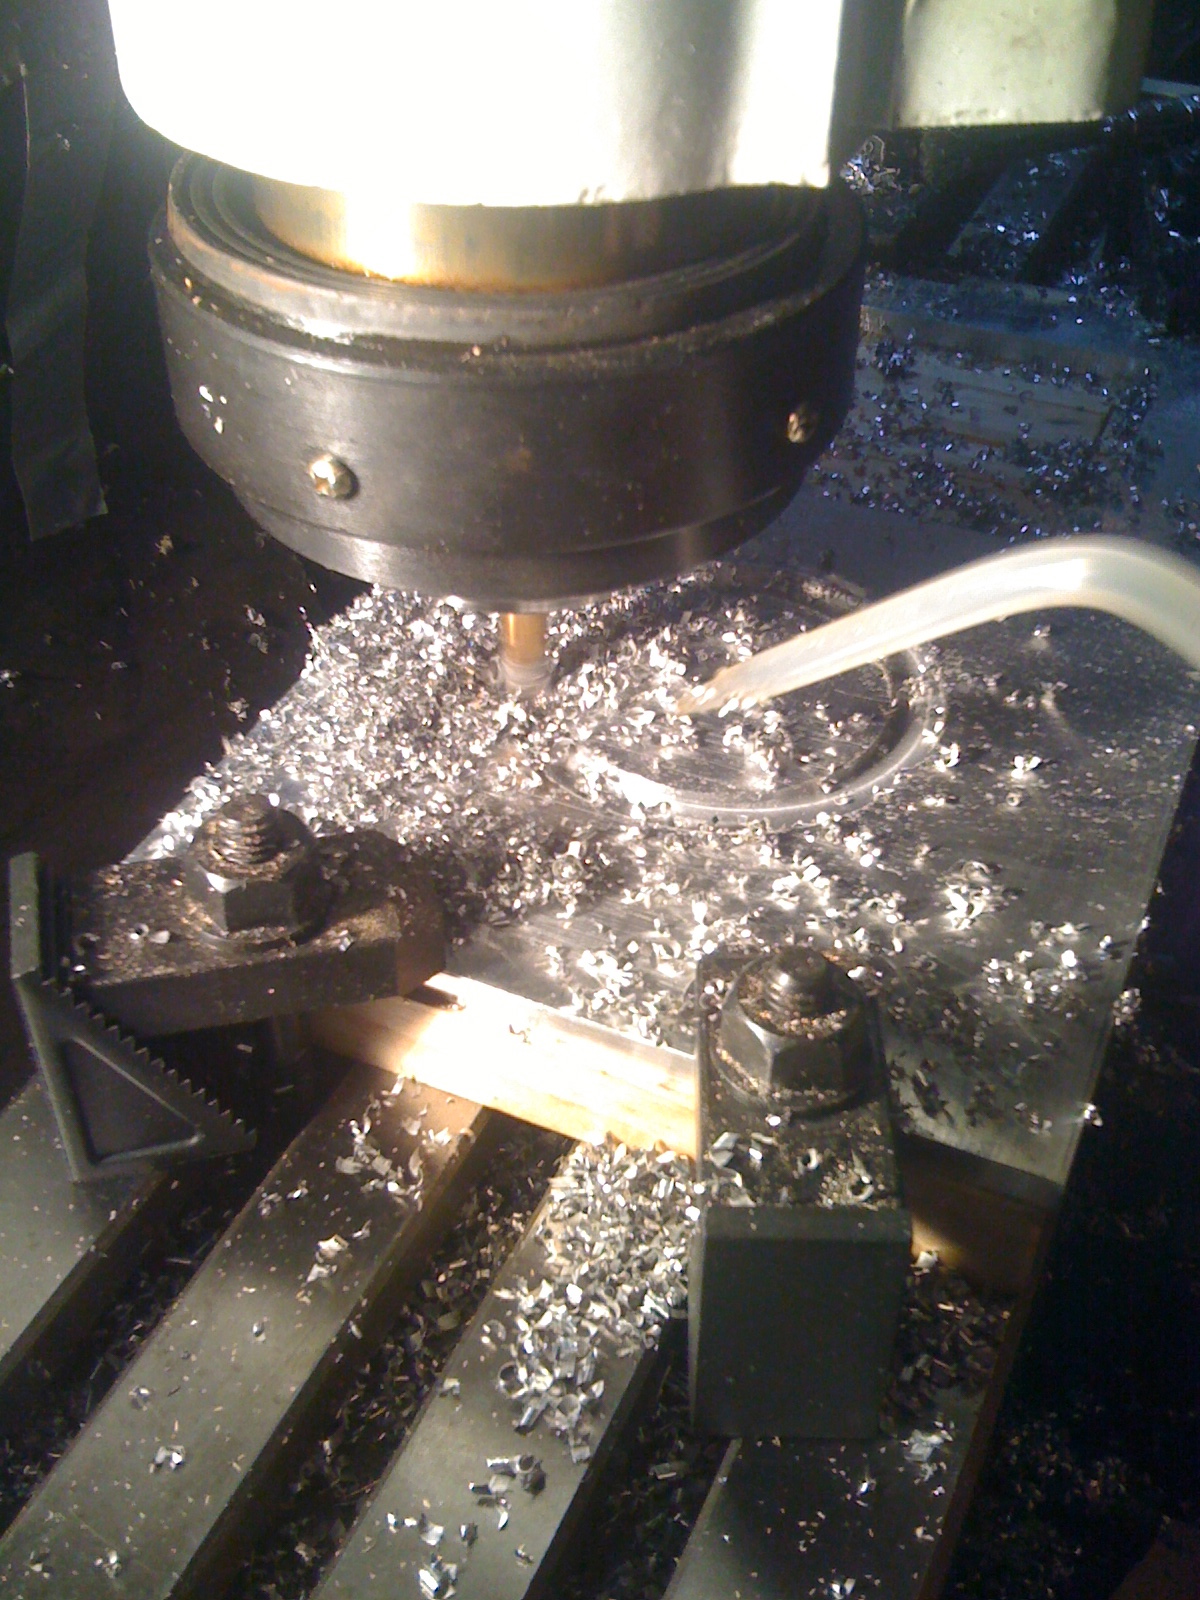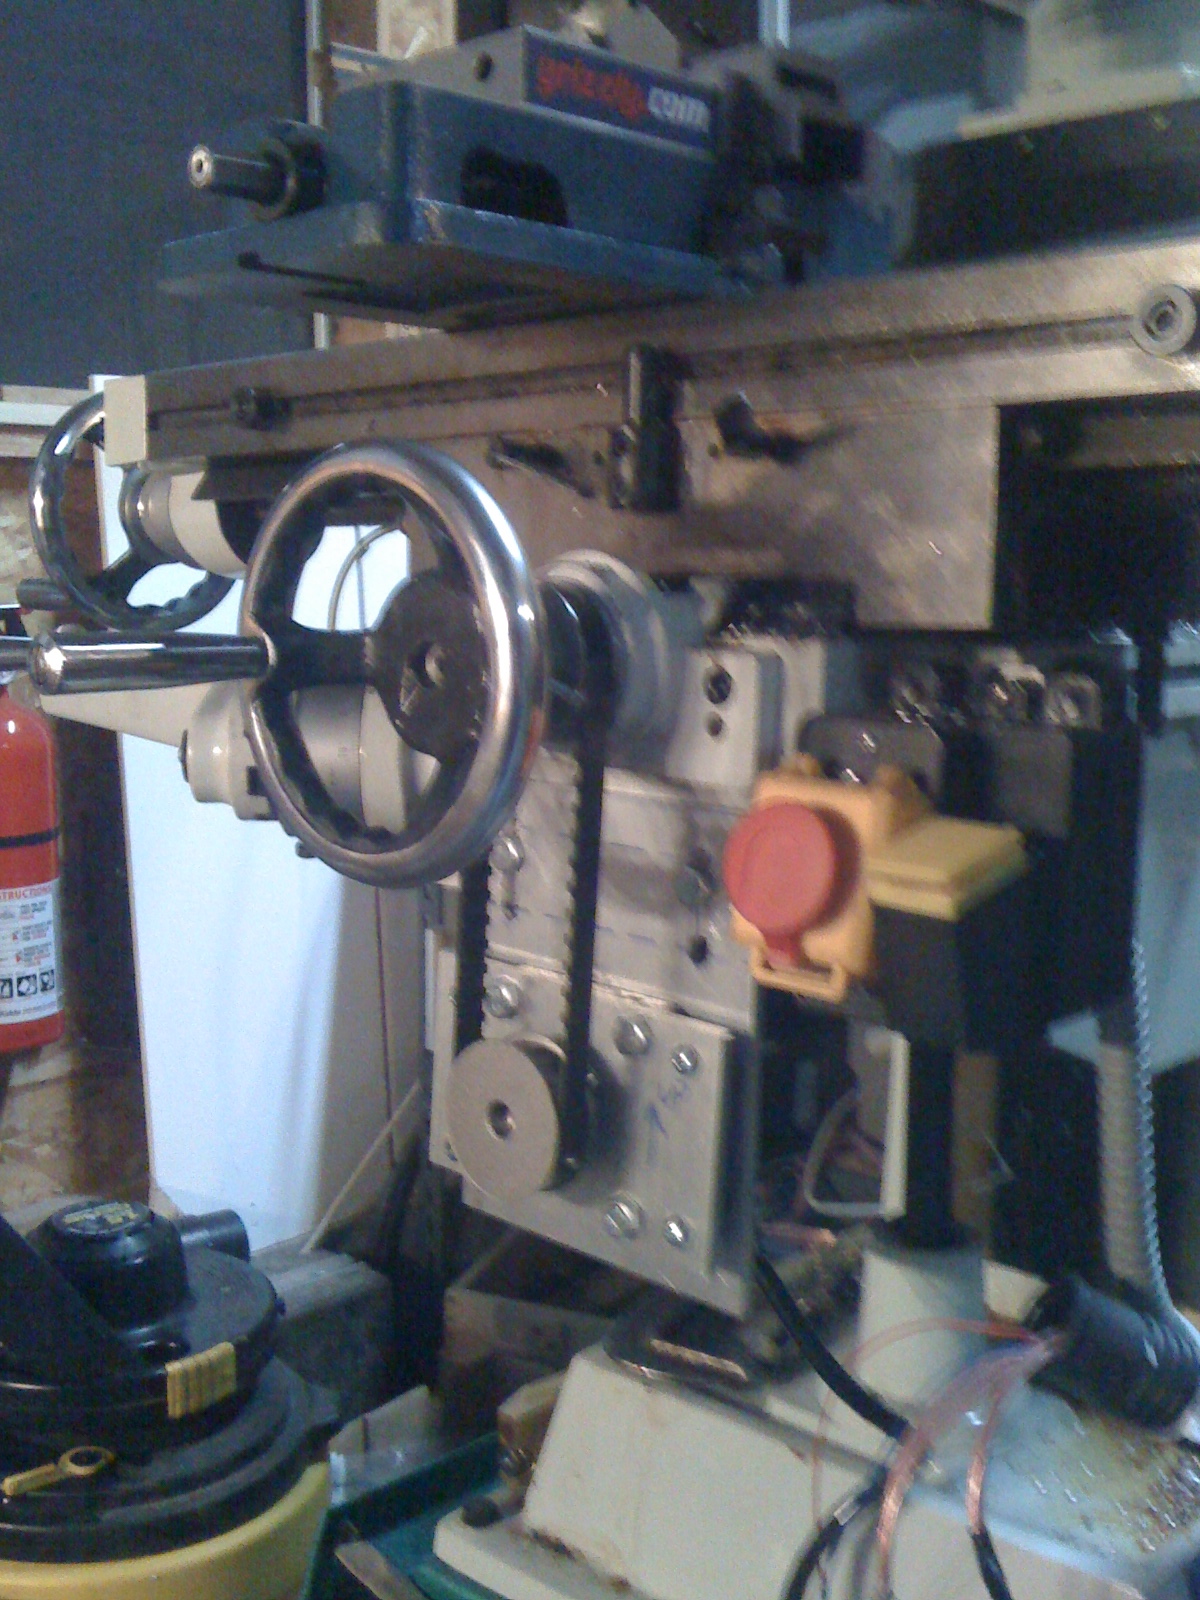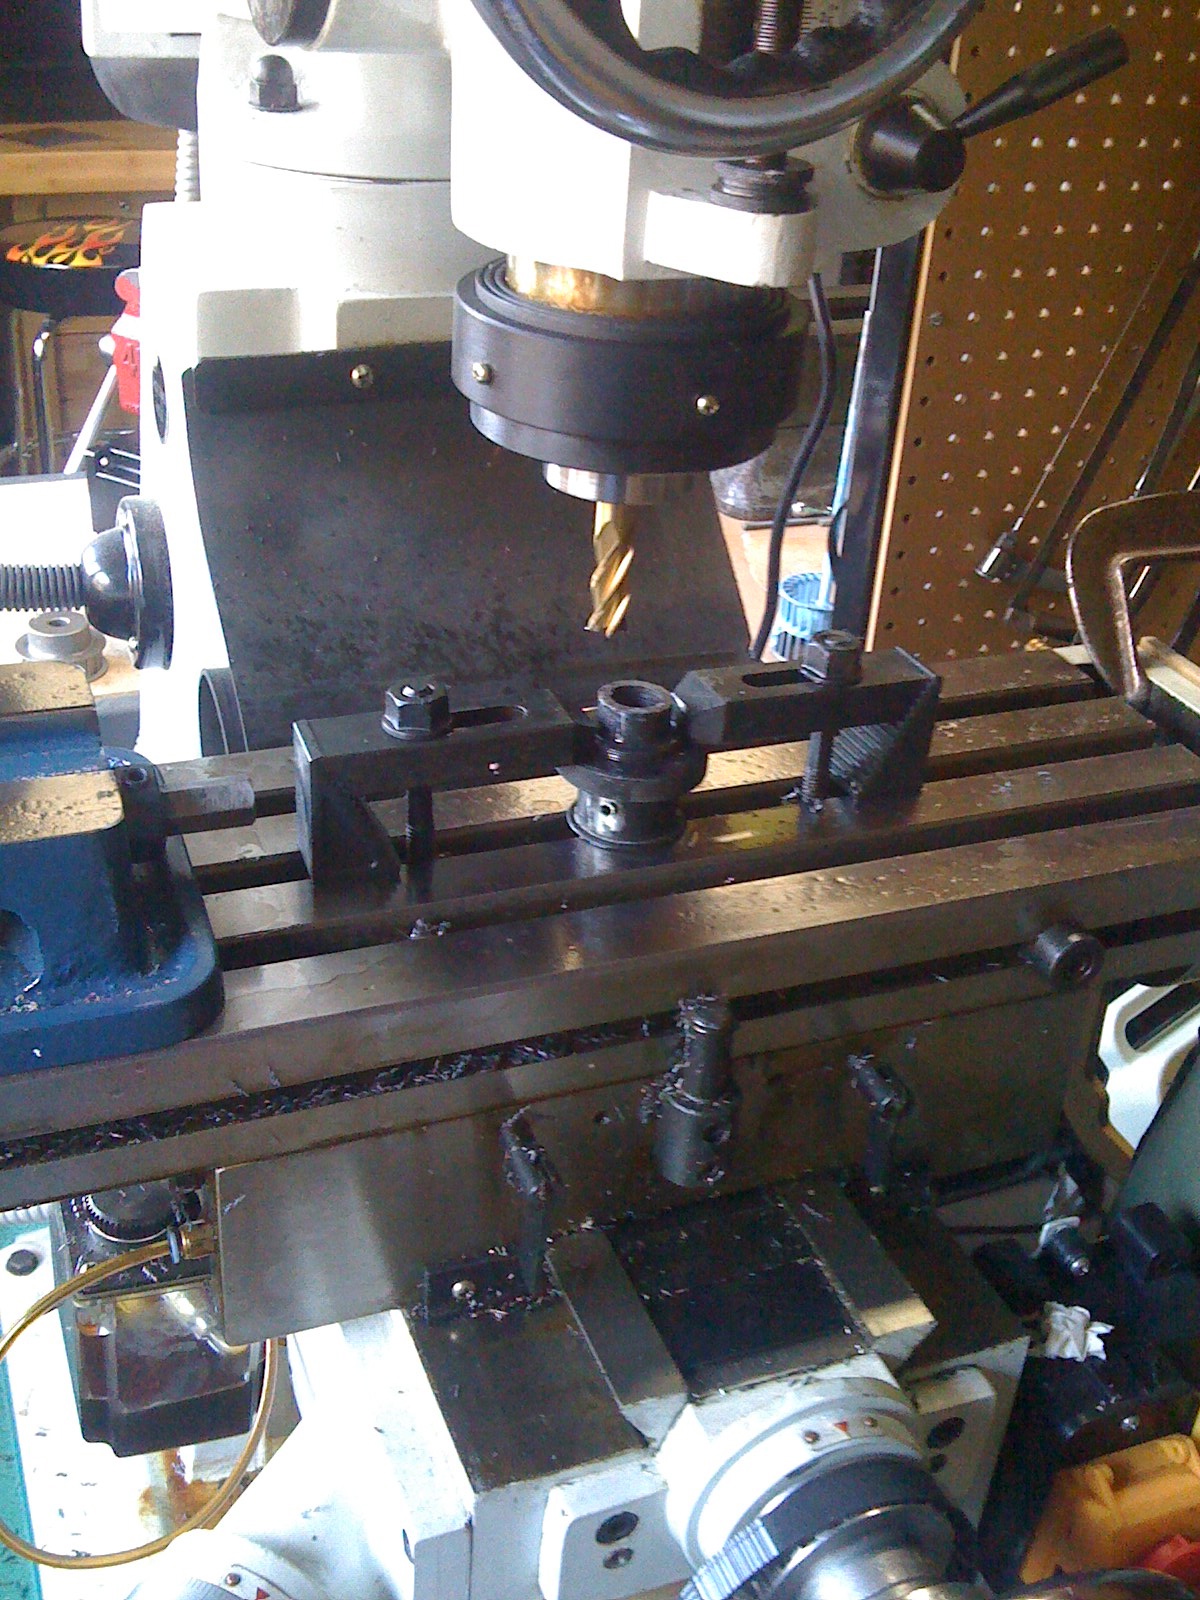
Since the Y axis had two handles, I was able to remove the collar from the right hand side and then machine the collar on the mill. Shortening collar let me mount both a pulley and the original handle on the right hand side of the lead screw.
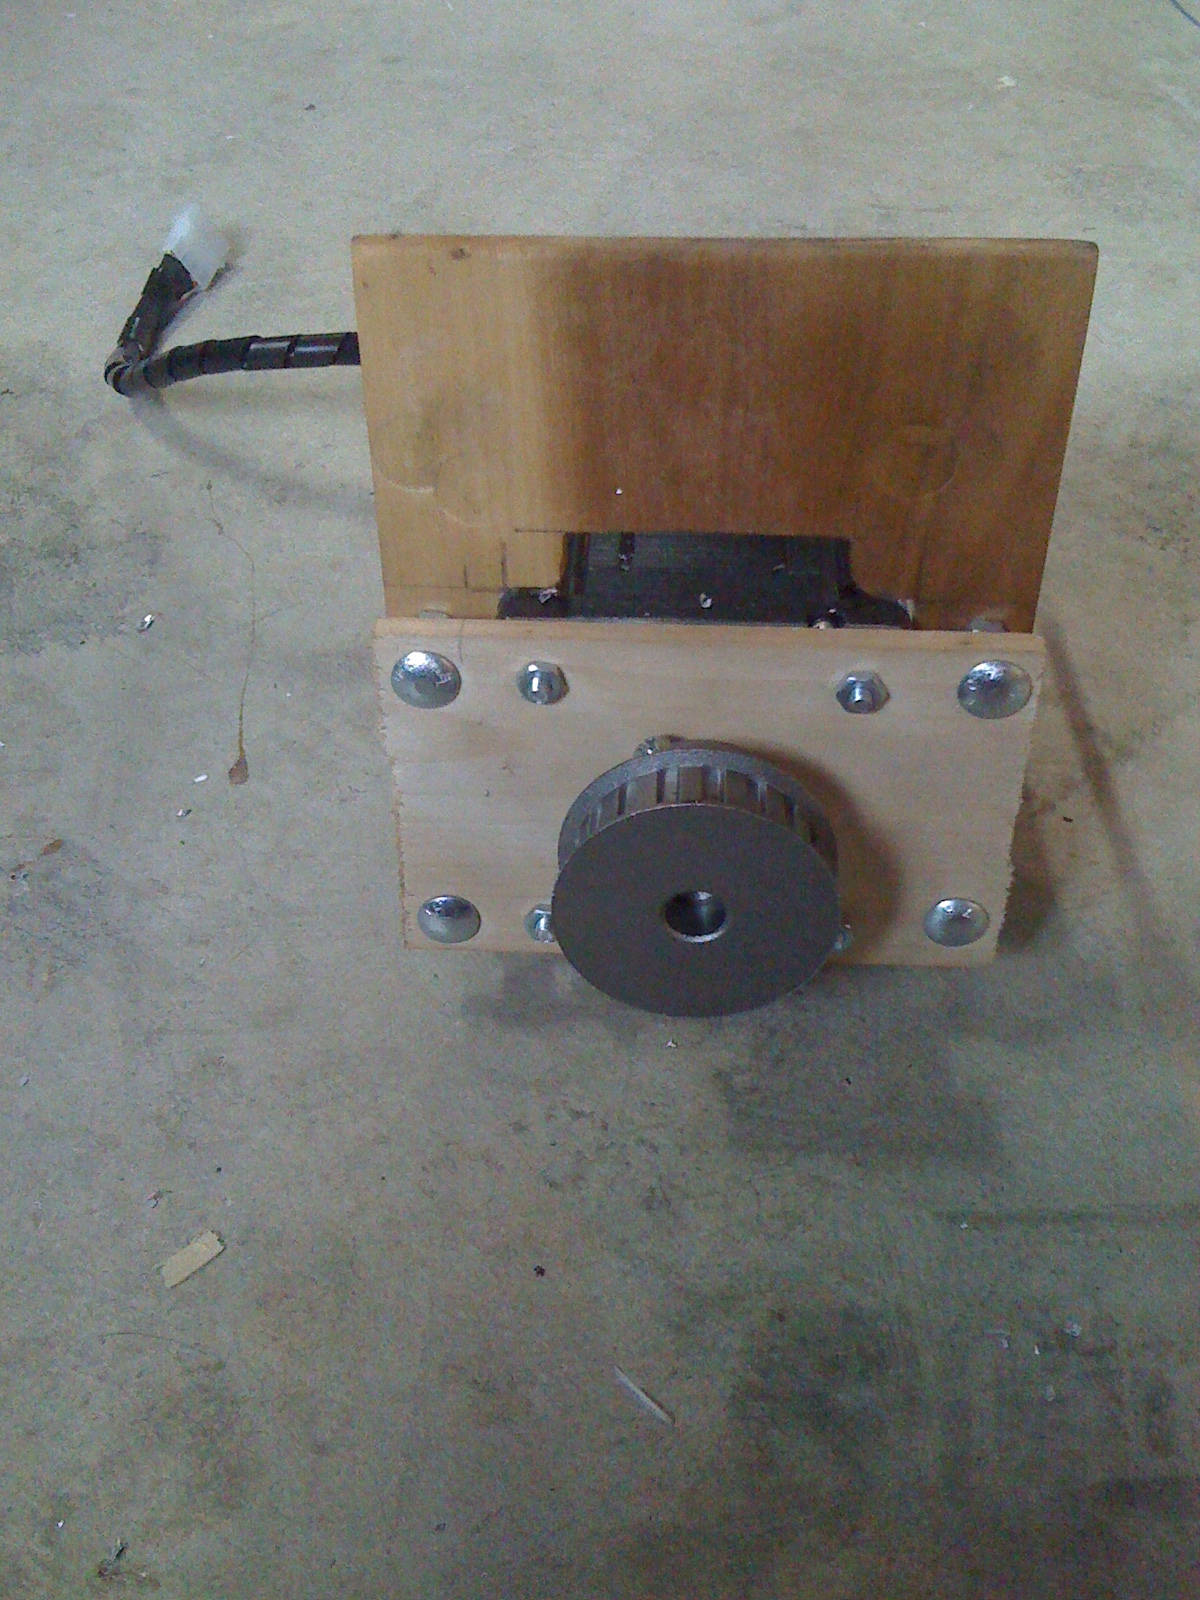
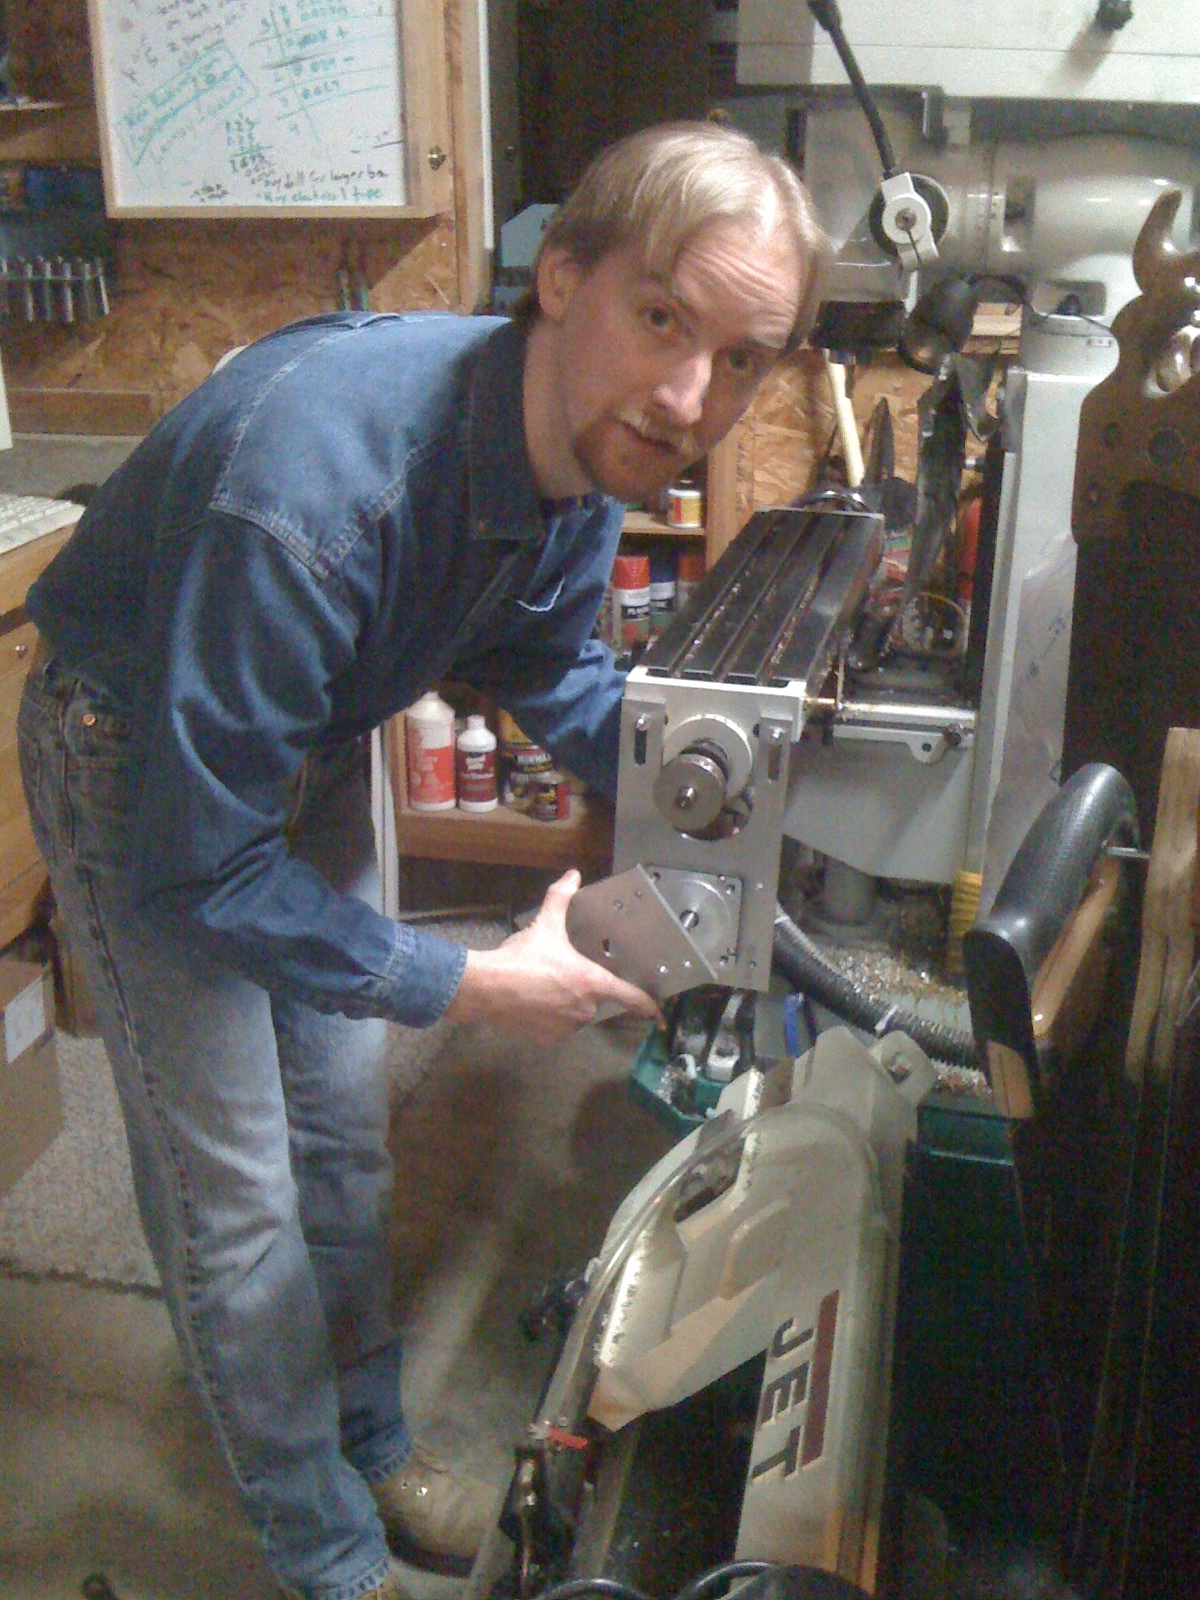
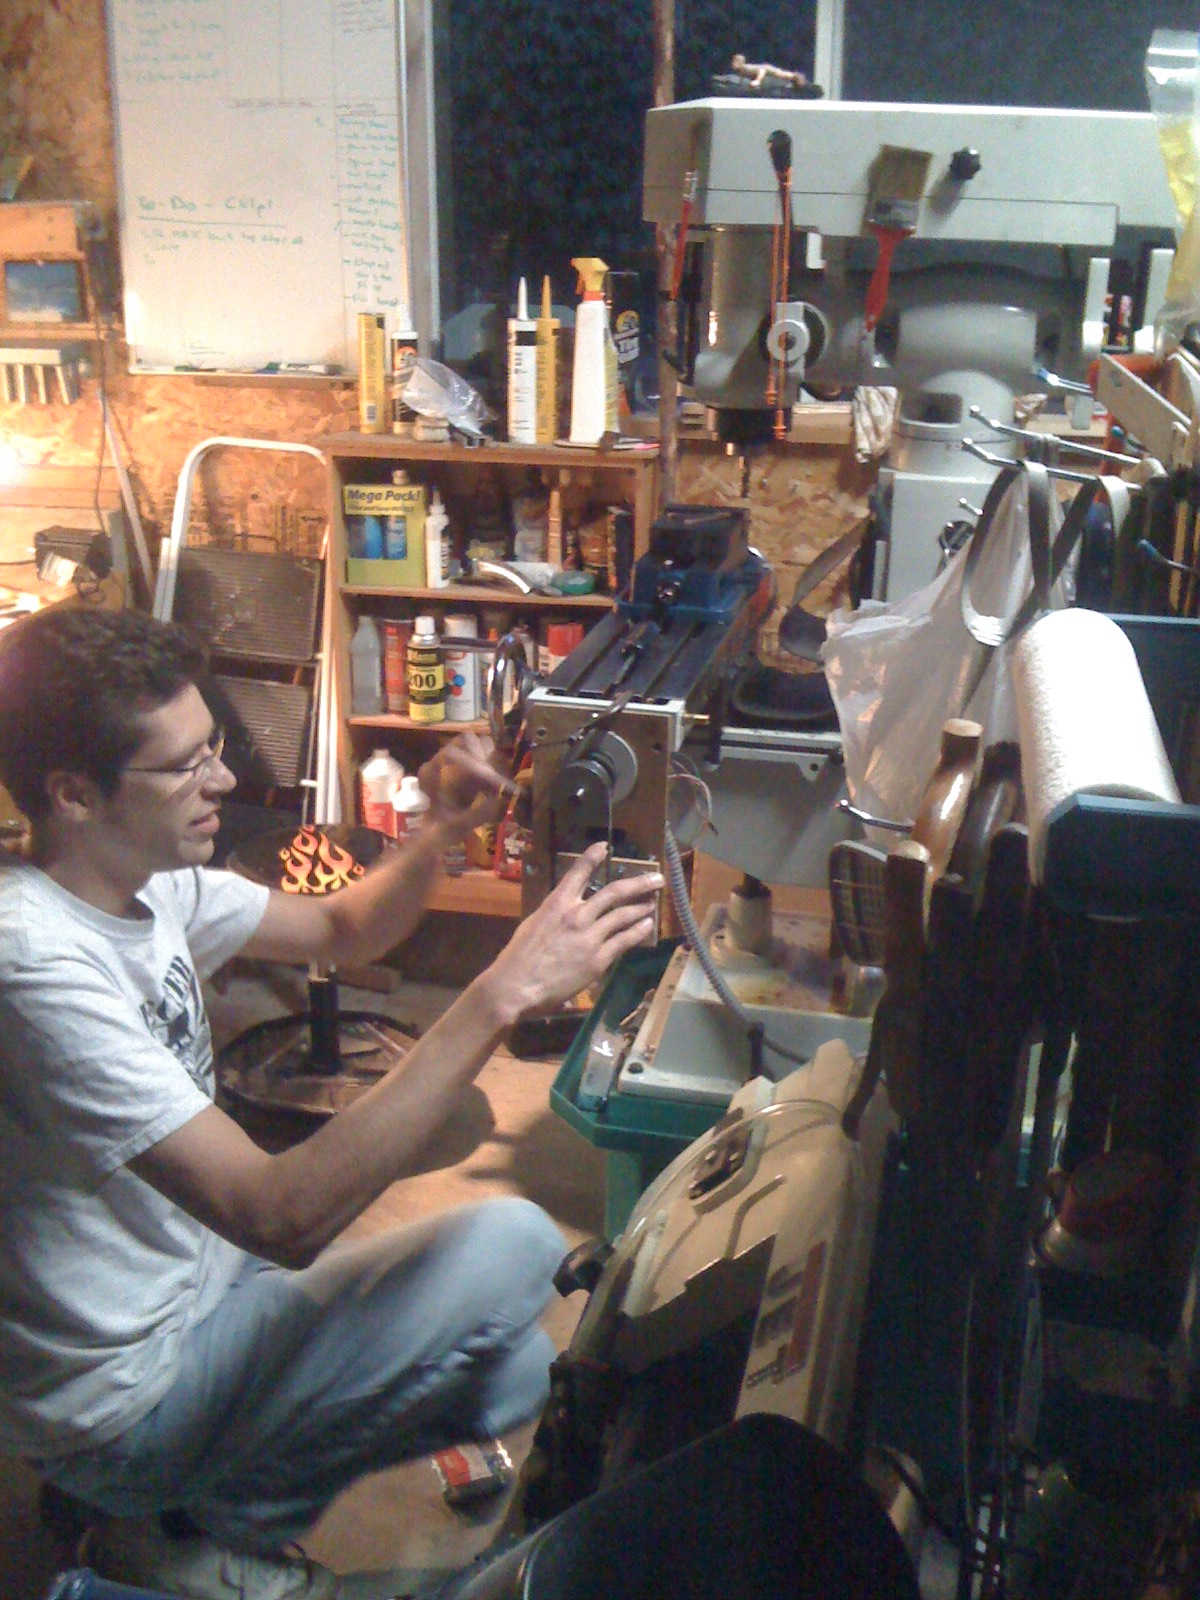
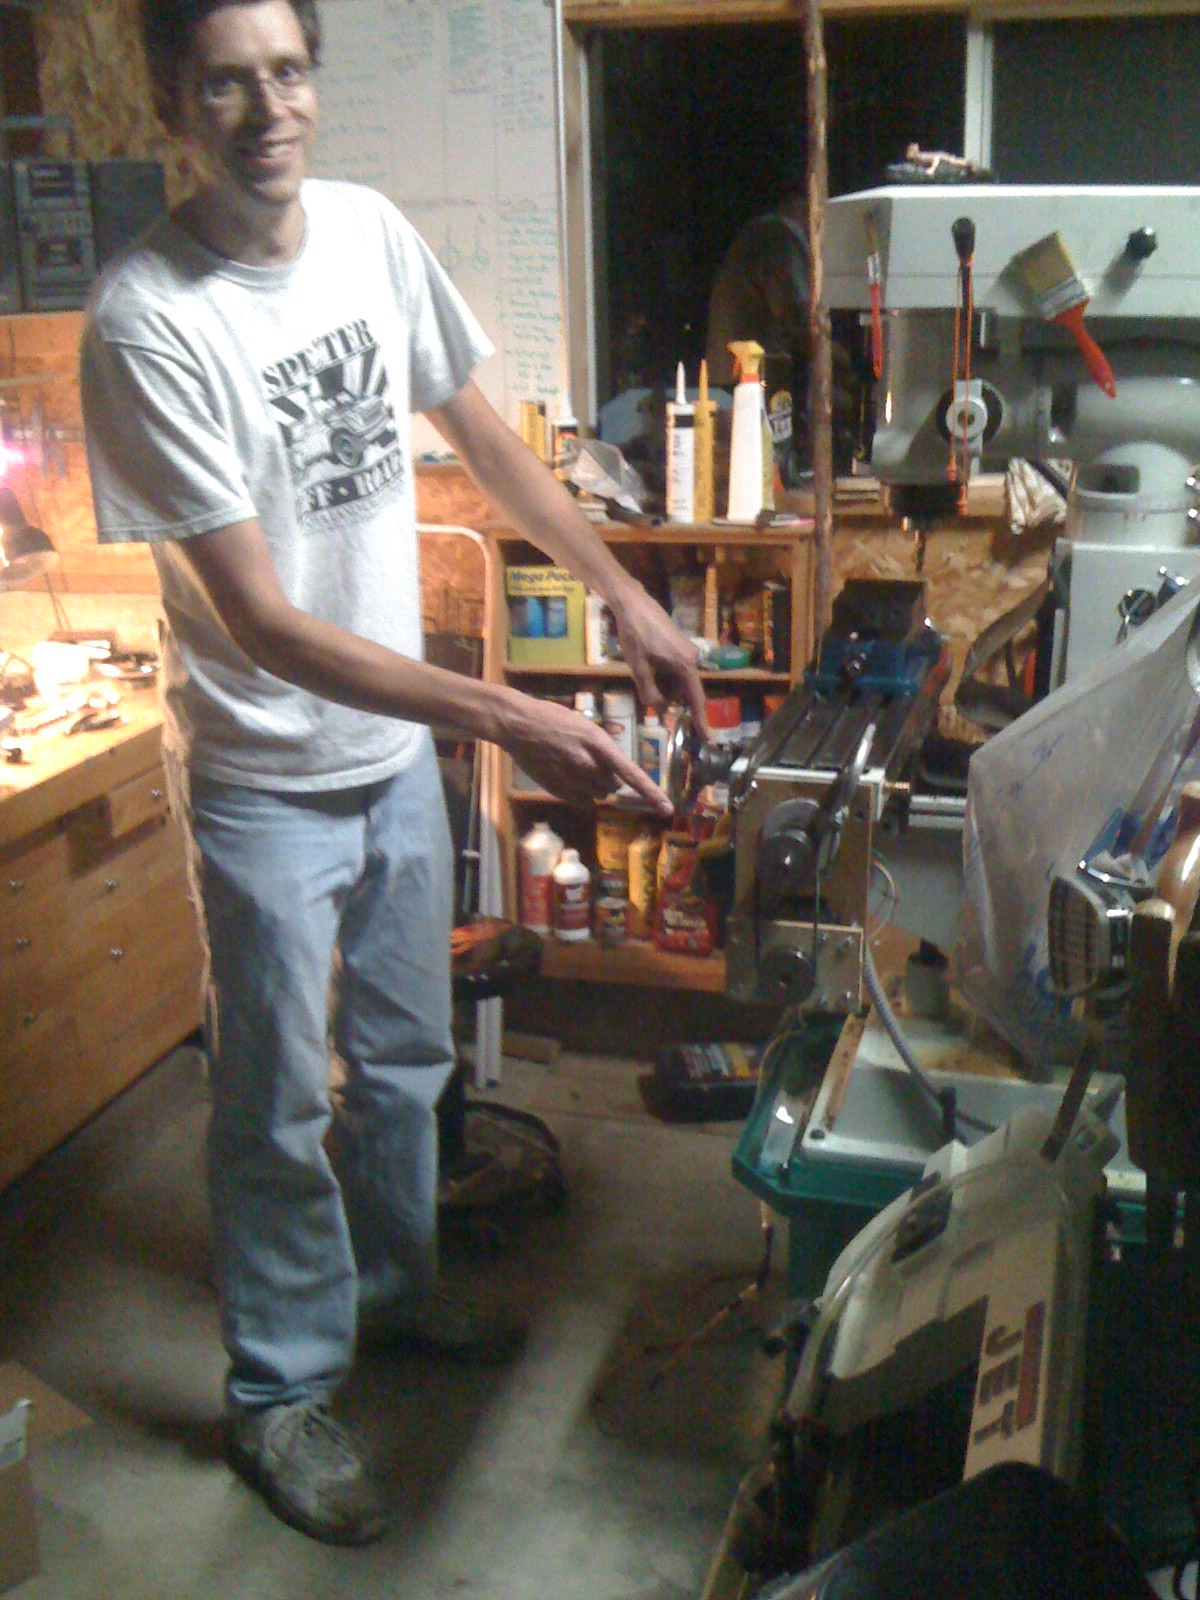
I made the wood parts out quarter inch poplar, as I planned on making the final versions out of quarter inch 6061 aluminum. In retrospect I would use thicker aluminum plate.
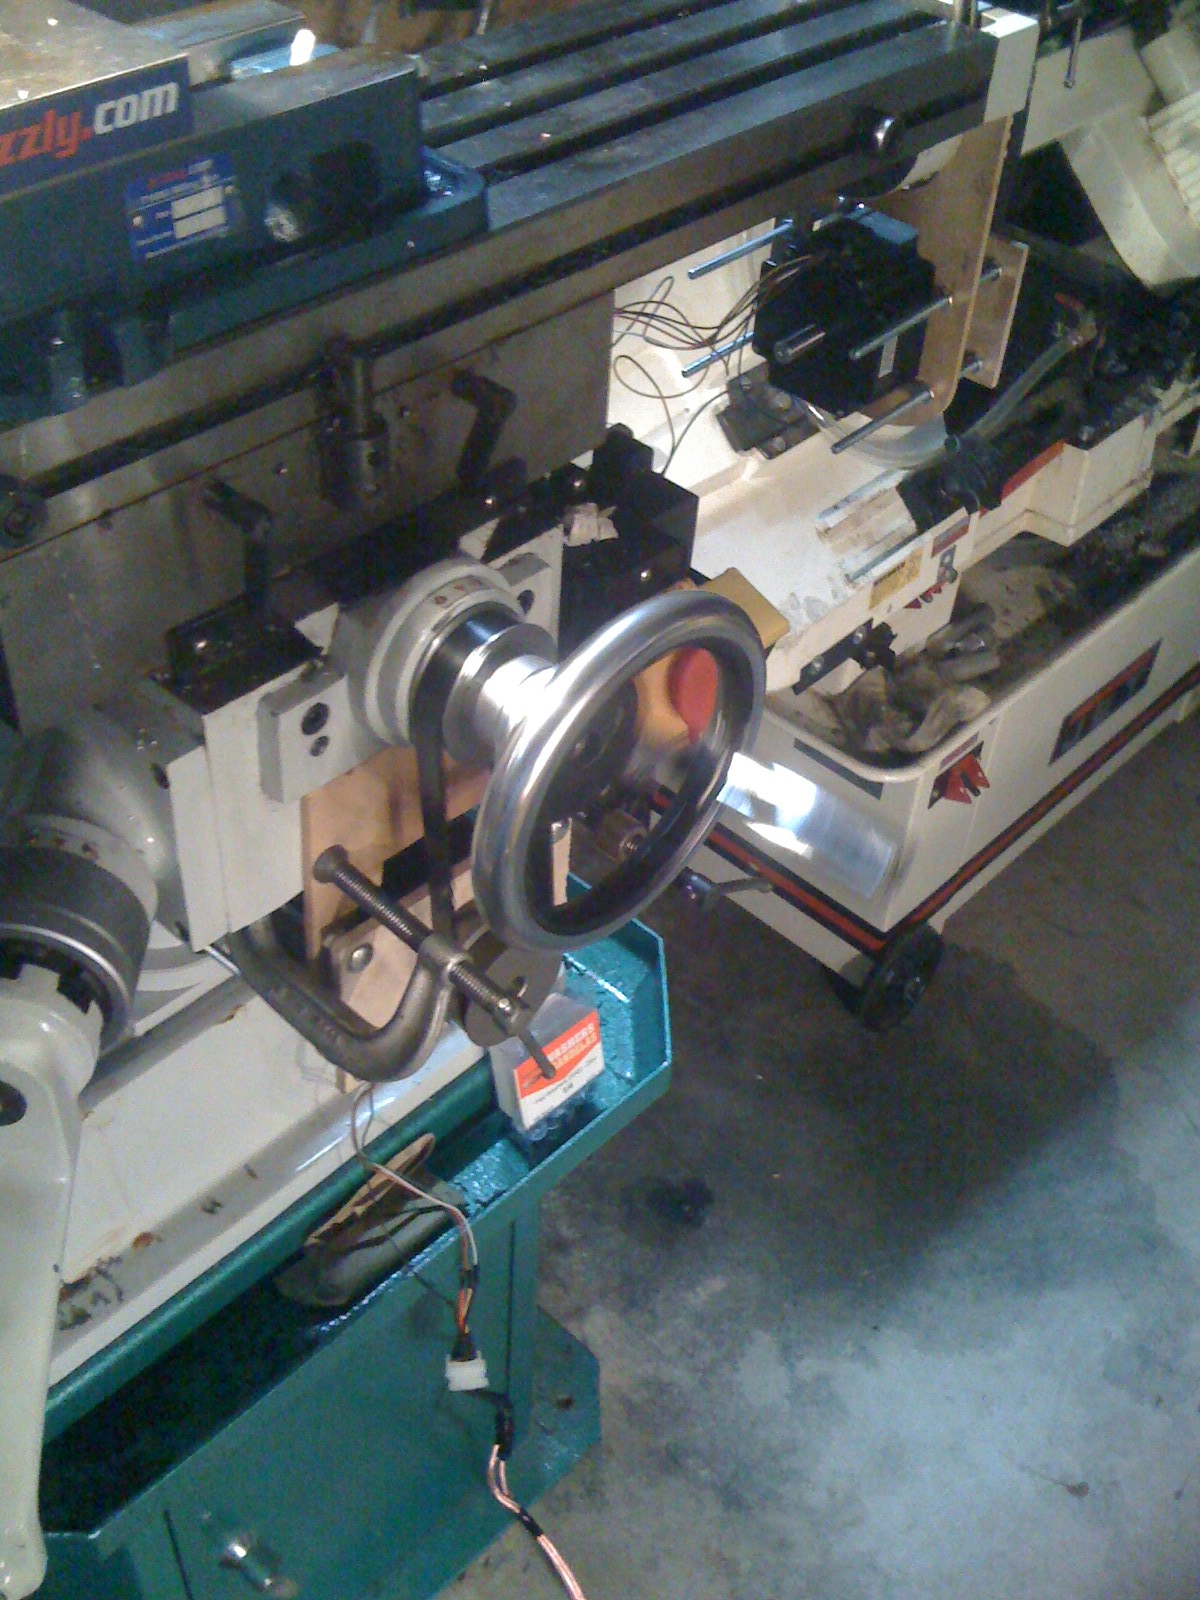
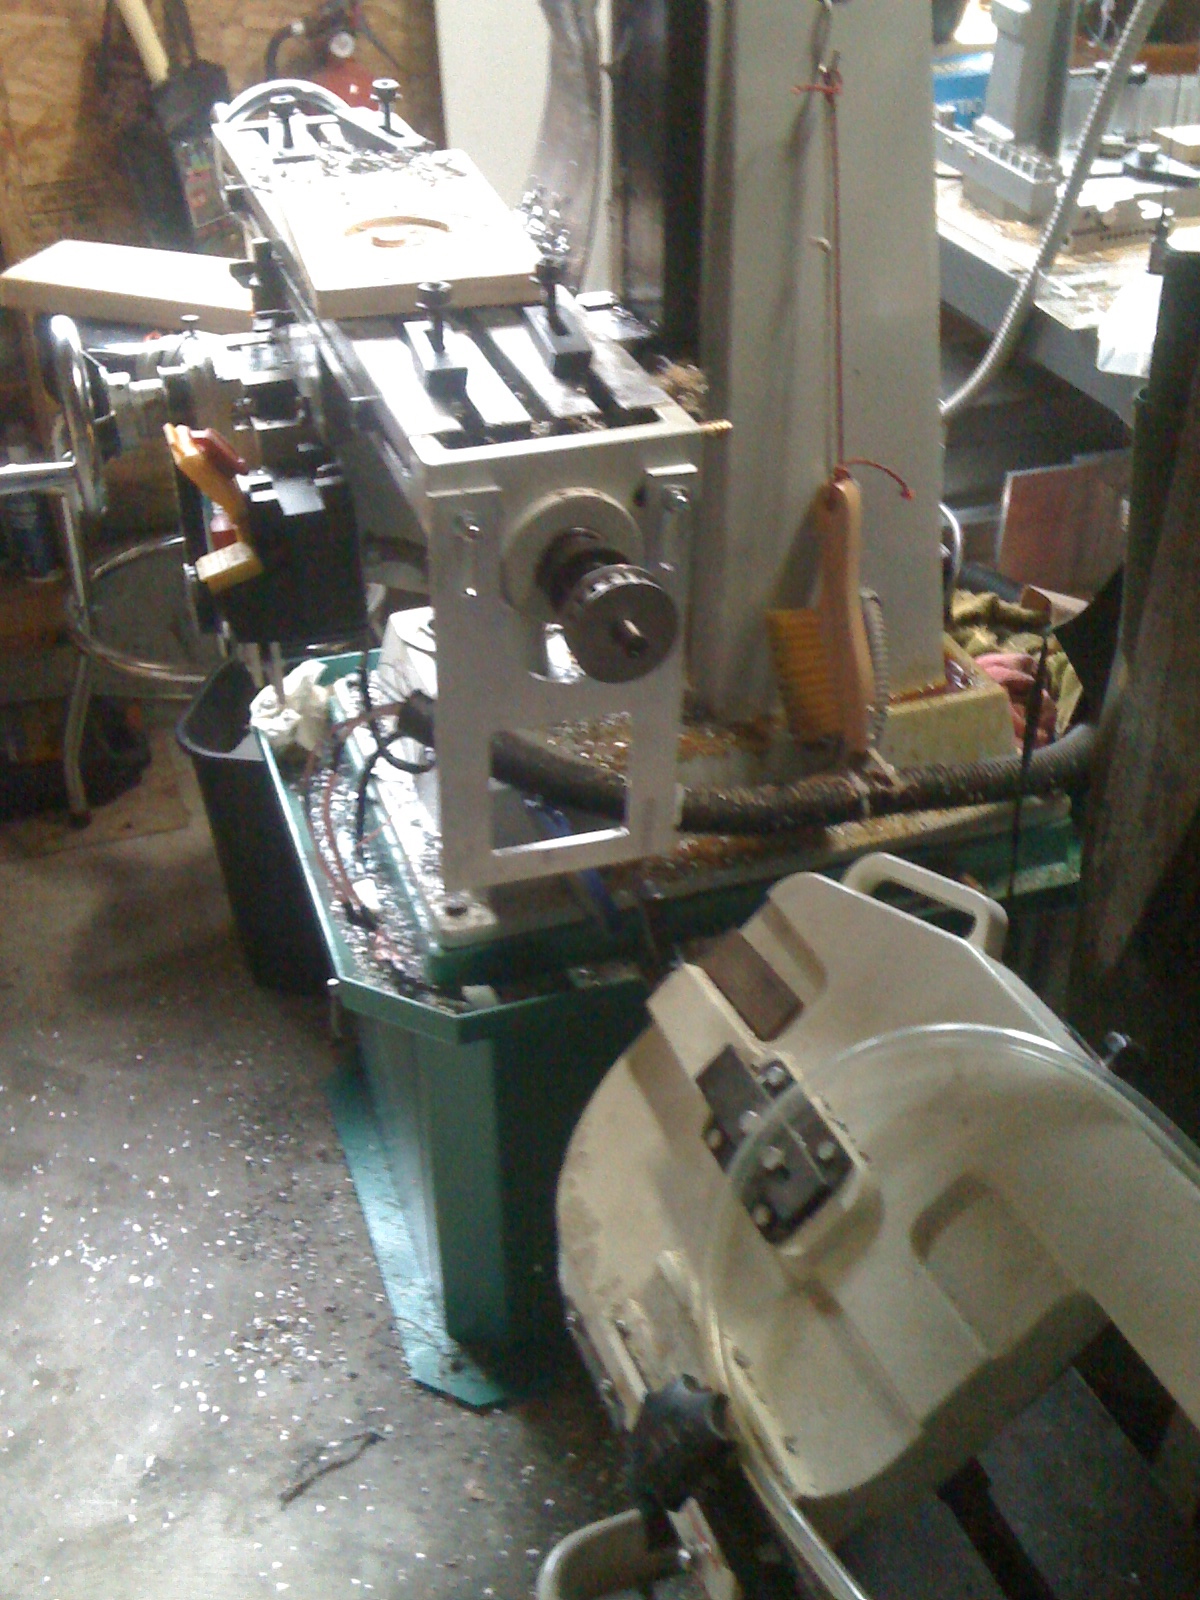
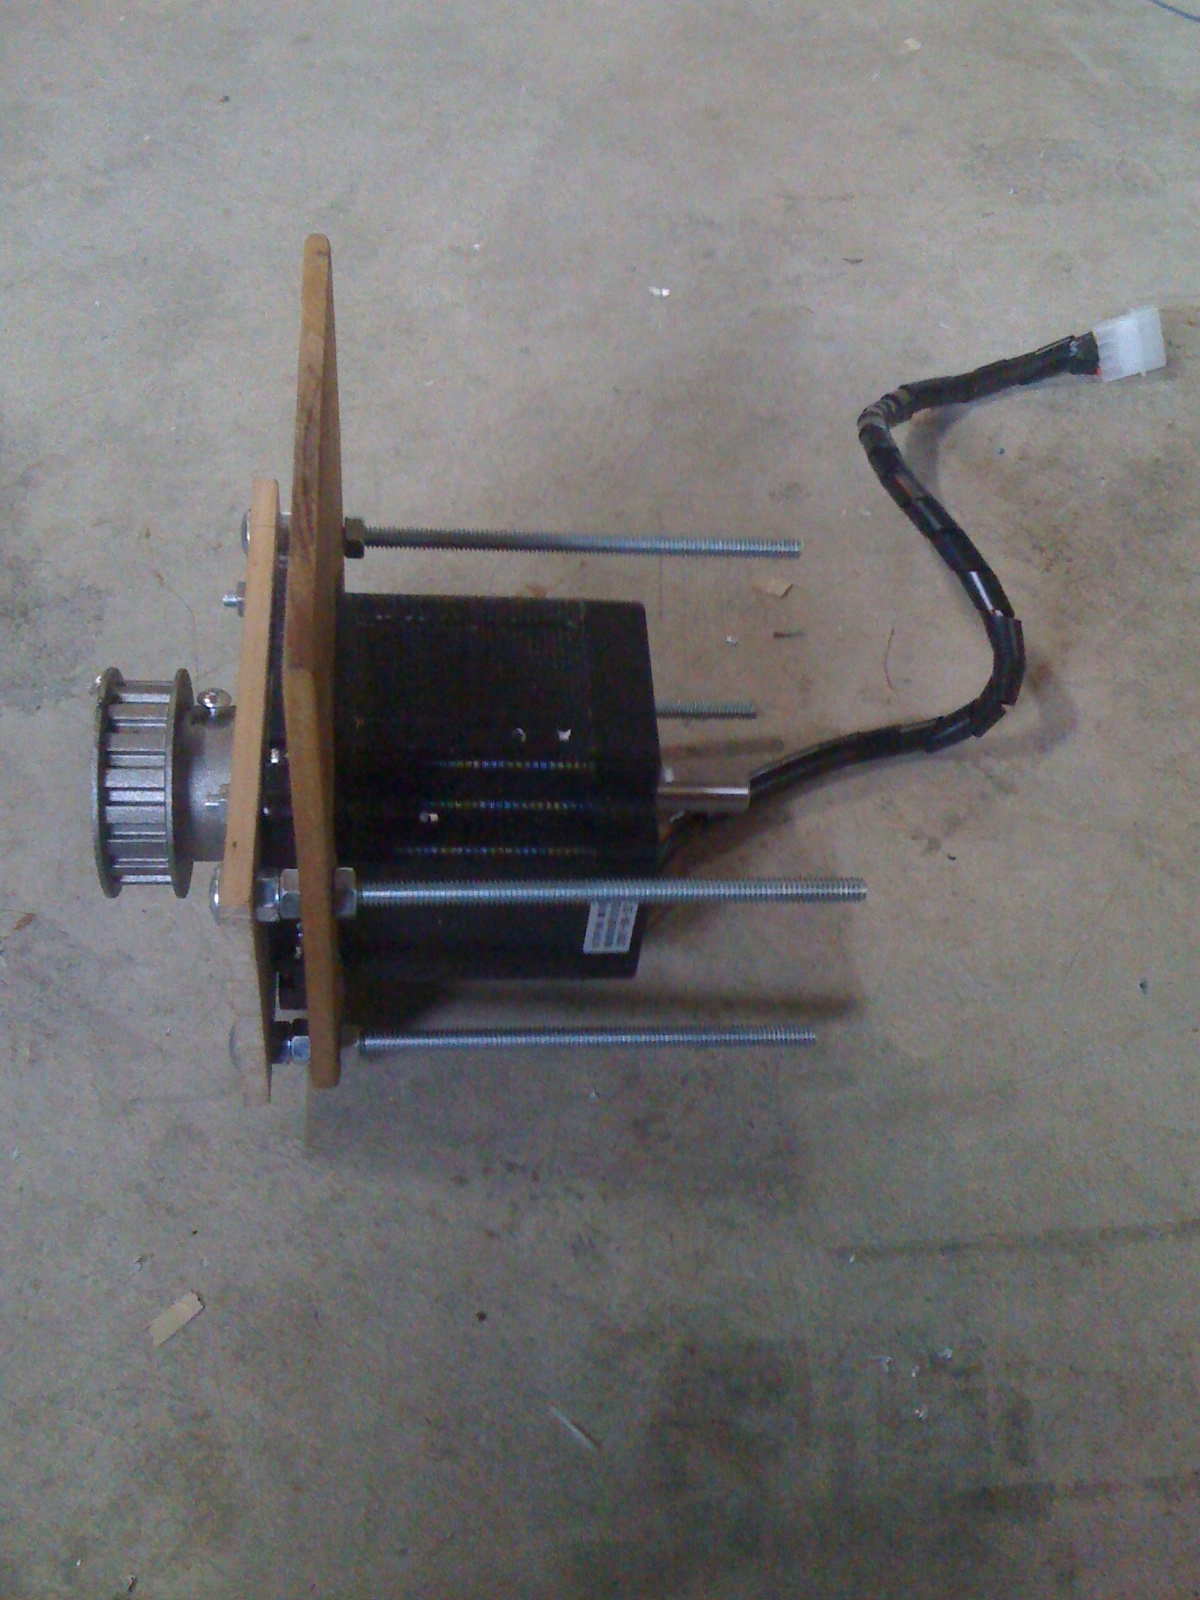
The motor mount was made from two plates, one bolted to the face of the motor and that plate in turn bolted to the support plate. This design let me adjust the distance of the face of the motor from the supporting plate. This in turn lets me control the position of the bottom pulley relative to the top pulley on the axis. This adjustment ensures that the pulley hang in line with each other.
In these pictures you can see the temporarily mounted wooden supports. Since they would only be use briefly I just clamped the forms in place. Later I drilled and tapped mounting holes for the aluminum plates.
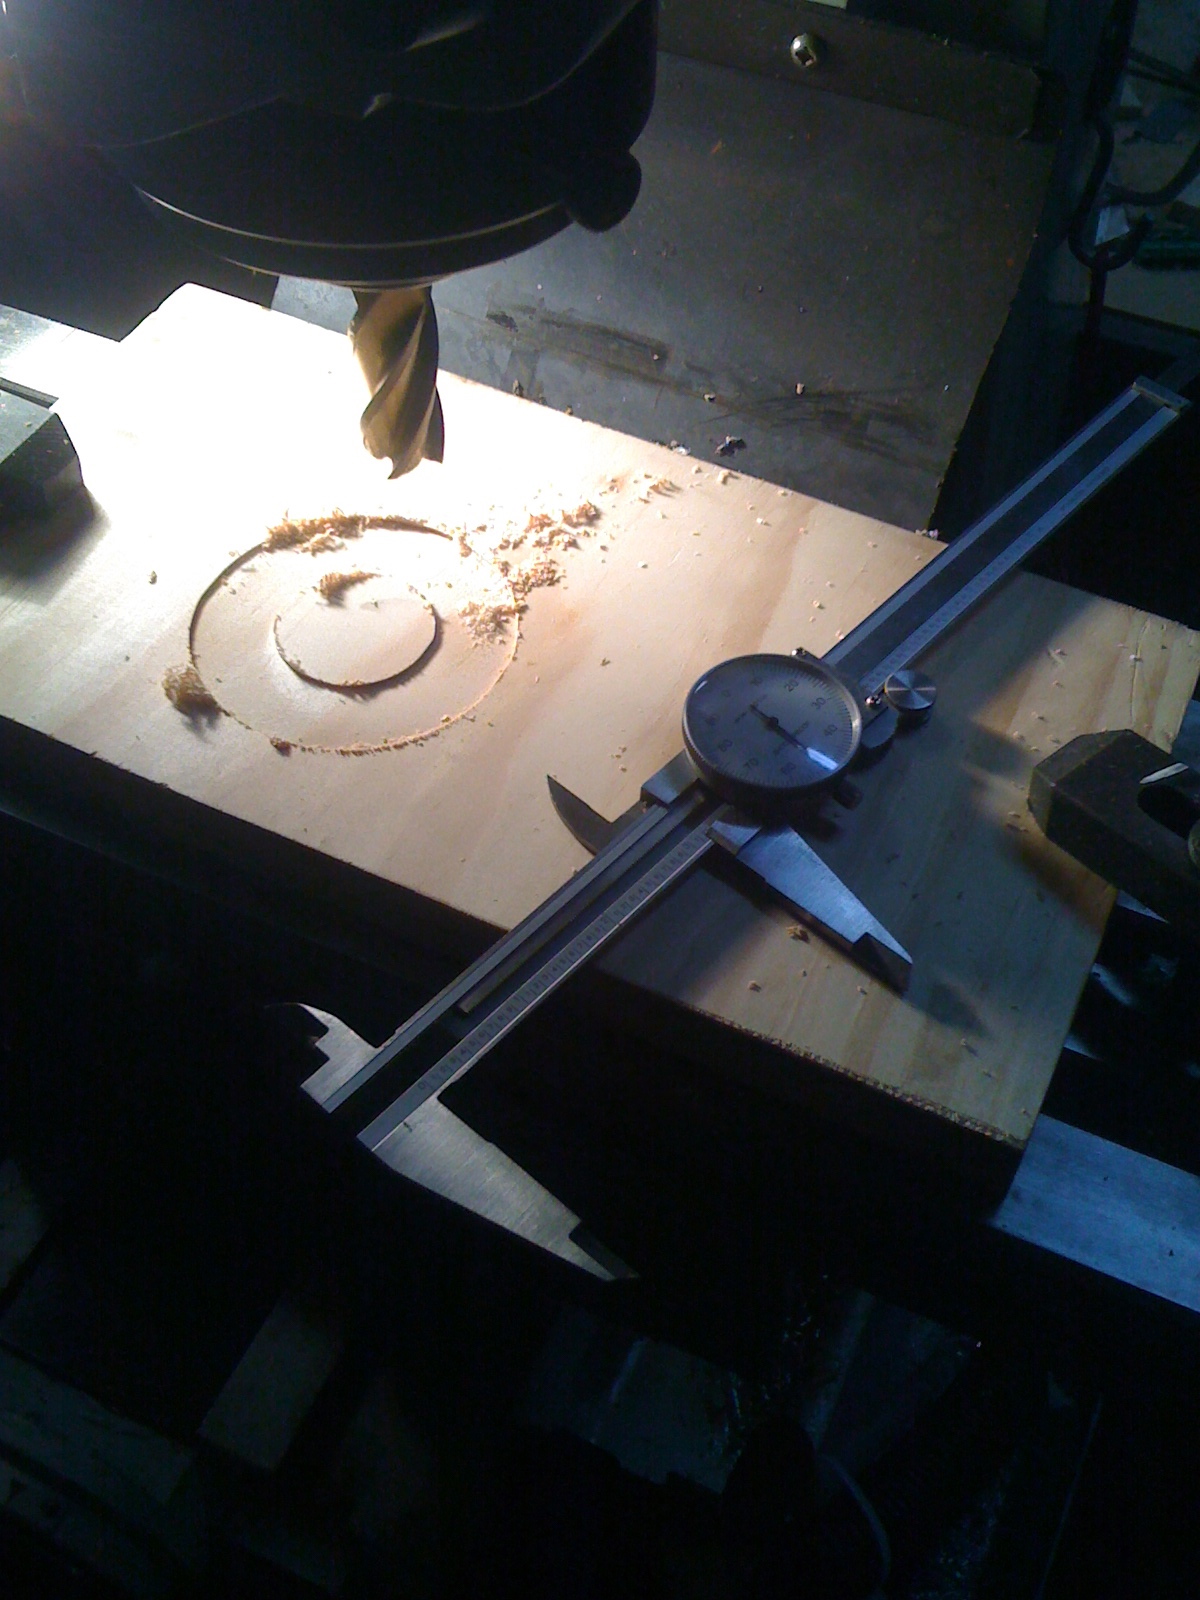
Once the motors were mounted on the X and Y axis I dialed in the mills accuracy with software backlash calibration. I tested this by milling test patterns, mostly circles in wood. Essentially once you get the circles to stop being ellipses to within you desired accuracy you are good to go. Fairly sloppy when compared to a mill properly set up with ball screws, but good enough for my purposes.