When my dad retired he gave me a few tool boxes that had belonged to my grandfather. I ended up turning one of the new boxes into my “tap and die” box. For years you only ventured to open it at the peril of loosing ten minutes looking for the tap or die you were really after. A task that was typically 1-2 minutes of looking and another 8-9 minutes trying to jam everything back in the box.
I finally had enough after a spectacularly time consuming hunt for a tap lead me to buy one I already had but could not find. I mean it is a 2.5 square foot space! So I went and divided the tool box into tills. Here are the results.
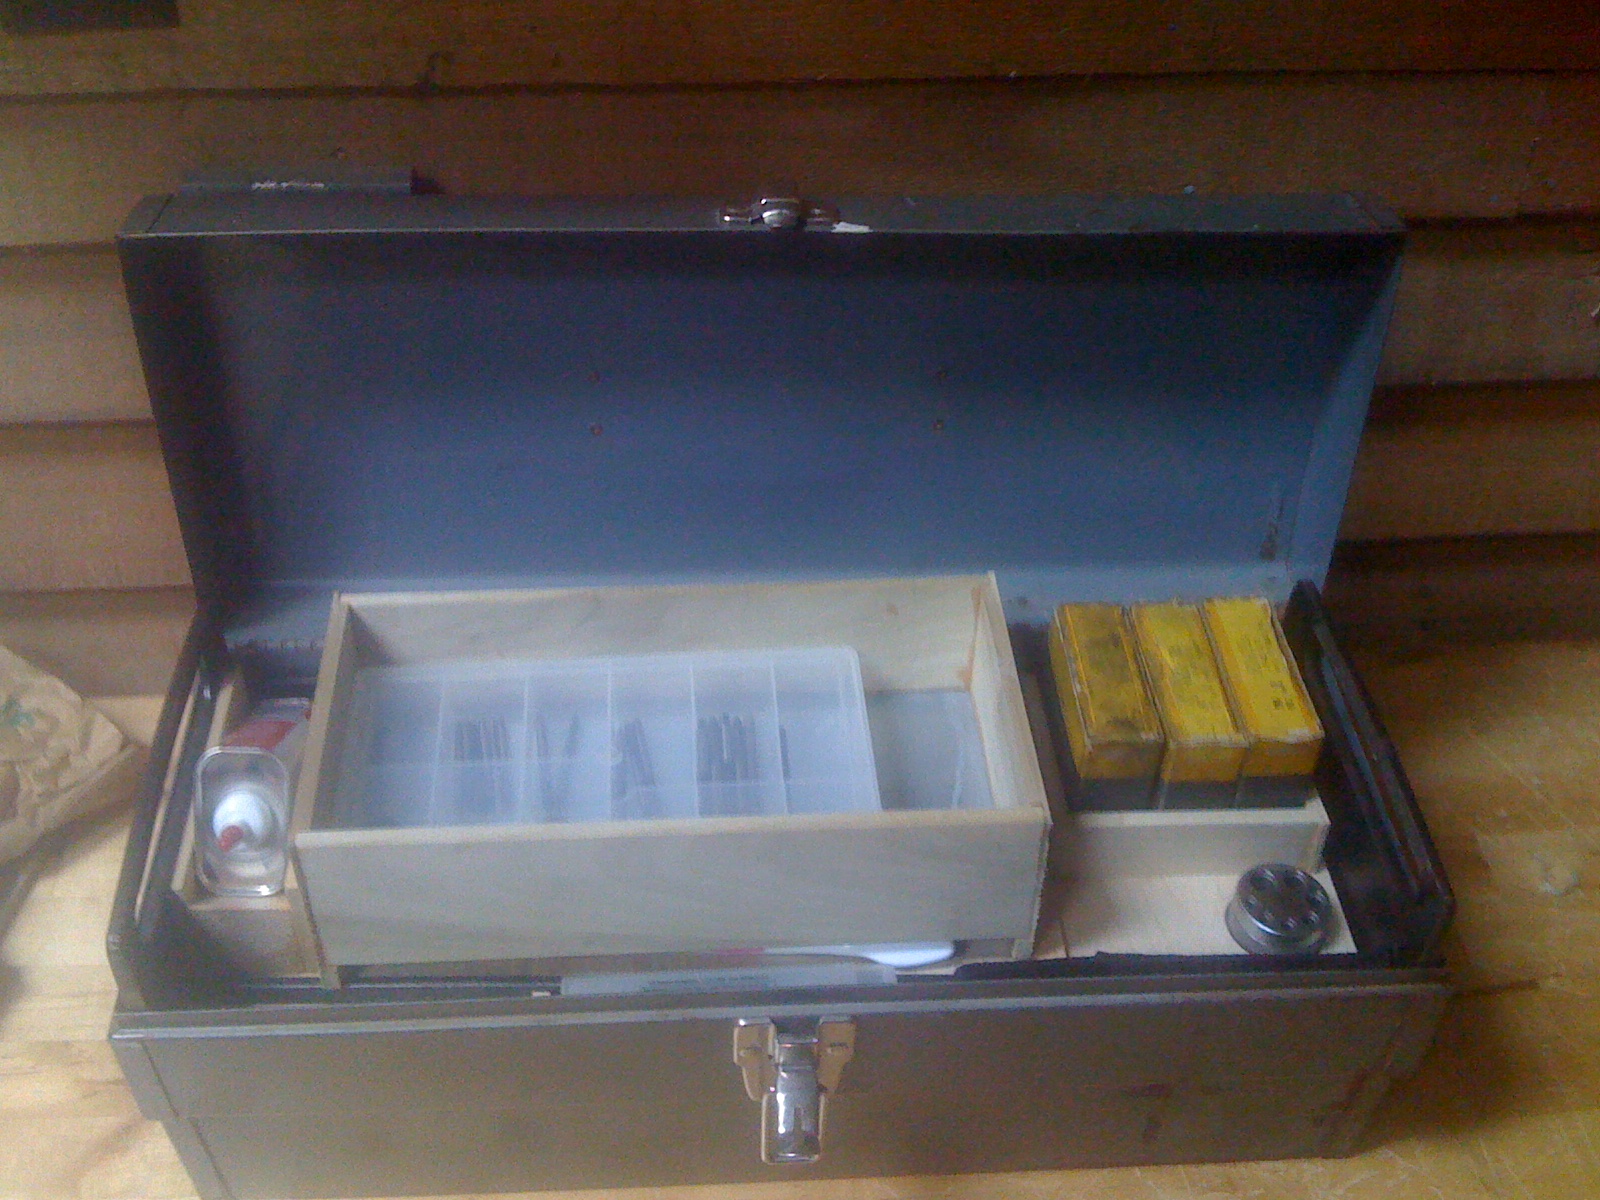
When you open the tool box you have direct access to your basic smaller taps, guide blocks, a tooth brush, flash light and tapping compound. There are normally a set of gloves in here as well. I made the top till extra deep so I could still throw a few small odds and ends in there if needed.
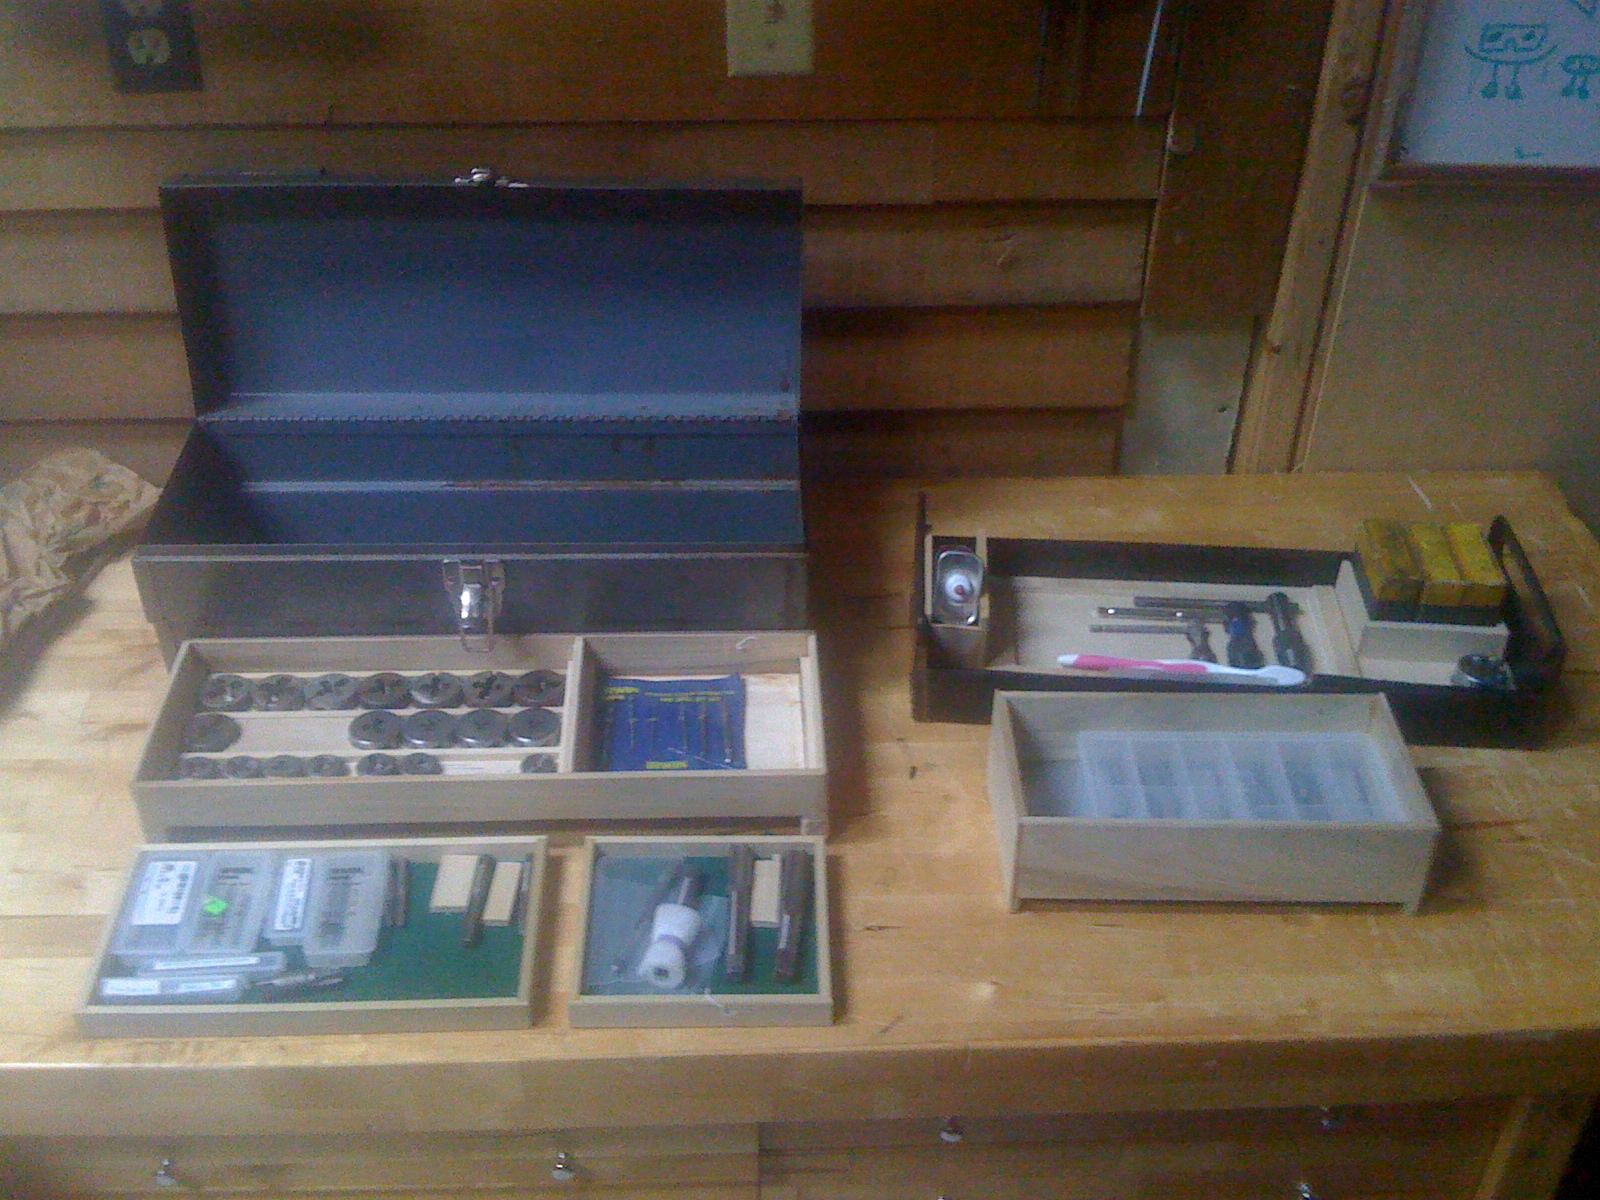
 The entire top tray lifts out to reveal a inner tray – which contains two smaller tills. So that gives me 4 compartmented areas to store things. The top ones I use for taps, and the lower ones for dies. You can see the box pictured here with all the tills and trays out

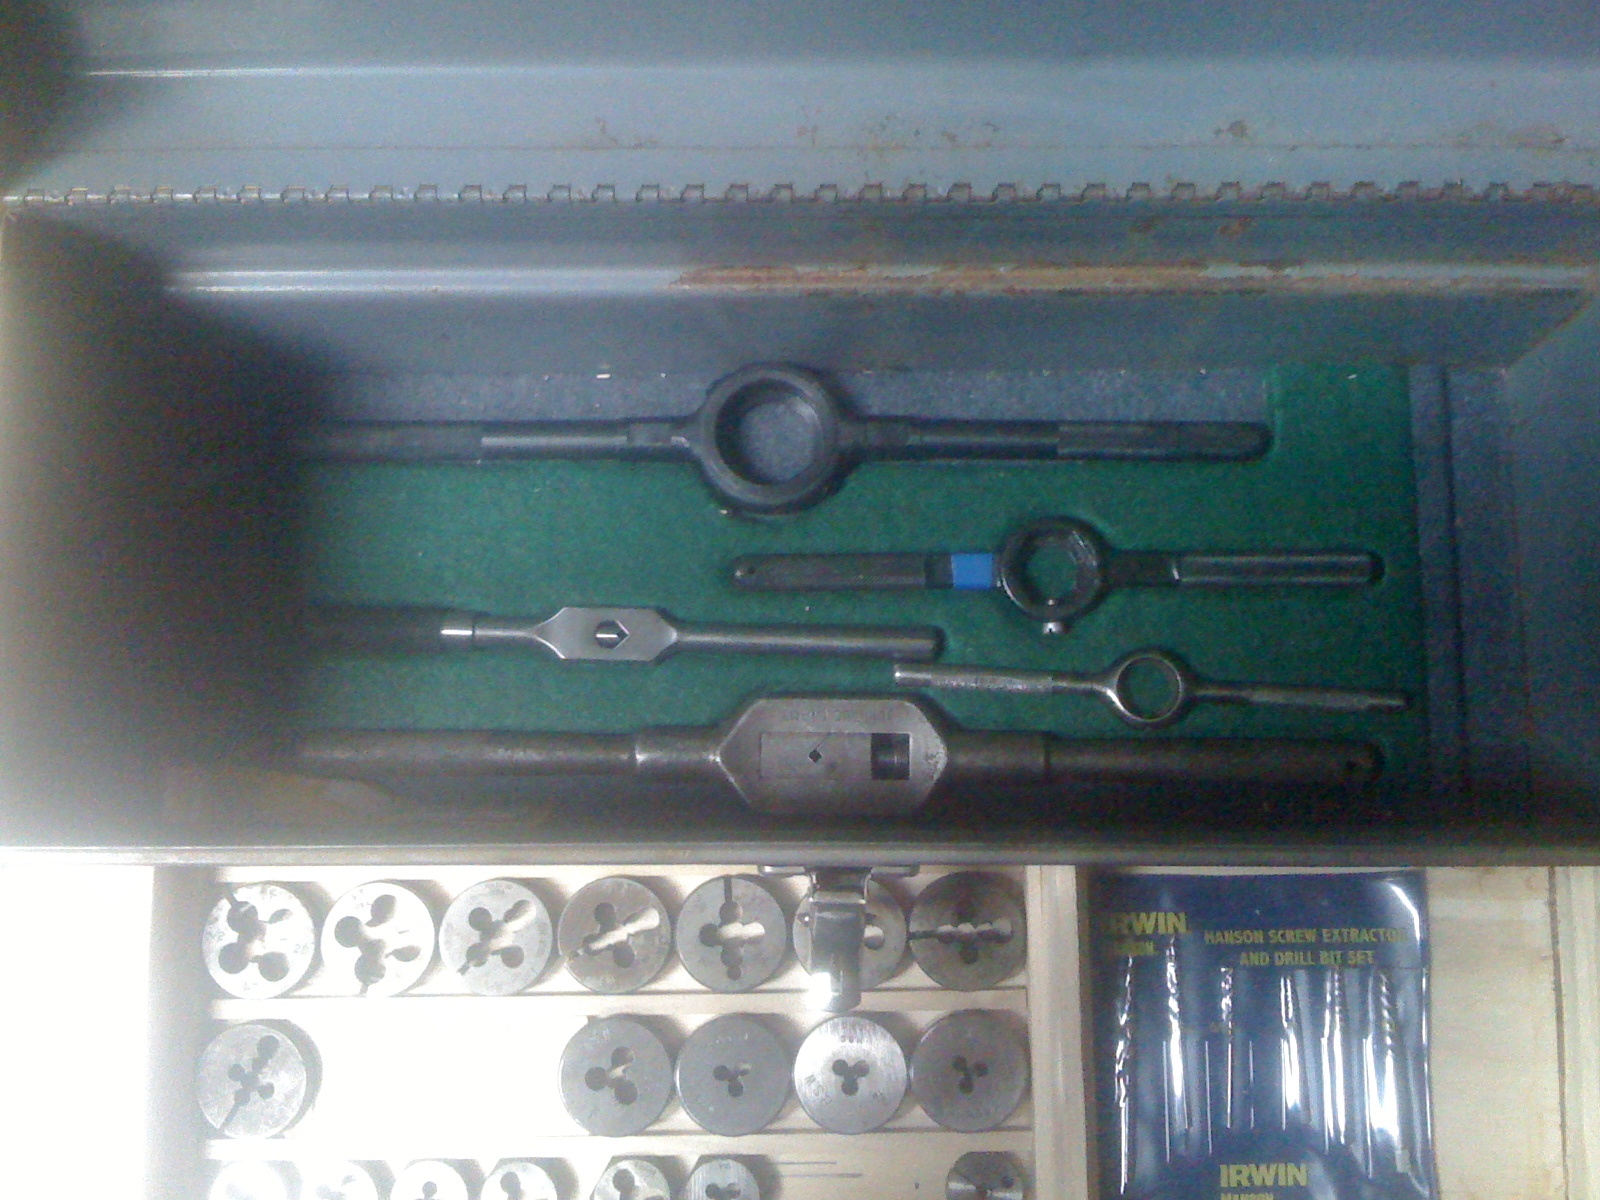
The bottom of the box has a French fit set of tap and die handles. I keep a set of small tap handles in the top tray, underneath a lift out till, but the ones in the base of the box are for dies and huge sized taps.

I am still living with the design – but so far I love it. It has easily already saved me more time in finding the right tap or die than I spent making it. I highly recommend taking the time needed to organize your tool chests. Sure you feel like an anal freak while you are doing it – but that feeling goes away and is replaced by little snippets of “wow I am glad I did this” every time you have to use a tool.