So Sunday was the second rope-work drill session. This is my “trip report”. While these practice sessions at the part are not real trips – I wanted to document what we have been practicing. It should be useful in a few months to look back on.
We started the day with a review of the basics again. First thing that came up was how to back up your figure eight. As opposed to the traditional long tail and stopper knot – we went over the loop back. Your tail basically loops back through the figure eight like you can see in this photo.
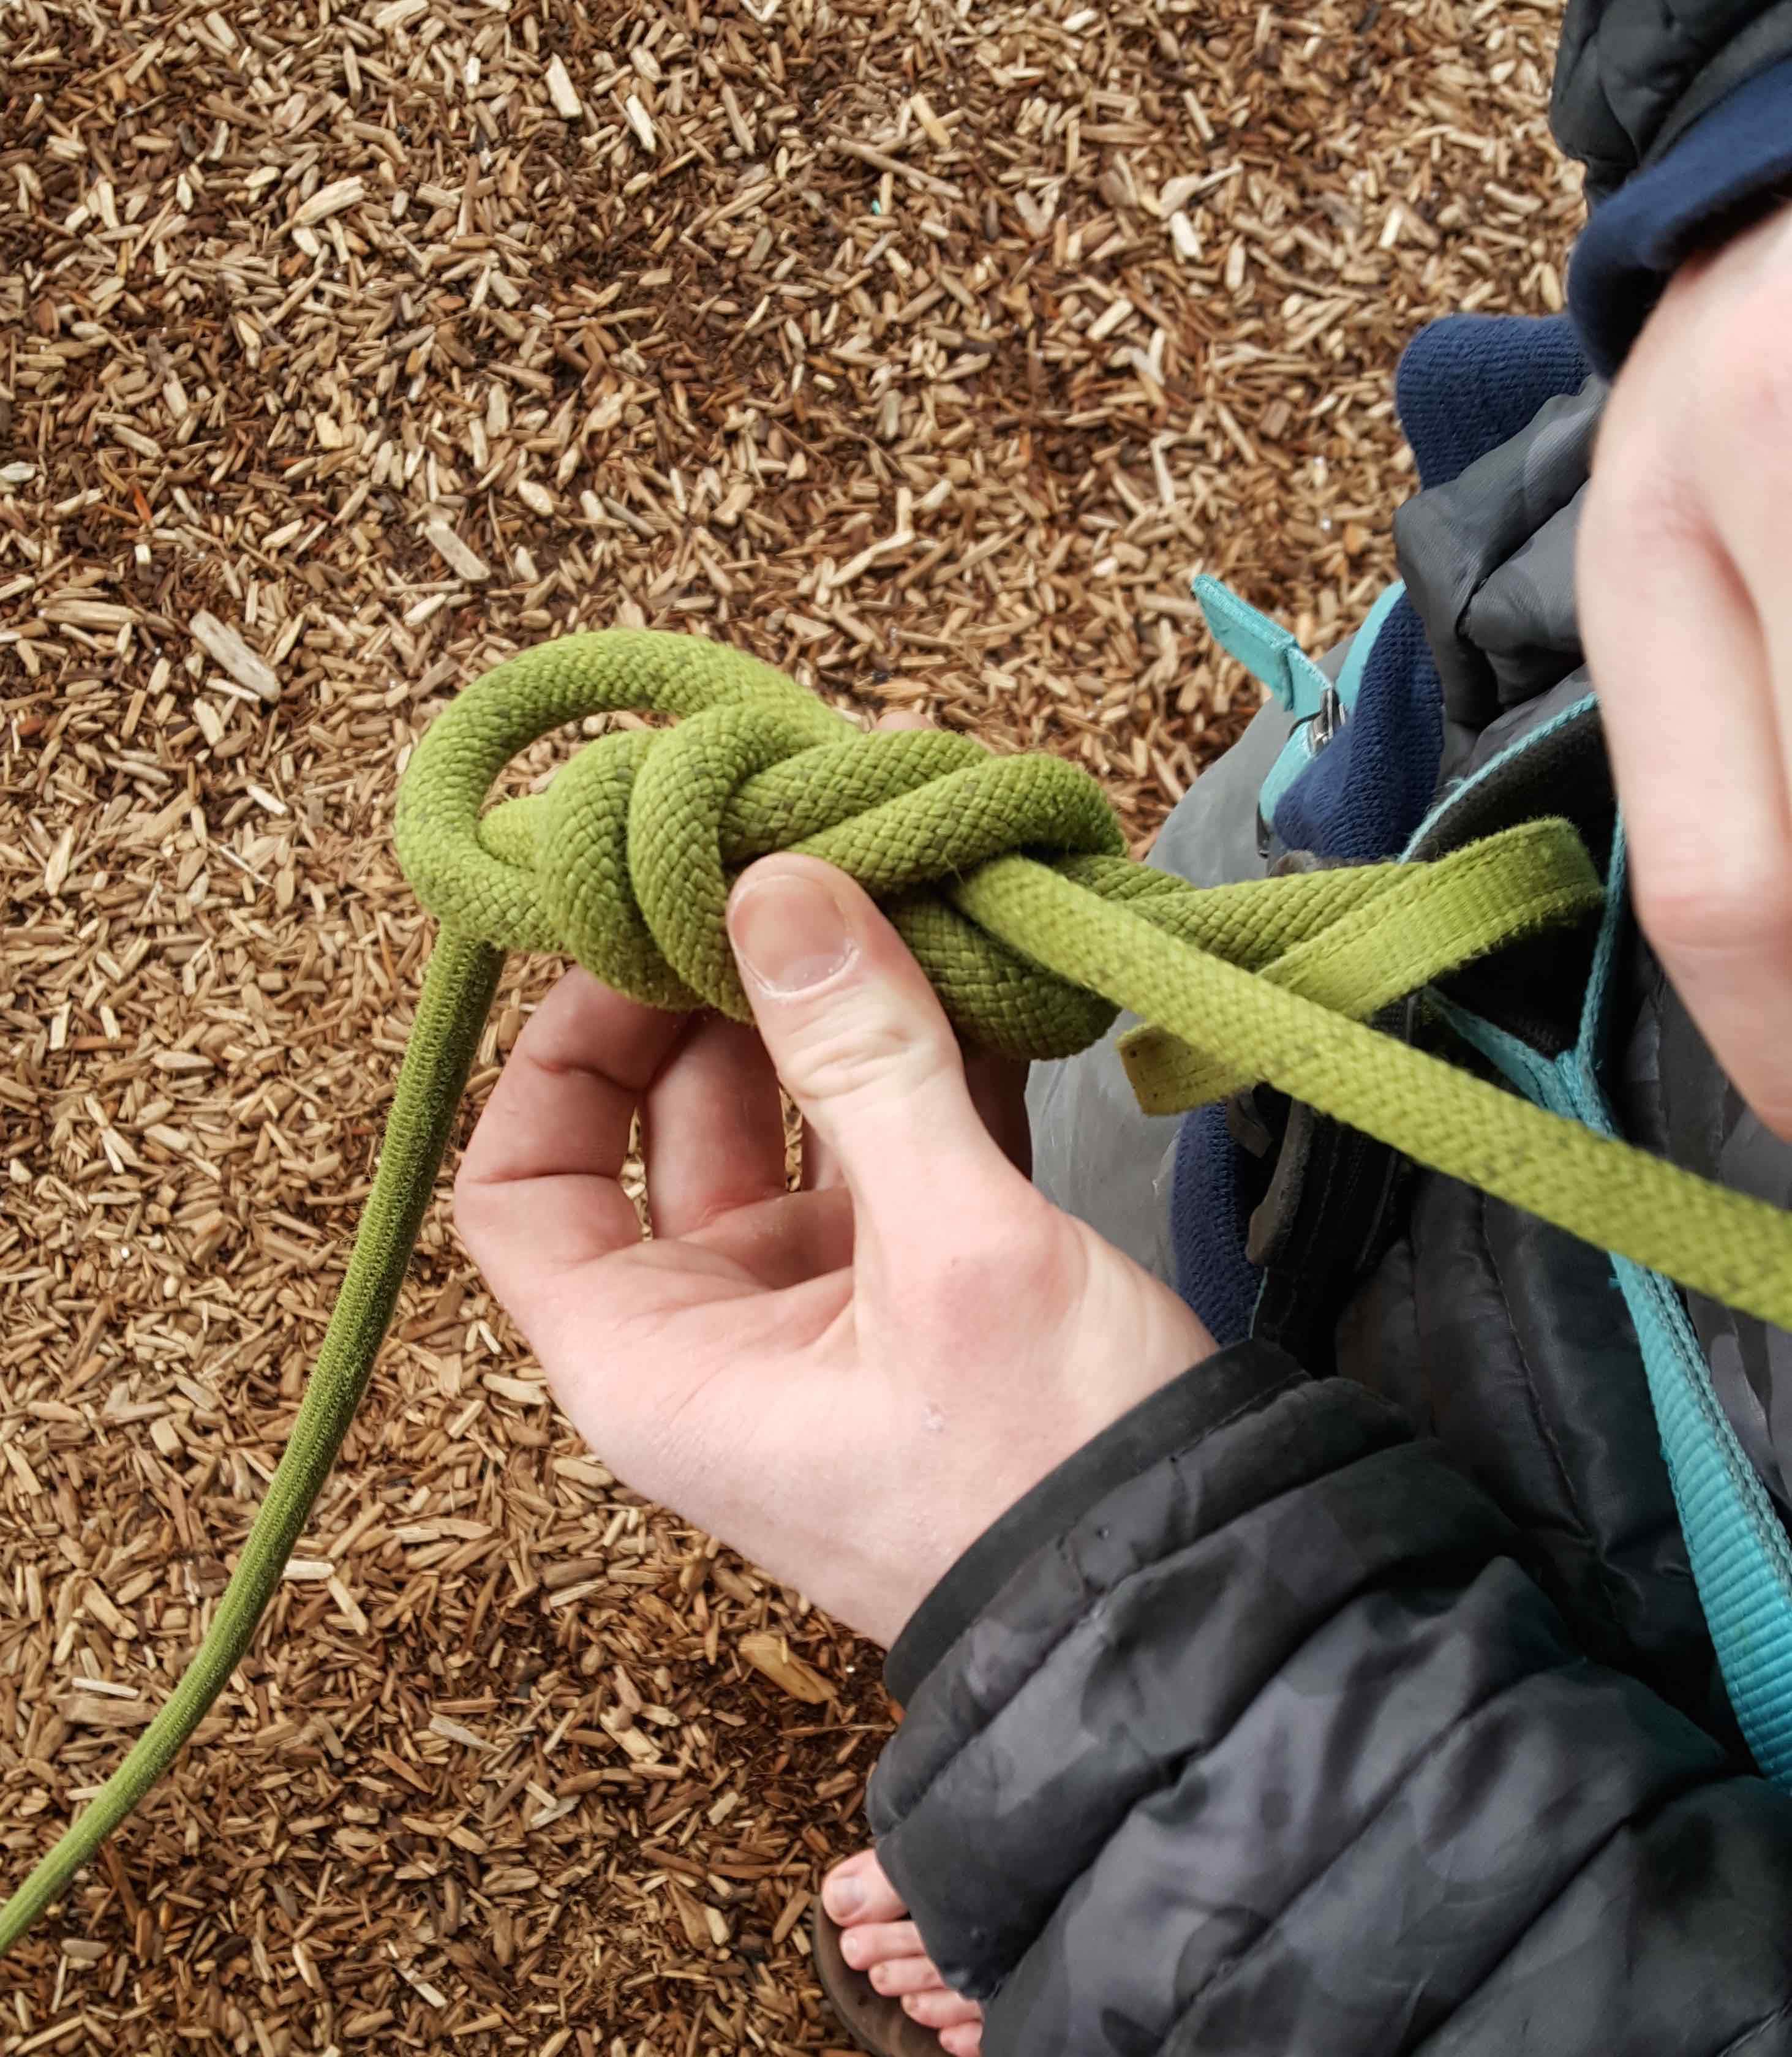
The reason to do this is that it reverses the tail direction, so it points back towards the climber. That saves about a foot of space in the line from the climber out to the last piece. So the climber can grab the rope closer to your master point, which is just generally useful.
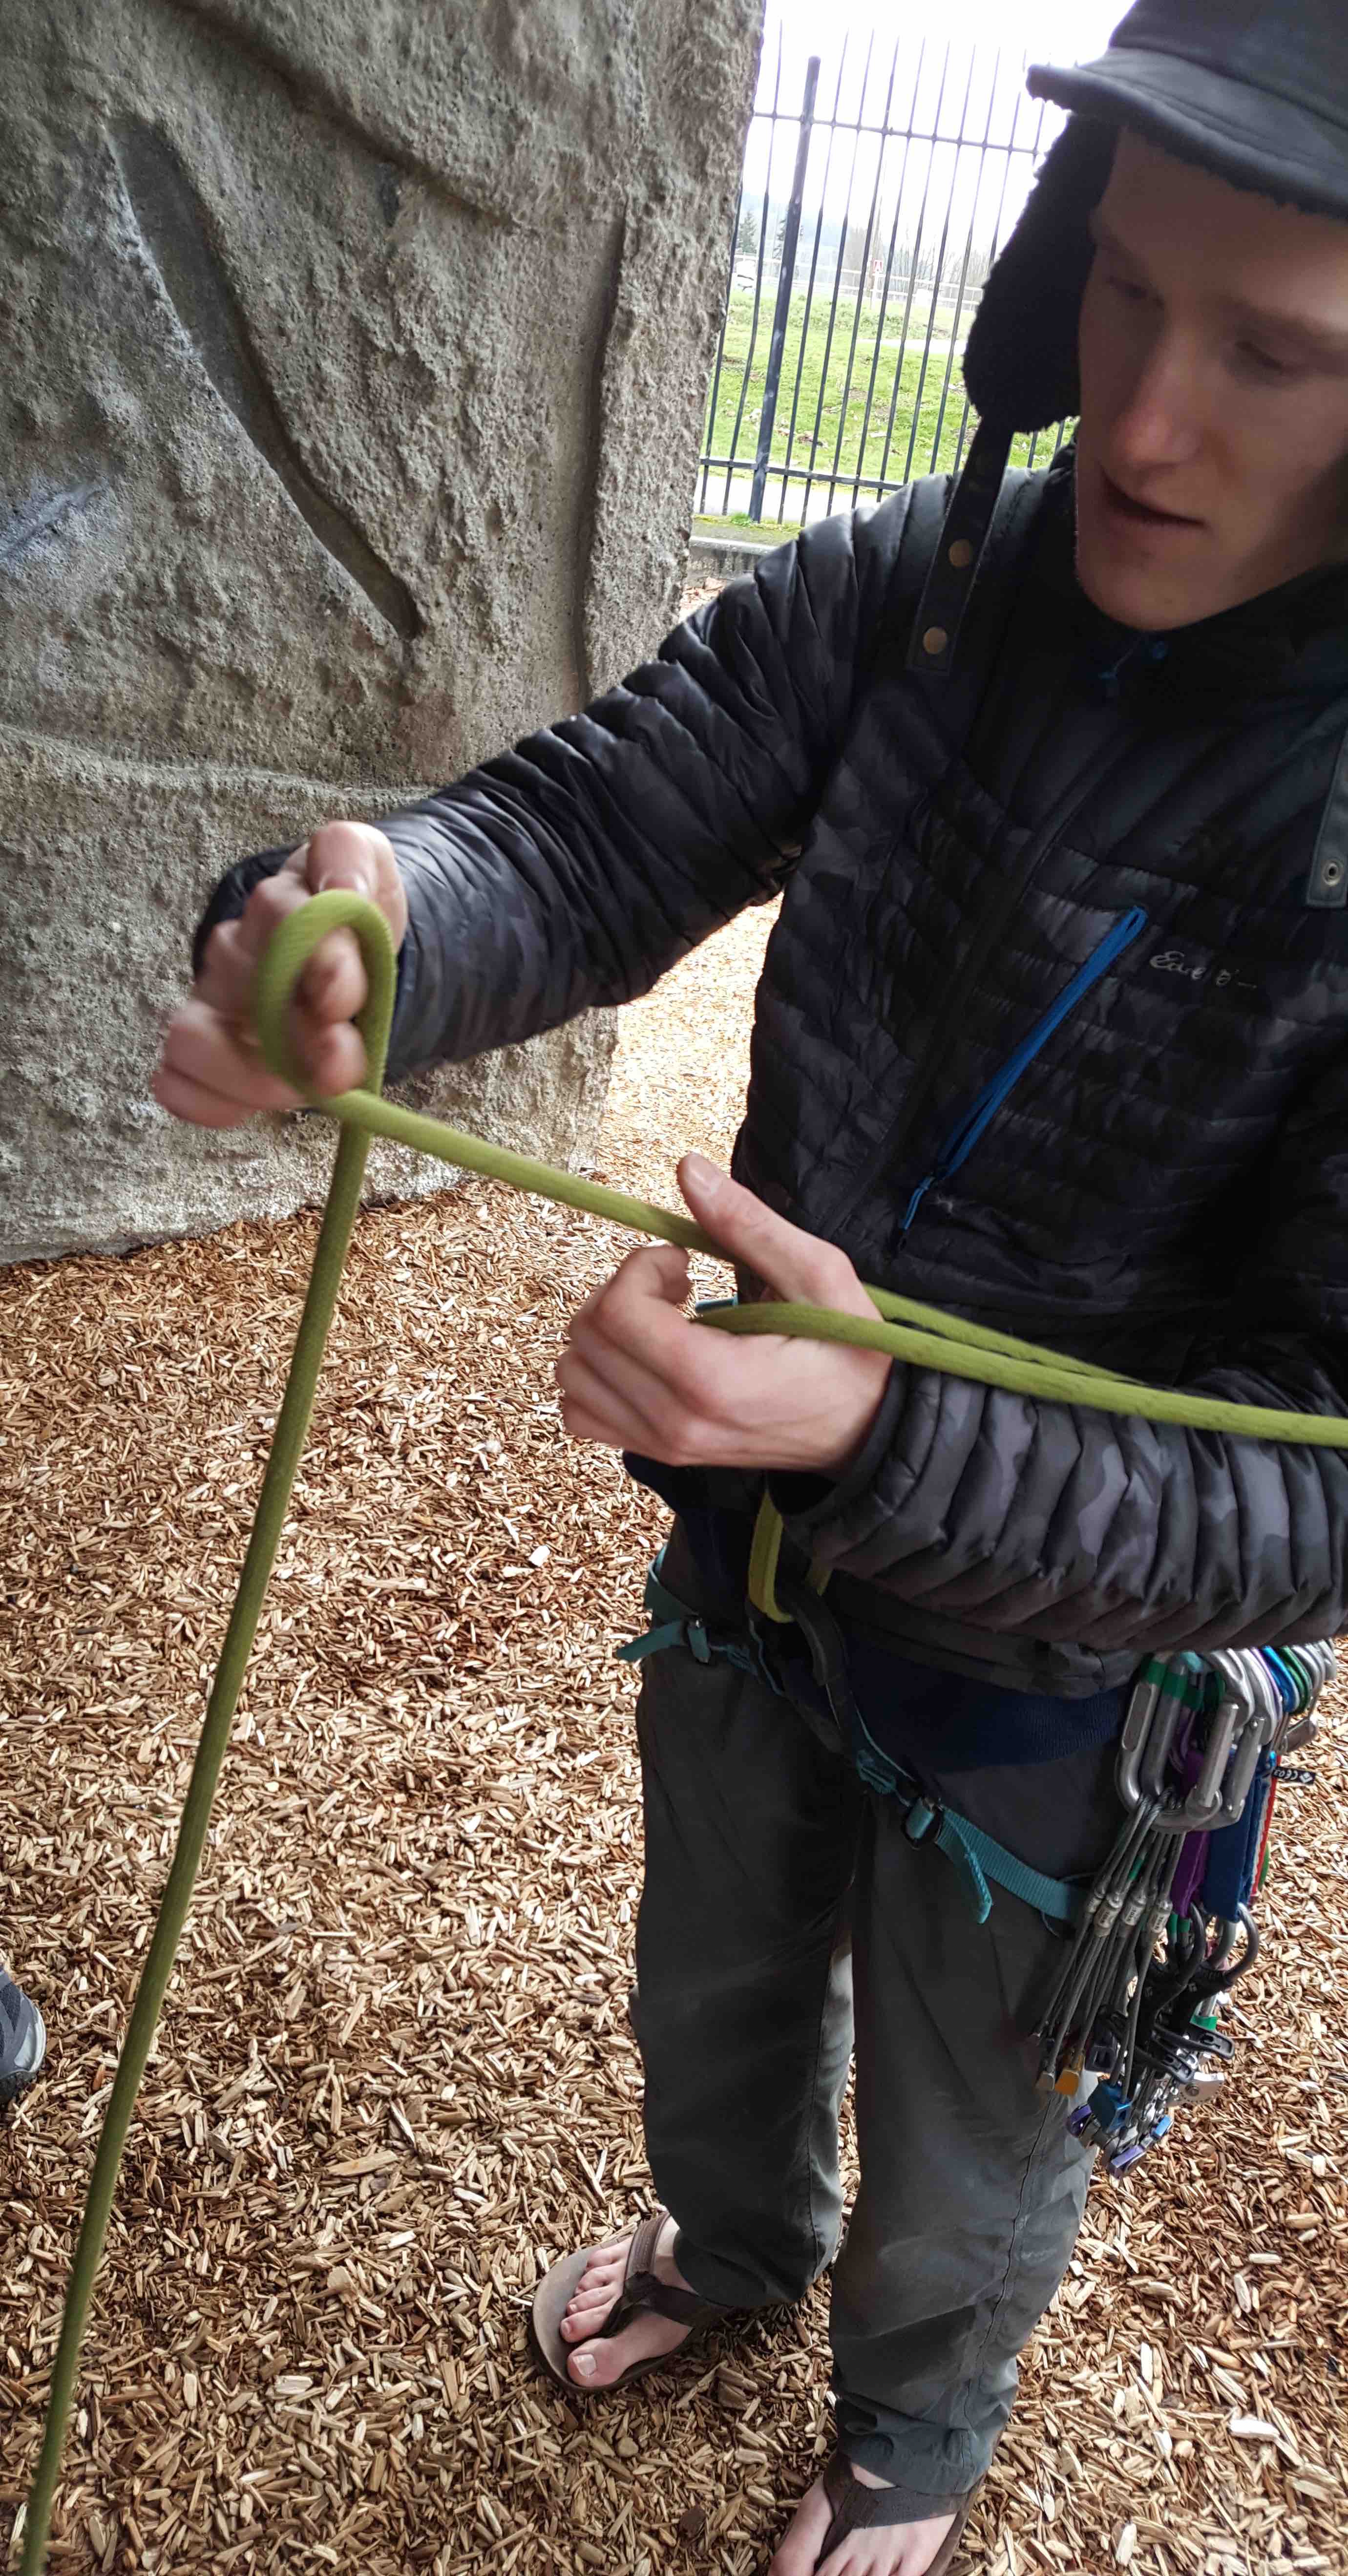
Conrad showed us a cool trick for getting the tail length perfect, and the same, for every eight. He holds the tail of the rope in his hand, and wraps round his arm to feed out the exact same amount of tail every time. He also twists the rope at that new point with the trigger shaped finger position you can see in the photo. Then twist and the first figure 8 is set in the rope and you can feel the rope round the master point and finish the knot as normal.
After this we did a belay review – that’s one of those things you really have to be there for to benefit from, but we went over proper clipping technique, and how to avoid back clipping on lead.
After this we reviewed anchors. Conrad went back over his method for using the end of the rope to set up an equalized – 3 point – trad anchor. It’s the same setup as using a separate long sling – but much faster when swinging leads and you have the spare rope.
He starts by clove hitching a piece of pro at the top of the climb. He showed a clever way to do the hitch with one hand.
After that he showed building the anchor system. We went over it last time as well, and the rest of us will probably be drilling this anchor setup. It really is much faster and probably cleaner than the use of a sling.
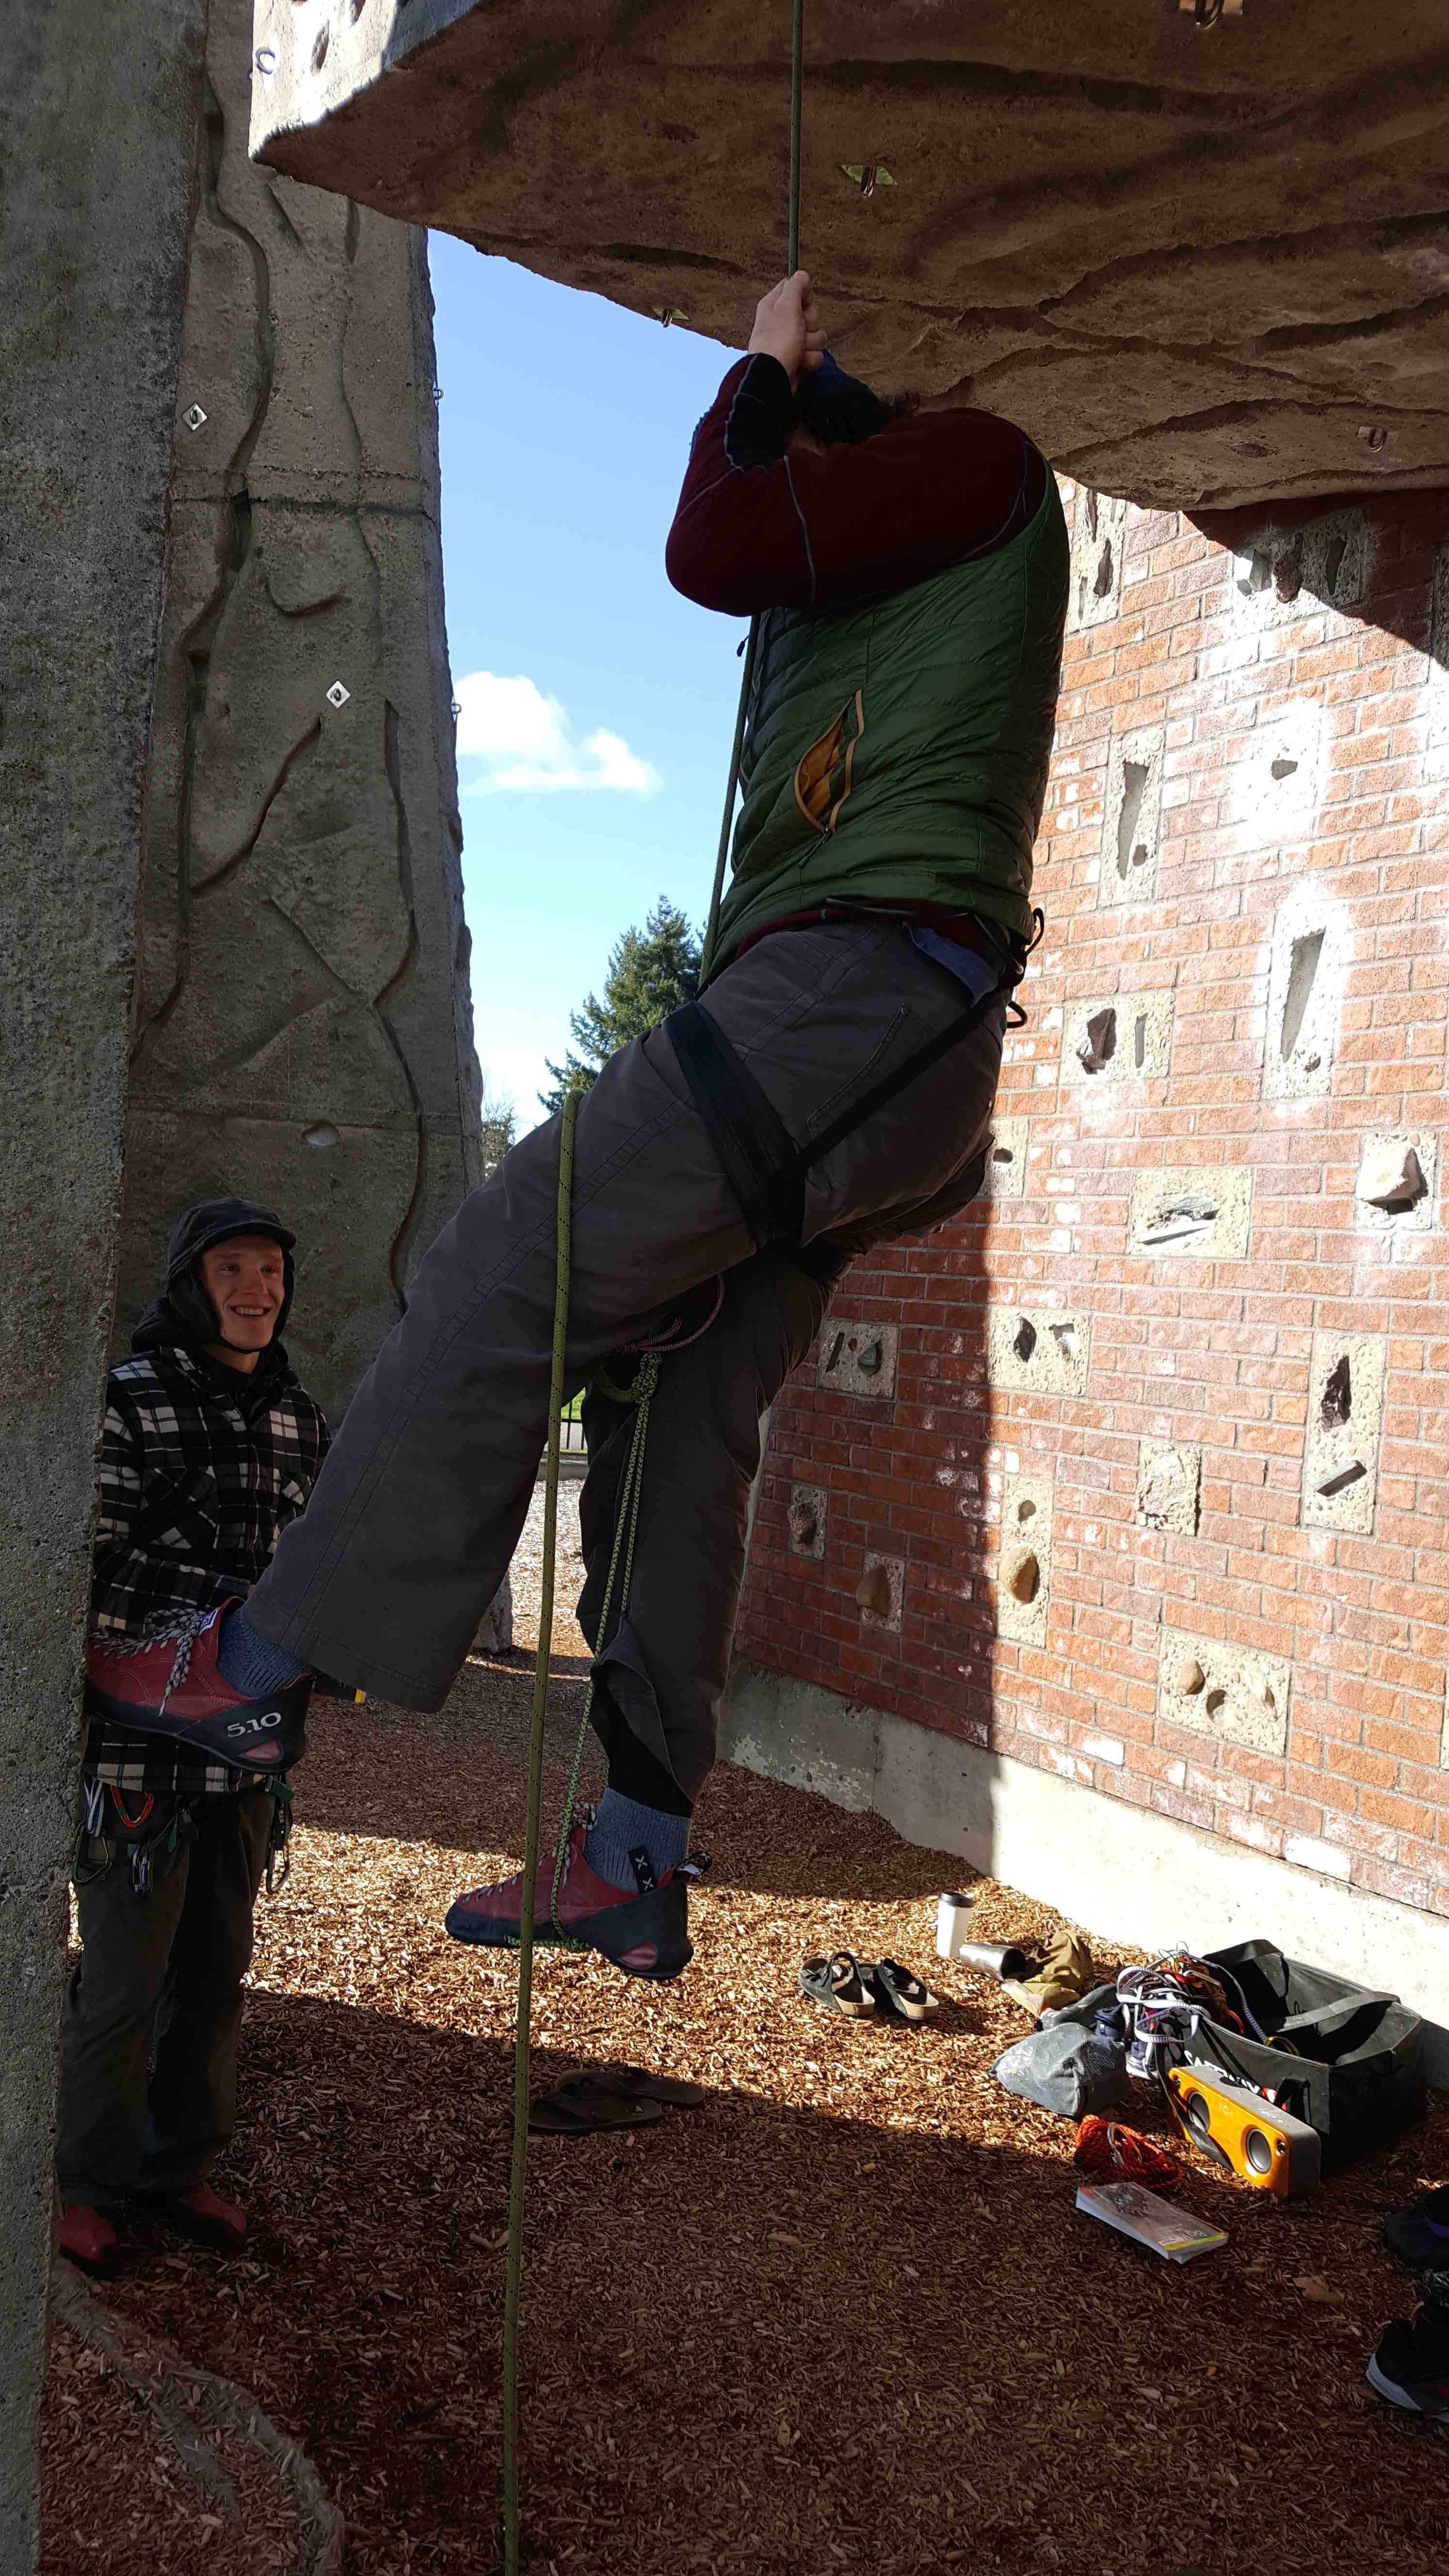
Next we went over ascending a rope with a prussic. It was, simply put as big a pain as I remembered. I’m heavy – and my friction knots kept locking up hard on the rope so my ascension was painfully slow. Unfortunately ascending a rope this way is a dead useful skill to have – so we will be practicing this again. Tyler is making it look easy here – but I kept locking up the friction knots so hard it took forever to get them un-done to be able to make the next step.
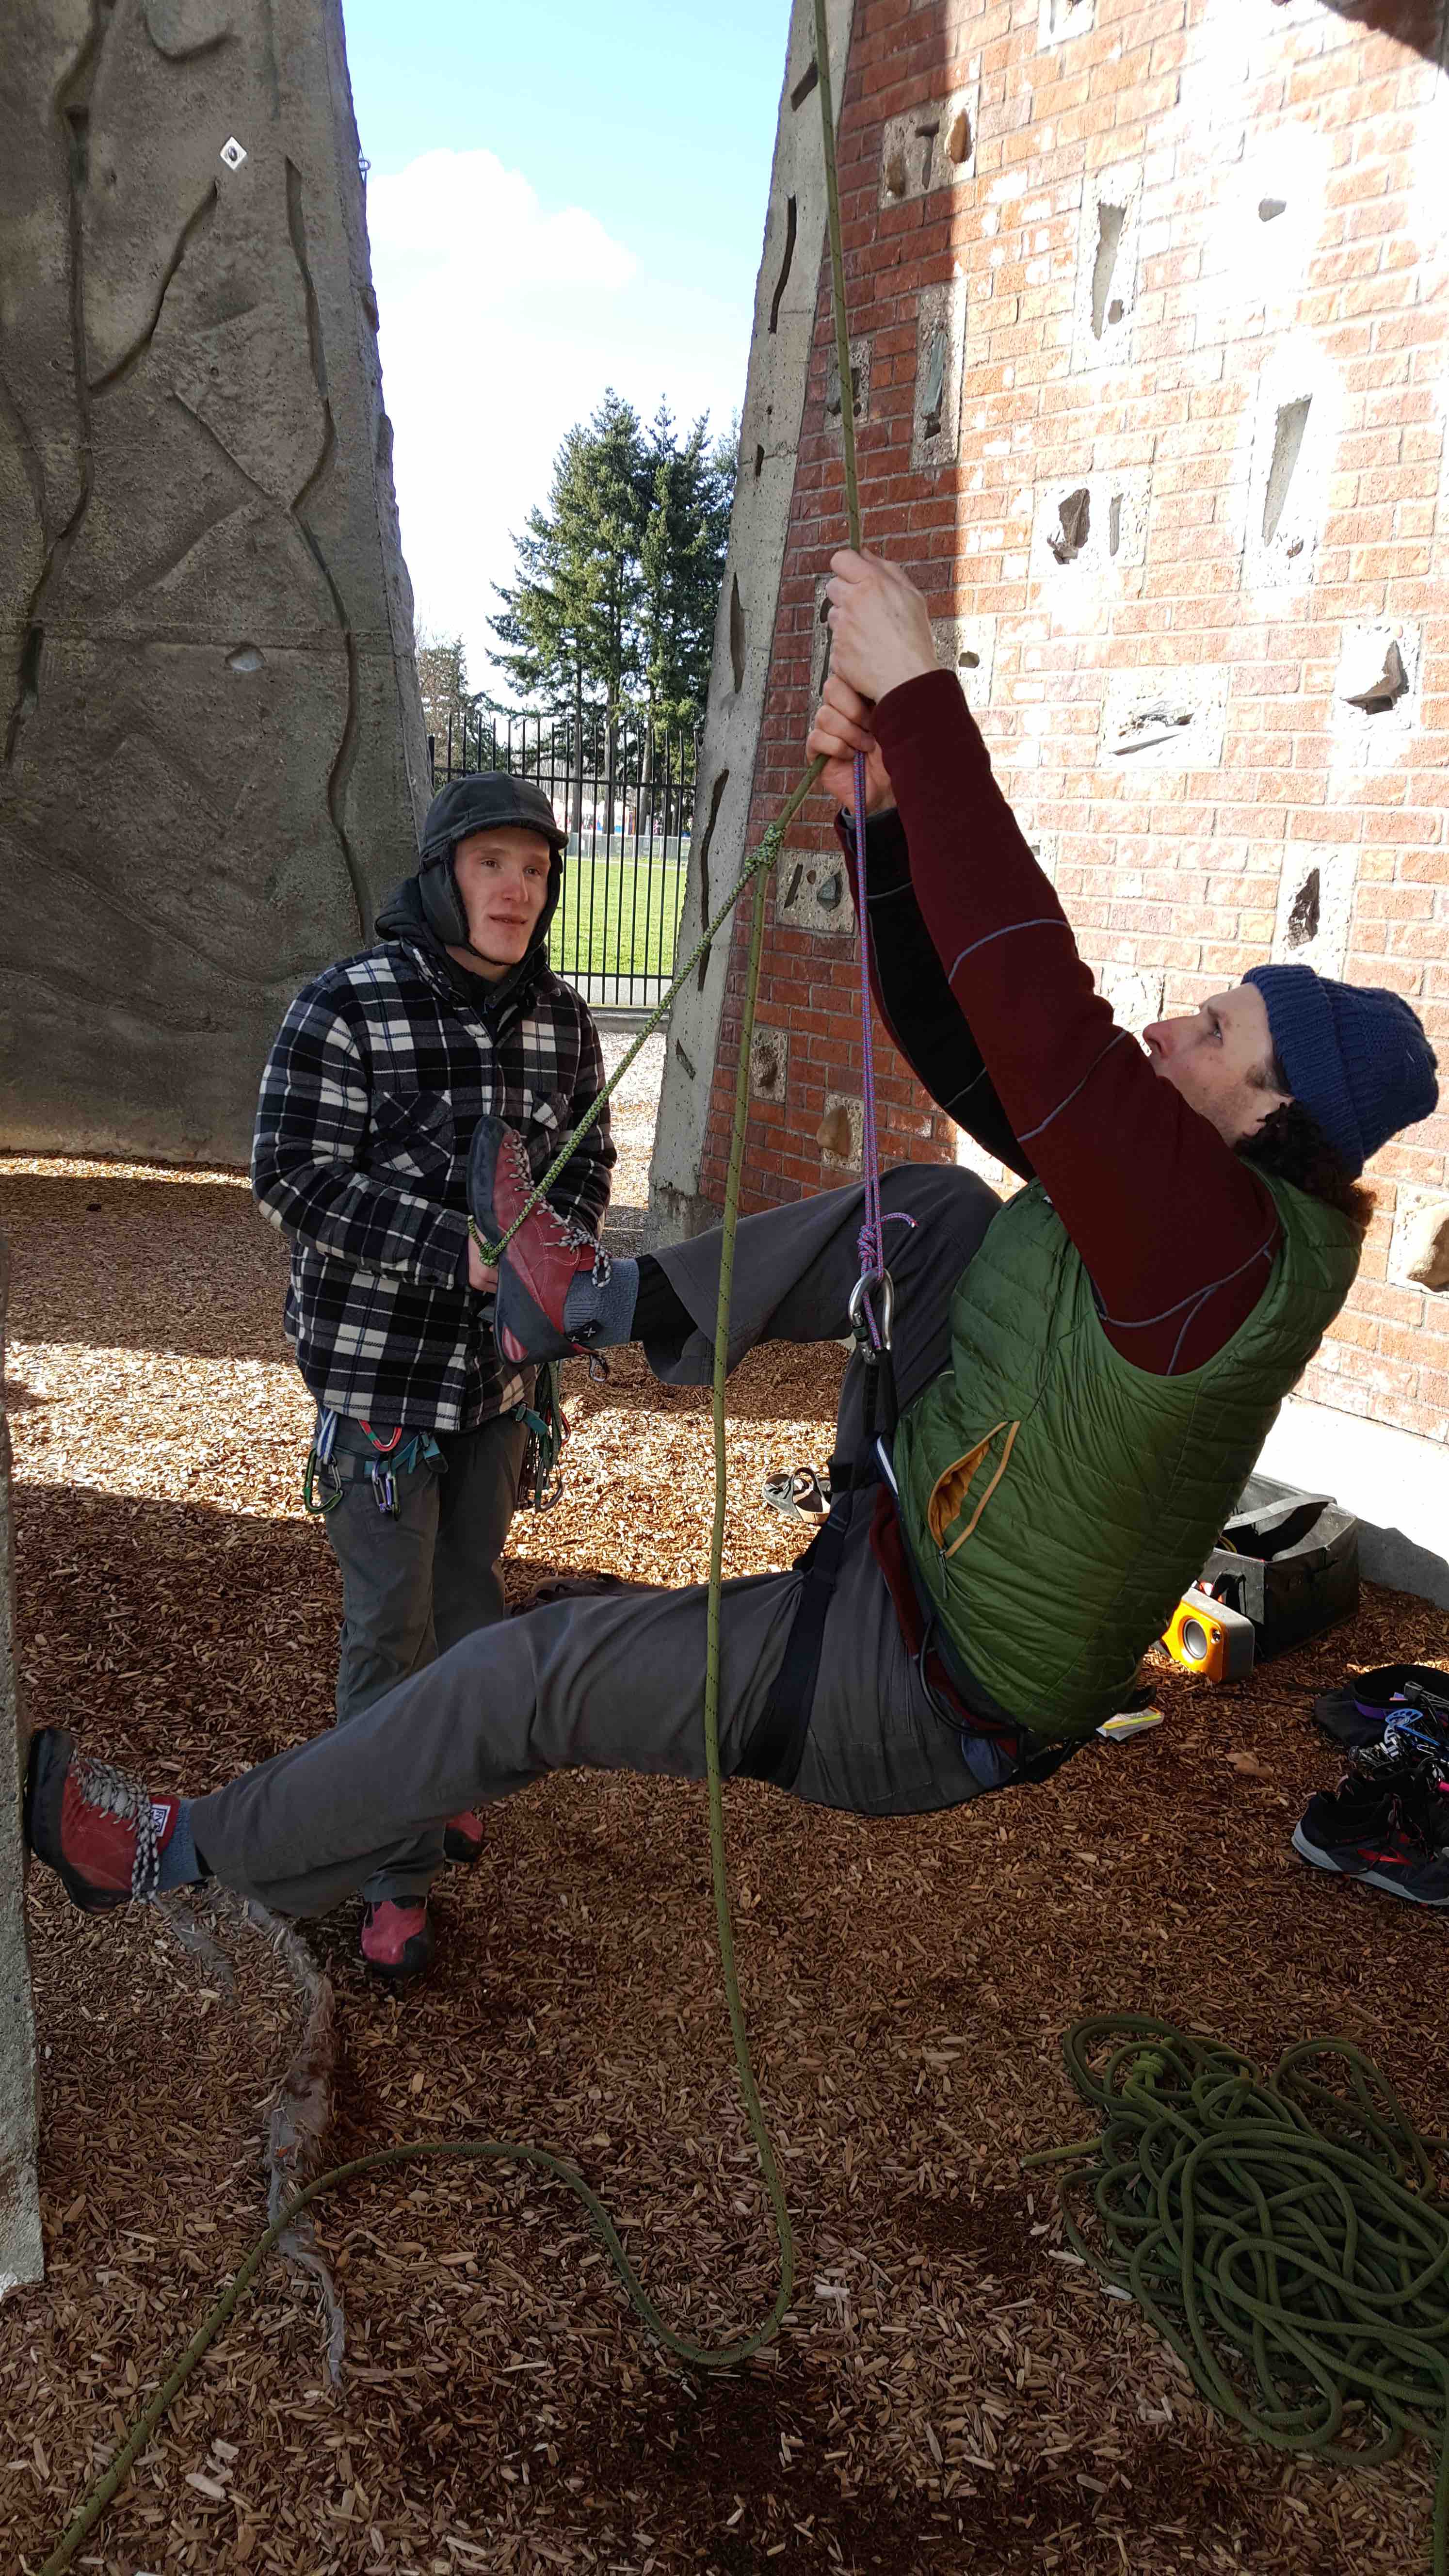
Unfortunately I didn’t take video of the rope ascending. Here is it in pictures though. Start with a friction knot attached to your master point and holding your weight. A second friction knot has a loop attached for your foot. The first move is to step up onto this loop – so it is now holding your weight unloading the first knot.
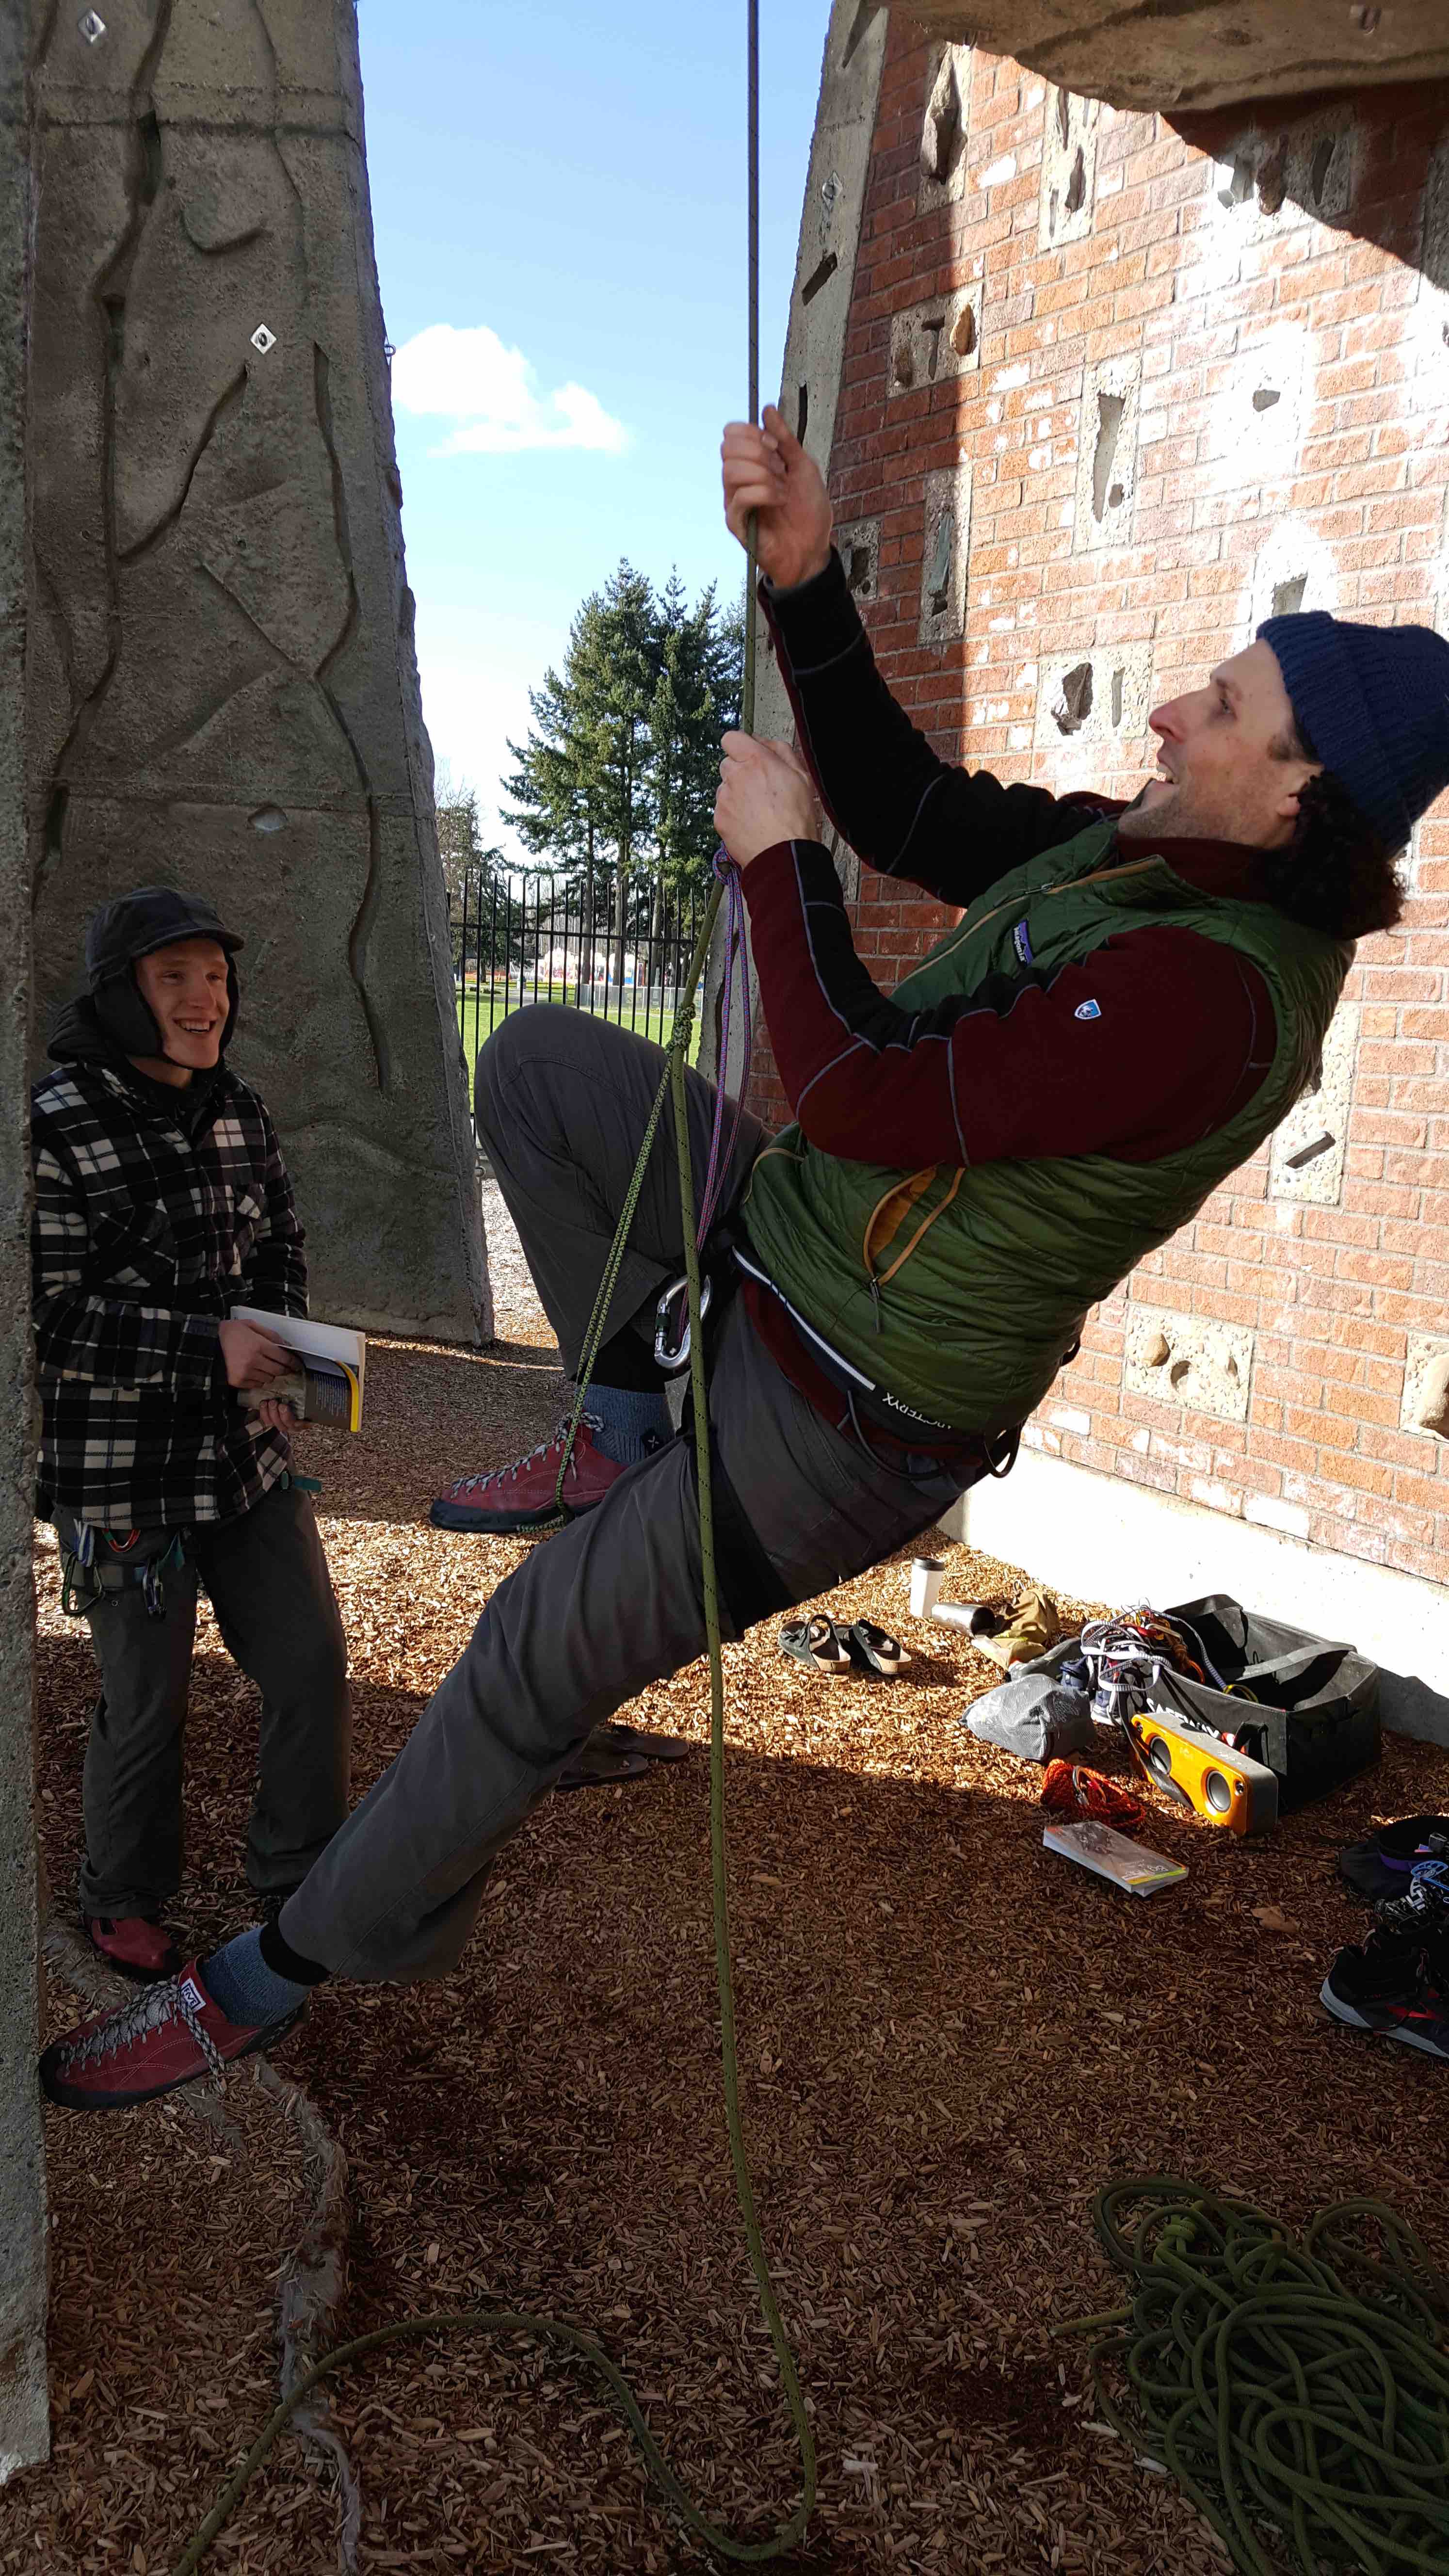
You can see here its sort of two moves to step up – getting your foot in the loop then you step into what is a deeply bent leg position – then use that leg to stand up along the direction of the rope.
Then when you end in the third position to slide that first friction knot up, re-load it, then you sit onto the top friction knot. This unloads the lower friction knot with the foot loop. So now you can slide up the bottom friction knot and start all over again for the next step.
We ended the day by practicing setting up a 3:1 z-haul for raising and lowering people. The prusiks being used in that system are why we reviewed ascending a rope with them first. It let is practice repeatedly releasing and re-loading the knots.