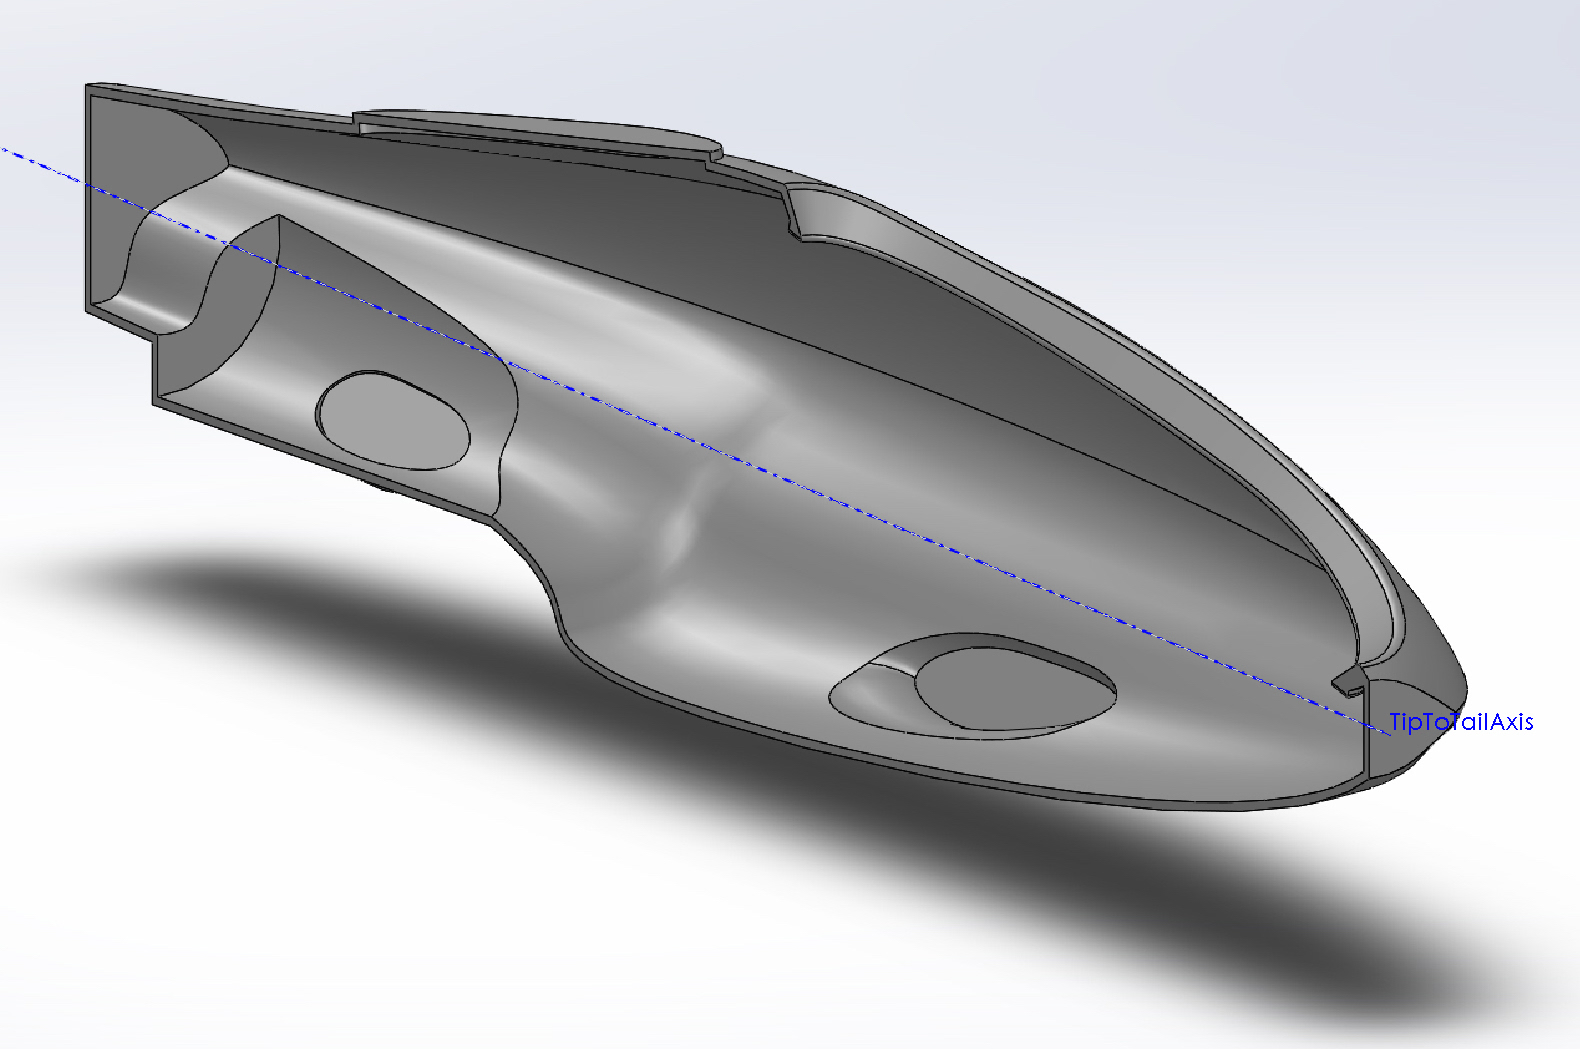
I am building my AUV to be a configurable platform on which to try out a bunch of ideas, so I am going to need some sort of hatch through which I can assemble, repair, and modify the internal components.
My first thoughts were to make a sort of beveled seat you can see here. The beveled seat in the hull mates to a complimentarily beveled plug piece. You have a rubber layer between the two pieces, and the more water pressure there is on the plug the tighter the seal.
Unfortunately after talking this design over with some friends who has a lot of experience deploying things deep in the ocean, I decided not to use the wedge hatch. Apparently at depth even slight deformations of the hull can corrupt the seat seal, and the hatch will sweat water into the pressure chamber. My maximum target depth for this is only 250 feet, but I would like the design to be able to stay submerged for very long periods – so a sweating seal is a problem.
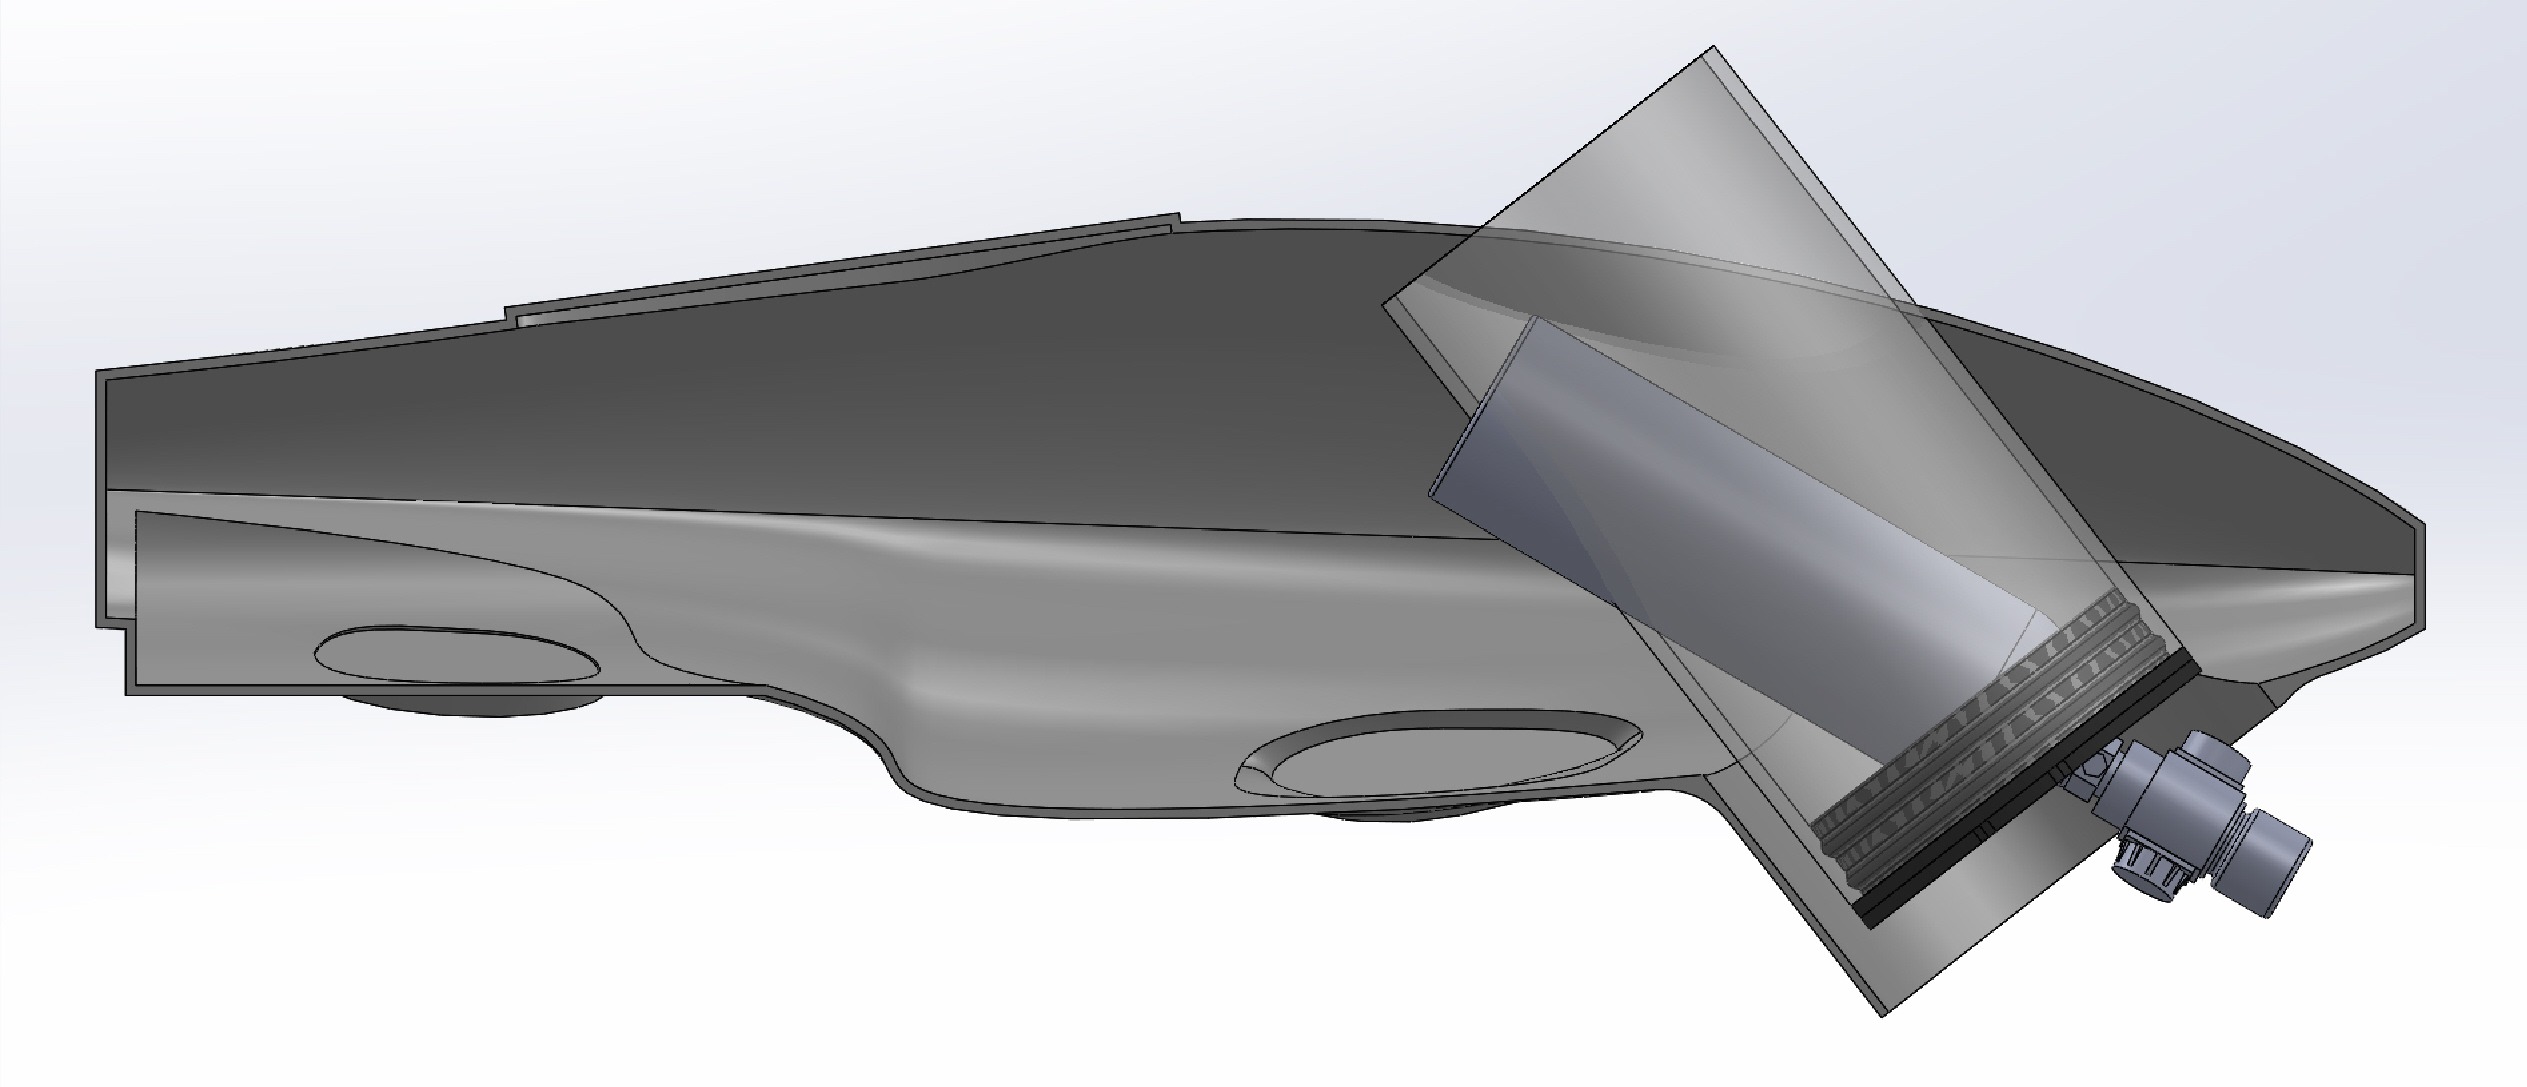
Right now the leading contender is using the pressure rated caps Blue Robotics sells for their watertight enclosures. Here you can see a hull design where a 6-inch plug has been added towards the nose. The tank you can see is a 24 Oz CO2 tank and pressure regulator. I’m checking that I can install the tank and regulator through the hatch.
I have not found a hatch position that I like yet, but the one pictured is as close as I have come. Things get a lot easier if I switch the CO2 tank to be screwed on from outside the pressure hull, while keeping the pressure regulator contained in the hull, so that’s what I am likely to try next.
One nice part about using the Blue Robotics pressure flanges – is that they offer clear outer faces of an optical quality. So I can easily add internal cameras looking outward through the hatches. So if I can make this hatch style work, I will probably add several smaller ones for camera and sensor mount points.

