Categories
Prototyping

A quick trick for prototyping watches that look like watches

So I have seen a lot of really cool watch prototypes lately, and most of them have been horribly finished. So I figured I’d post about this trick I’ve used prototyping watches a number of times. It lest you pretty quickly make a watch prototype that looks like and off the shelf watch. While the trick delivers really nice looking prototypes, it is about more than just vanity. For a watch prototype, the mount is critical. It’s the foundation everything will be built atop. The mount be comfortable, well balanced, and robust enough to actually survive on someone’s wrist without them having to consciously change how they go about their day. The trick, is for a prototype to achieve all those attributes by repurposing an existing watch.

Basically you can buy a cheap (say $20 watch) for its case. You want to pick out out a watch with enough size to house your intended electronics. The watch I am demonstrating the technique with here is one of the huge ugly watches that were recently popular, but the trick works with watches of all sizes.

Mounting the watch case

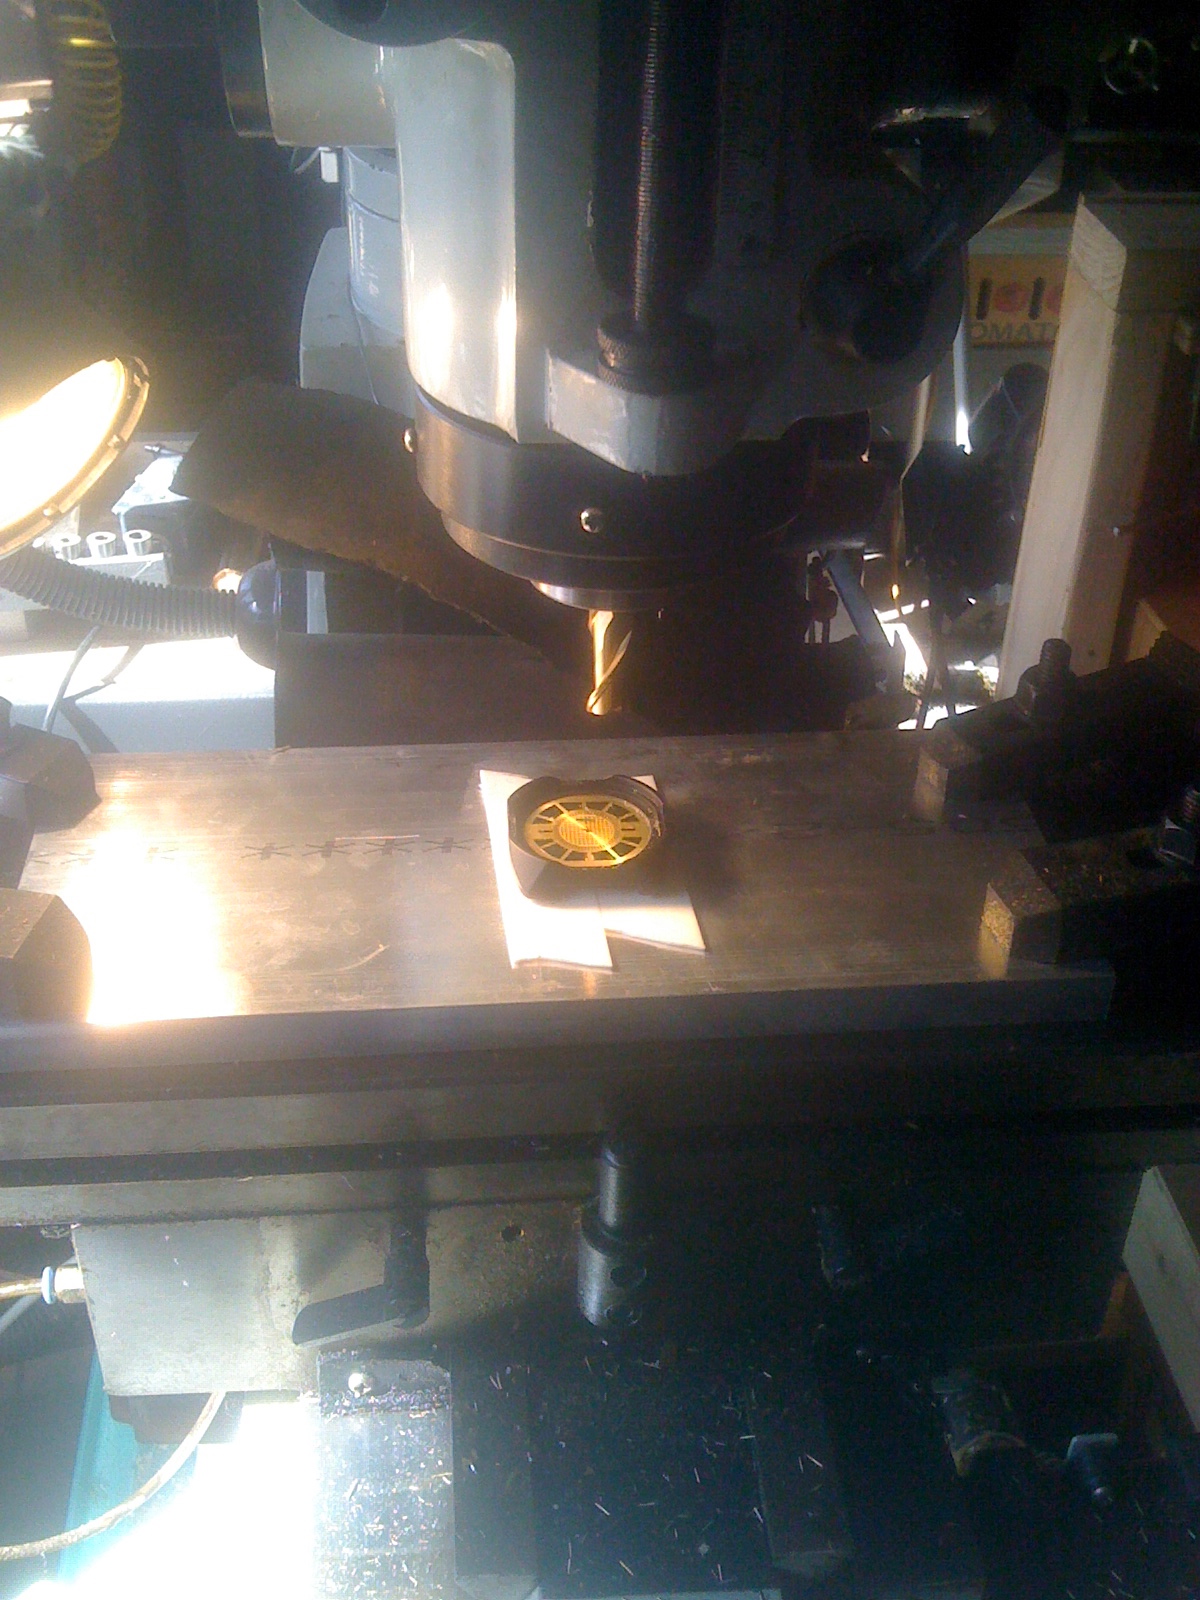
Once you picked out your watch you want to remove the band and the glass, and mount it to a backing plate. Make sure that the watch you are buying actually has a removable band, not all of the cheaper ones do. As for the glass, some of the cheaper watches glue the glass in place – but for this trick you can usually just tap it out with a tiny hammer.

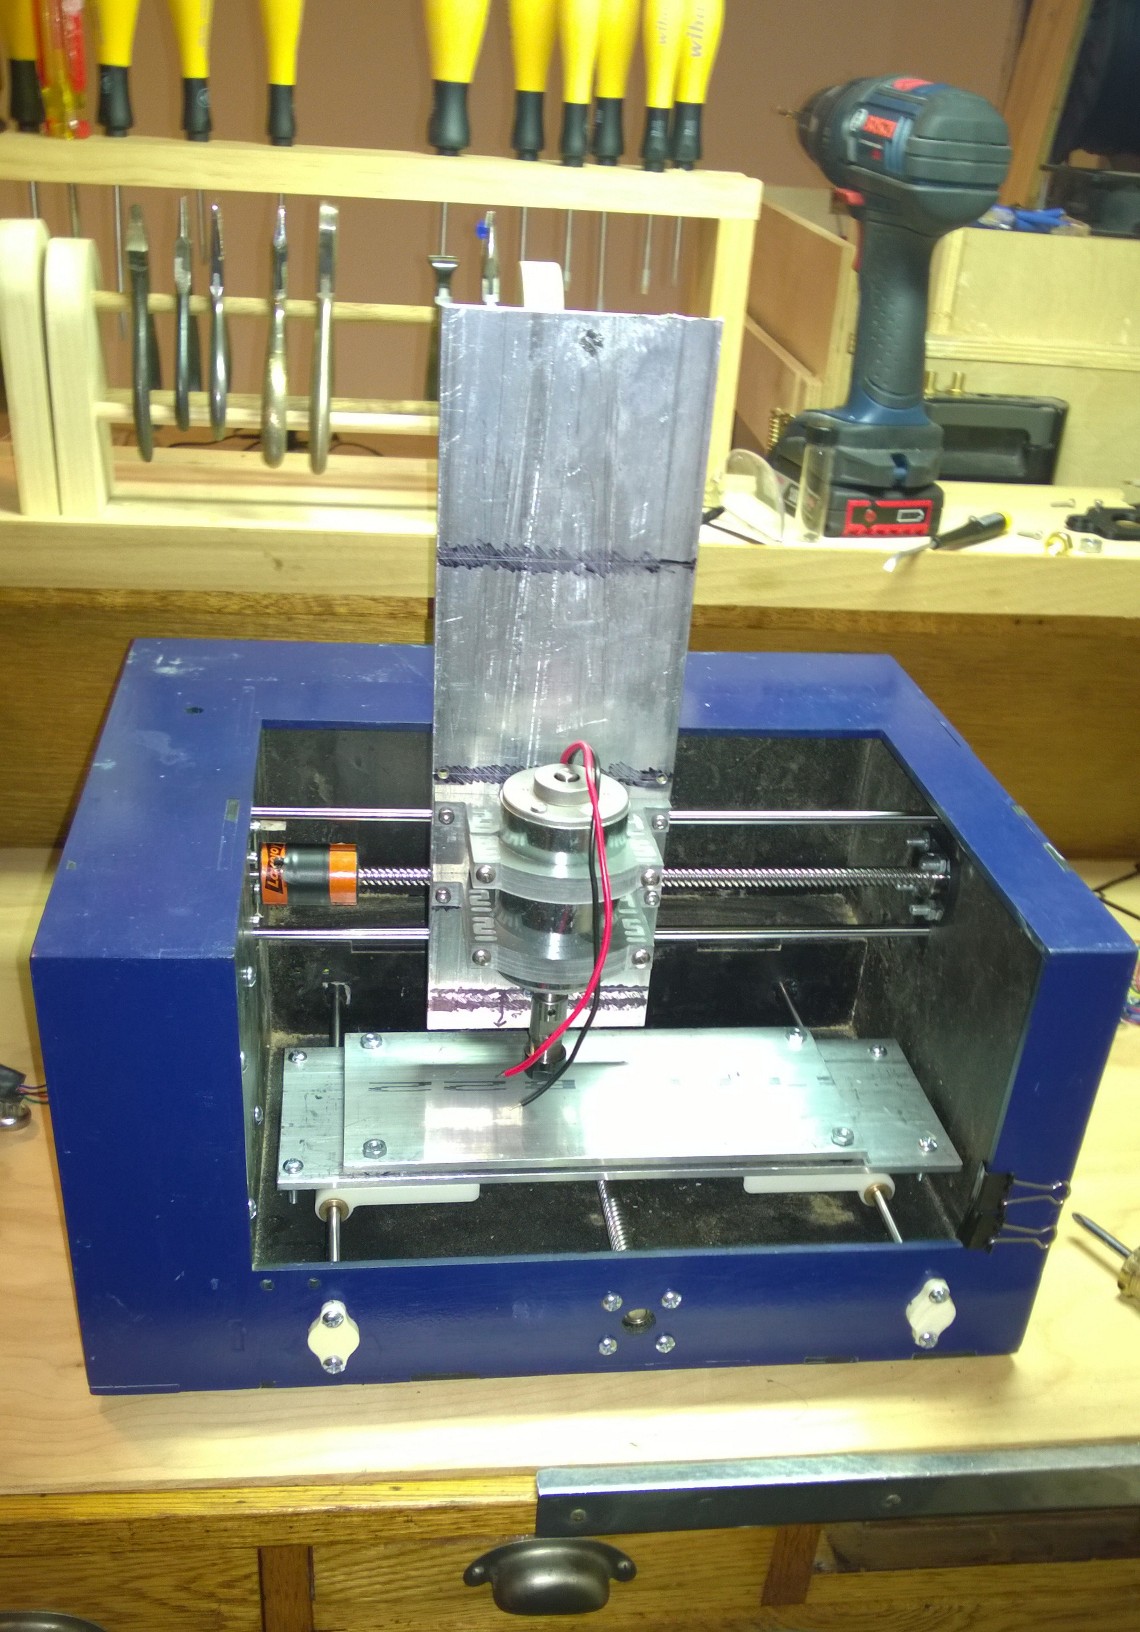
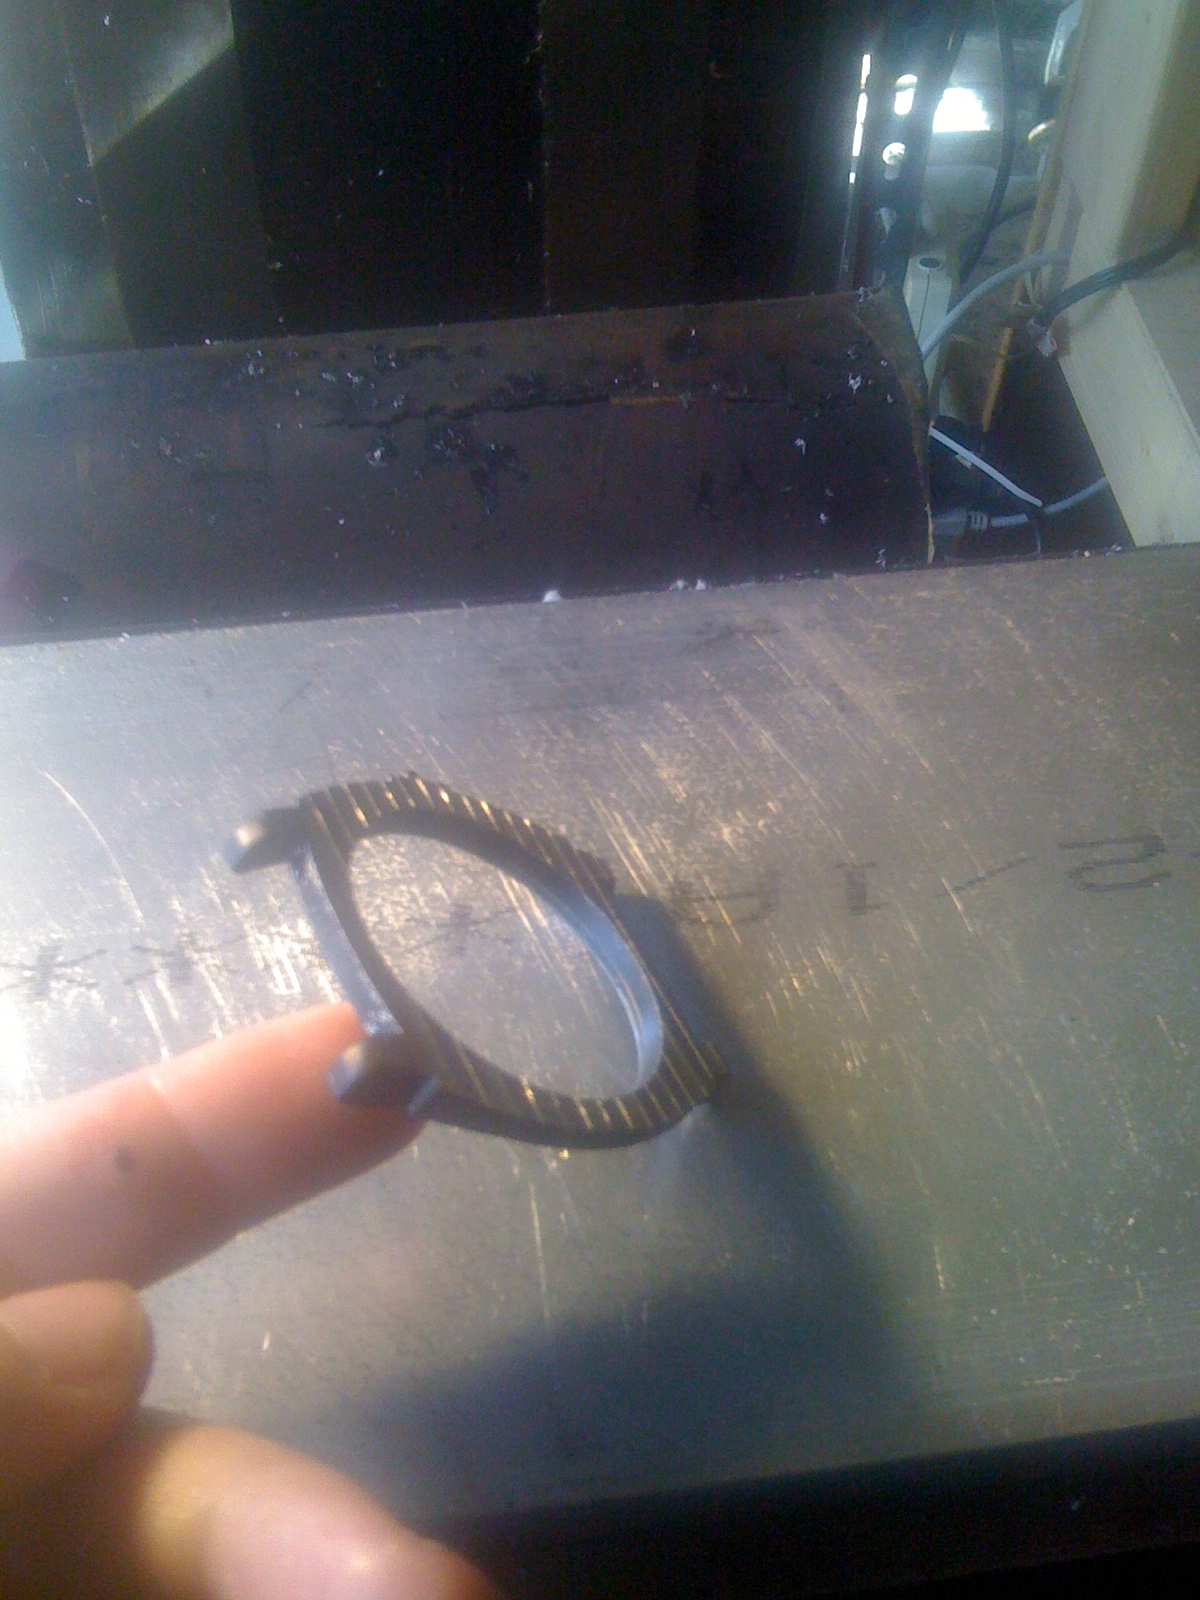
For mounting, believe it or not, with light cuts 3M heavy duty double-sided foam tape has enough strength to hold the watch during machining. The watch pictured here is just taped to a ½ inch thick block of aluminum.

Machining down the case

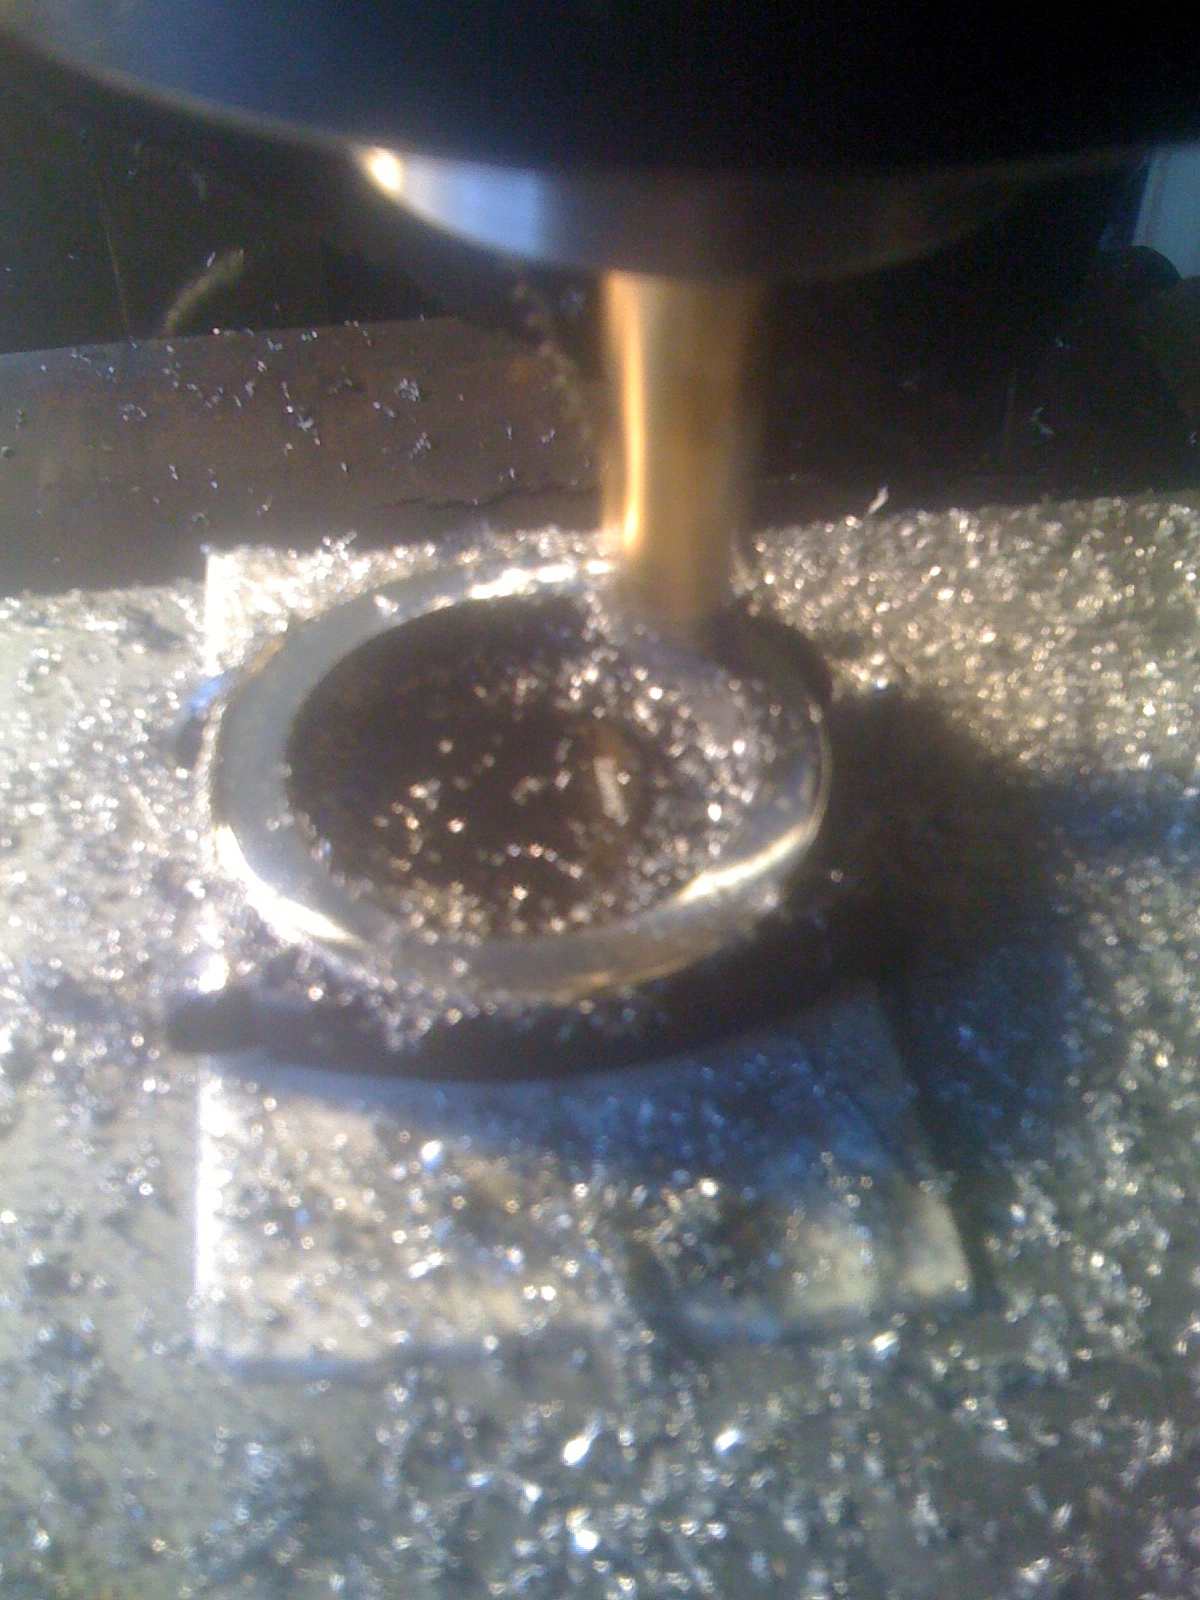
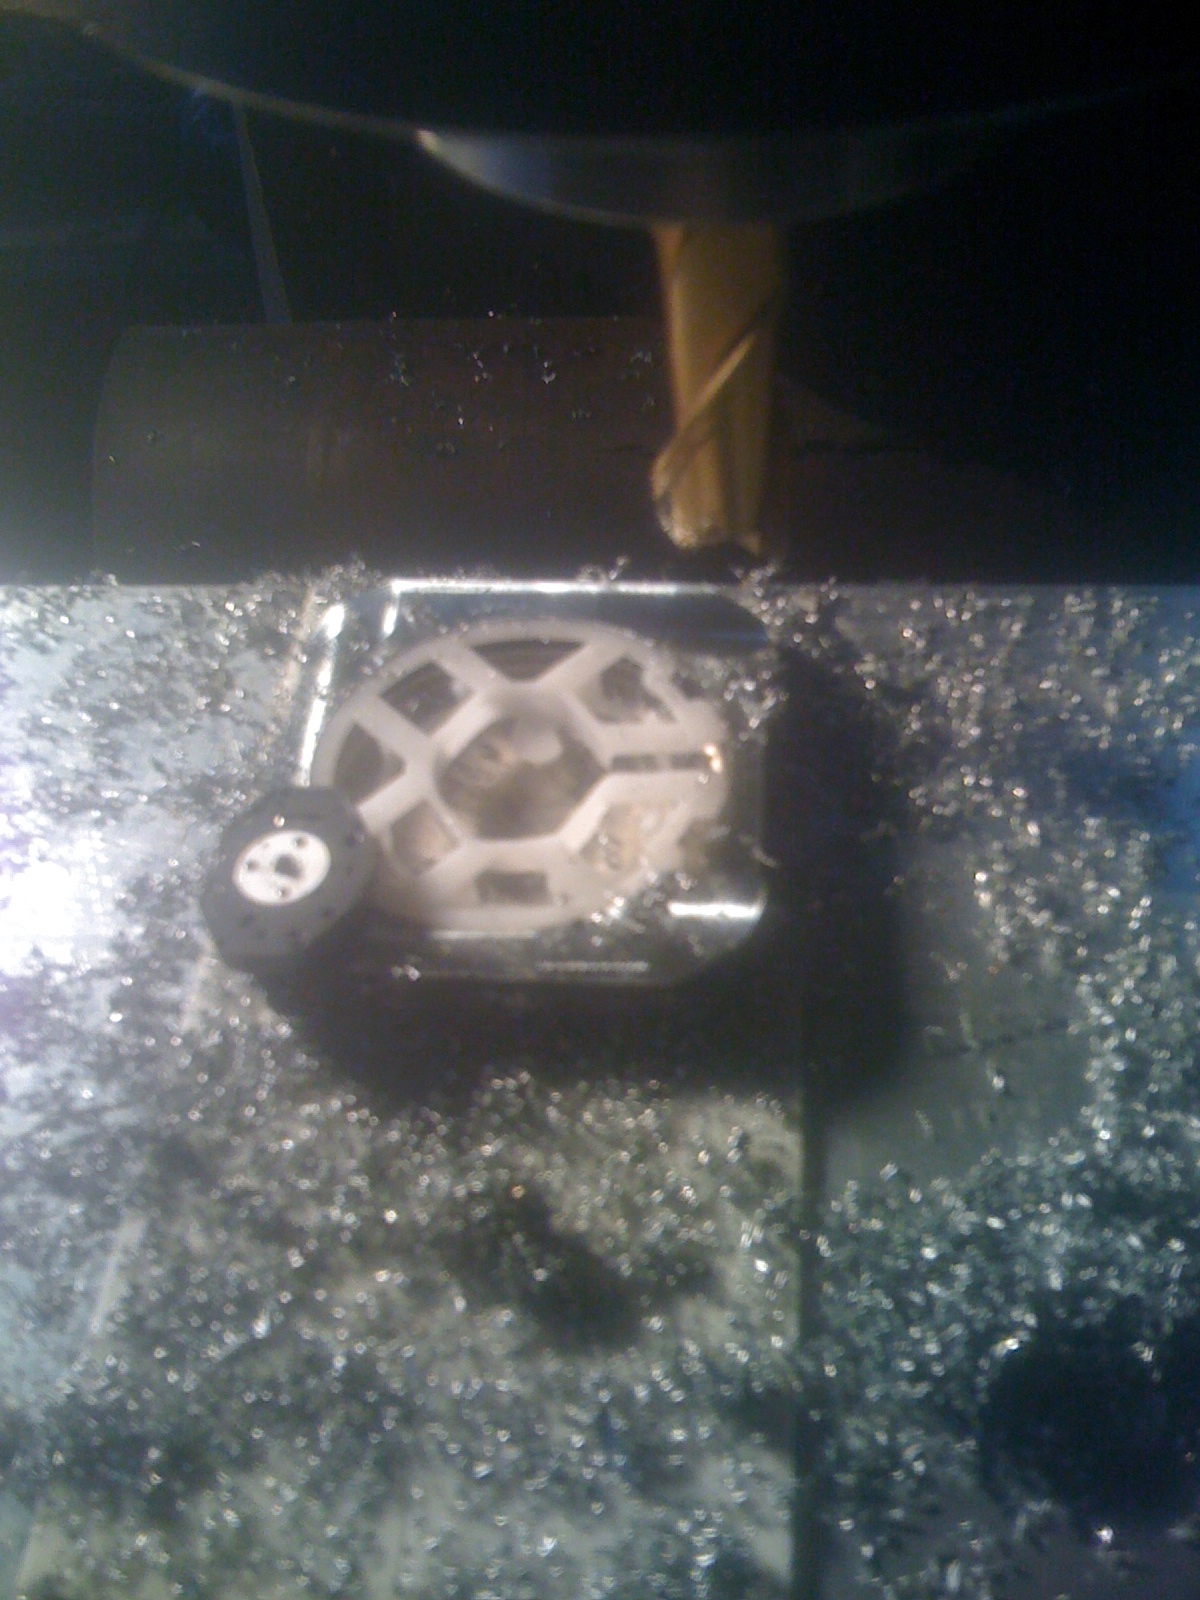
At this stage you can just take light cuts, milling the watch down to expose the movement cavity. You can see here something weird about the cheap import watches. A lot of manufactures of cheap watches use a single small movement in all their watches regardless of size, and then use a plastic insert to hold the movement in place. Be careful milling out the case, that insert can catch on the endmill and go flying.

I didn’t remove the movement from this watch prior to milling, as the back was actually glued shut. Like I said it was a really cheap watch. Once you mill off the top you can remove the movement out the front, and then fix the back so it opens.

Exposing the movement

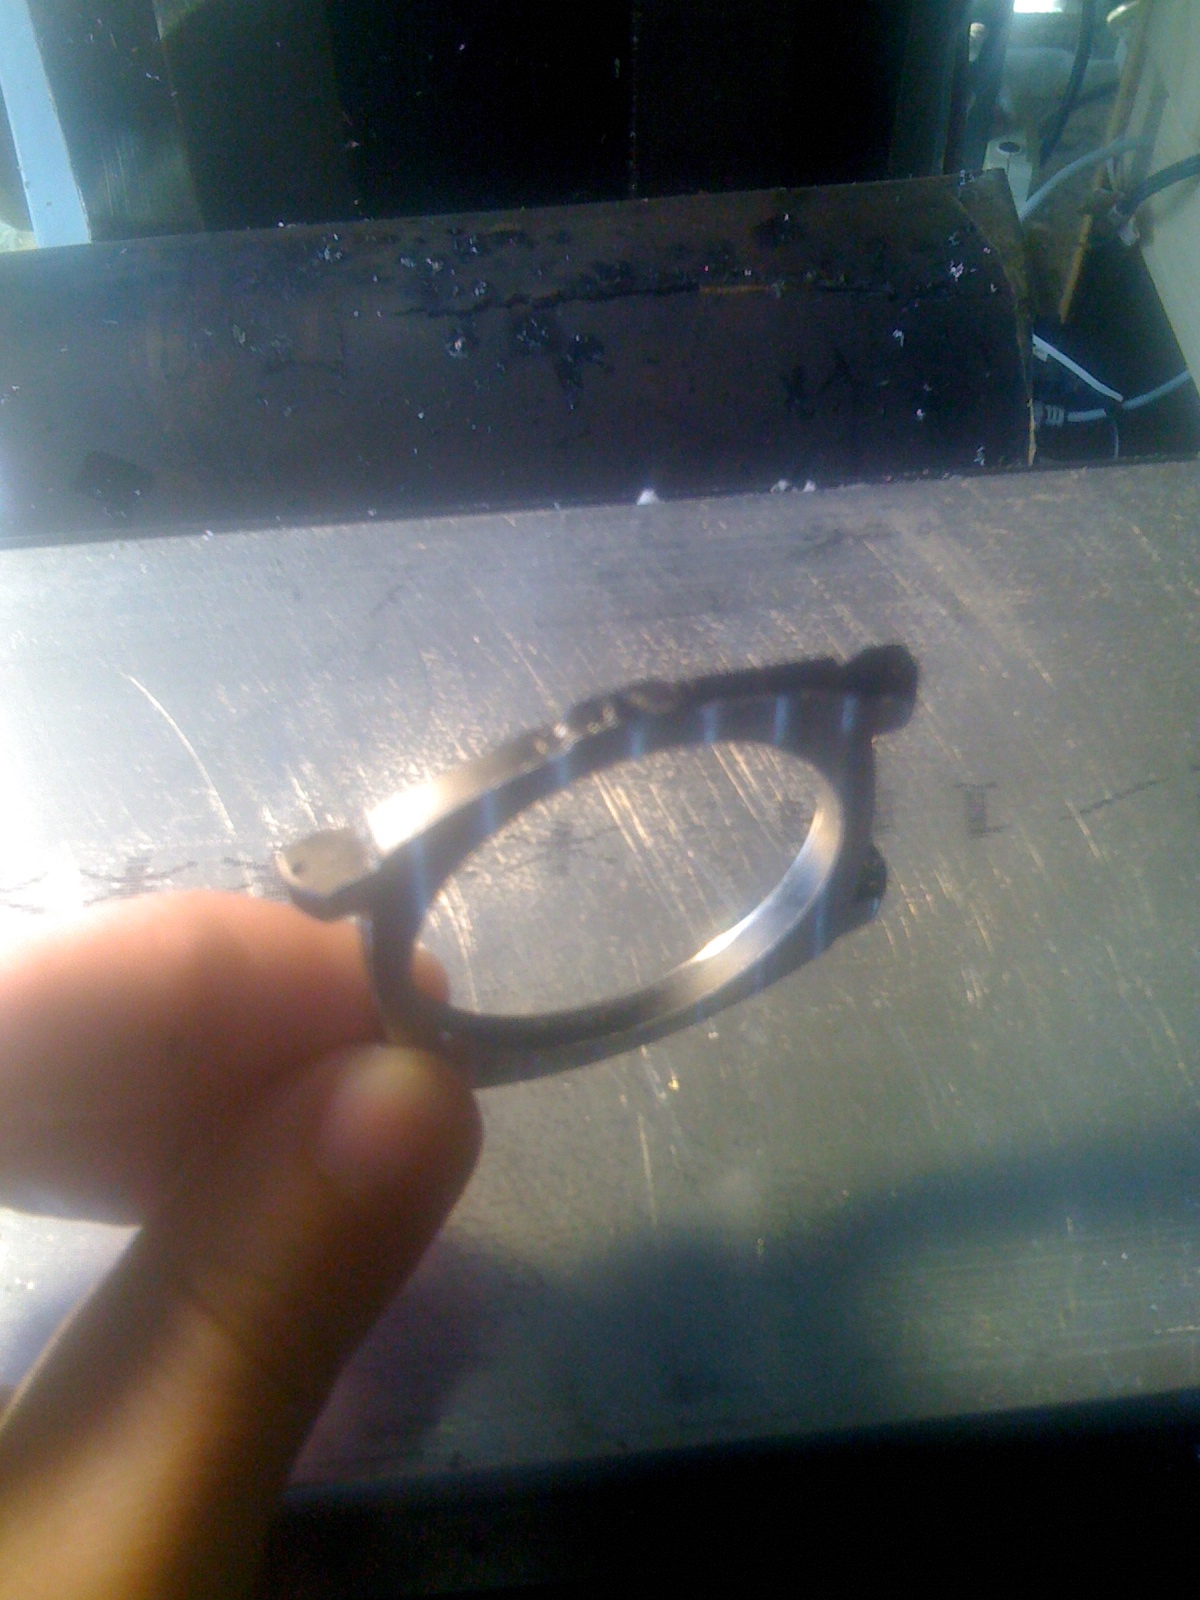
So when you are done – you are left with something like this. A base piece that is watch shaped, with mounts for attaching a watchband. With a little caliper work at this point you can design a 3D printable top that is pretty arbitrary, to hold your prototypes guts. With a few iterations of hitting the print with high build spray on primer and sanding, and matching the paint color to the frame, you are left with what looks like a single cast watch frame.

Watch_Prototyping_Trick_Finished_P2

Watch_Prototyping_Trick_Finished_P1

I have found this trick yields very reliable, solid, wrist worn prototypes that actually end up looking like watches. Unfortunately, all the prototypes I have done this for were under NDA, but I think this post should give enough of the idea that people can repeat the process. Happy prototyping.

Categories
Uncategorized

Thing a day, Thing #23 Hex Wrench Rack

I am working on a few side projects at the moment and took a few days off from thing a day. I’still am shooting to wrap up the experiment on thing #30. So to get back to it – things number 20, 21, and 22 were more drawer liners and look just like things 13, 14, and 15. Unfortunately I have a lot of drawers that I want to make liners for, so I am chipping away at them.

Thing number 23 is another tool rack. I have been building a couple projects that all use hex nuts, and are spread over multiple benches in the shop. Figured I would make a traveling rack for hex wrenches.

Thing_a_day_number_23

This is the first time I used ball end wrenches, and I have to say – I really love them. Specifically, they let you drive the hex nuts from an angle of up to 30 degrees. As mechanism get more complex that’s a really sweet benefit.

Categories
Thing a day

Thing a day, Thing #19 PCB mill Z axis motor

Today’s thing, thing number 19, is a Z axis motor mount plate for the PCB mill. It will sit on the back of the aluminum plate and drive the Z axis. I’m still not wild about this as a solution, but it should do the job, and I want to get started cutting the PCBs for my prototypes asap.

Thing a day, Thing #19

I was going to call the thing a day experiment after 30 things, figuring it was more or less a months building stuff. Its not like I don’t have a huge pile of small projects – the very projects the experiment was attempting to clean out – but I seem to be gravitating towards working on parts of the very the larger project that were eclipsing the smaller ones. I think the “thing a day” idea was solid, but maybe only for one week every month or two.

Categories
Thing a day

Thing a day, Thing #18 PCB mill parts

Thing number 18 is actually a couple of parts needed for making my PCB mill. I am building some proof of concept prototypes that will need a lot of very simple PCBs – so I am upping the priority of bringing my old mill back to life. Now that the holidays are over I want to get back into the pace of a thing a day. At least for another 12 things.

I swapped out the electronics for a Spark fun quad stepper board I had left over from a project a few years ago. So first thing was a PCB mount that included a small fan pointed at the motor driver. The electronics are only temporary, since they require a parallel port connection – but I want it up and usable fast.

shopthing_a_day_Jan2015_thing18_electronics.

The next upgrade was to add a spring-loaded table to the mill. This should let me level the table within a 1-2 thousandths of an inch. There’s a nut on each corner and tightening and loosening the nut in each corners changes the slope of the table.

shopthing_a_day_Jan2015_thing18_table_leveling

Finally I mounted a new motor to an aluminum backing plate. I still need to make a stepper and lead screw mount in order to raise and lower the new z-axis. Once I have that sorted exactly I will trim the plates down a few inches to fit. After that I need to add back the optical end stops I ripped out of the mill when I started upgrading.

shopthing_a_day_Jan2015_thing18_motor