Categories
Prototyping

Prototyping a custom leather sheath

Yesterday I got to work with a craftsman to prototype up something I have been wanting for a long time, a custom knife sheath. I had been intending to make the prototypes myself – and even gone so far as ordering leather and leather working tools. Fortunately for me I met Chris from Cedrus (https://www.wearecedrus.com).

After talking for a while about what I was making – he was able to help me put together a prototype to wear around for a few weeks. The goal being to figure out any problems with the design and get it really tuned for me. At which point we could get a real one made. It is worth saying that Chris’s idea of a quick prototype is better than most custom made sheaths I have seen. If I had not watched him crank it out I just never would have believed how fast it came together.

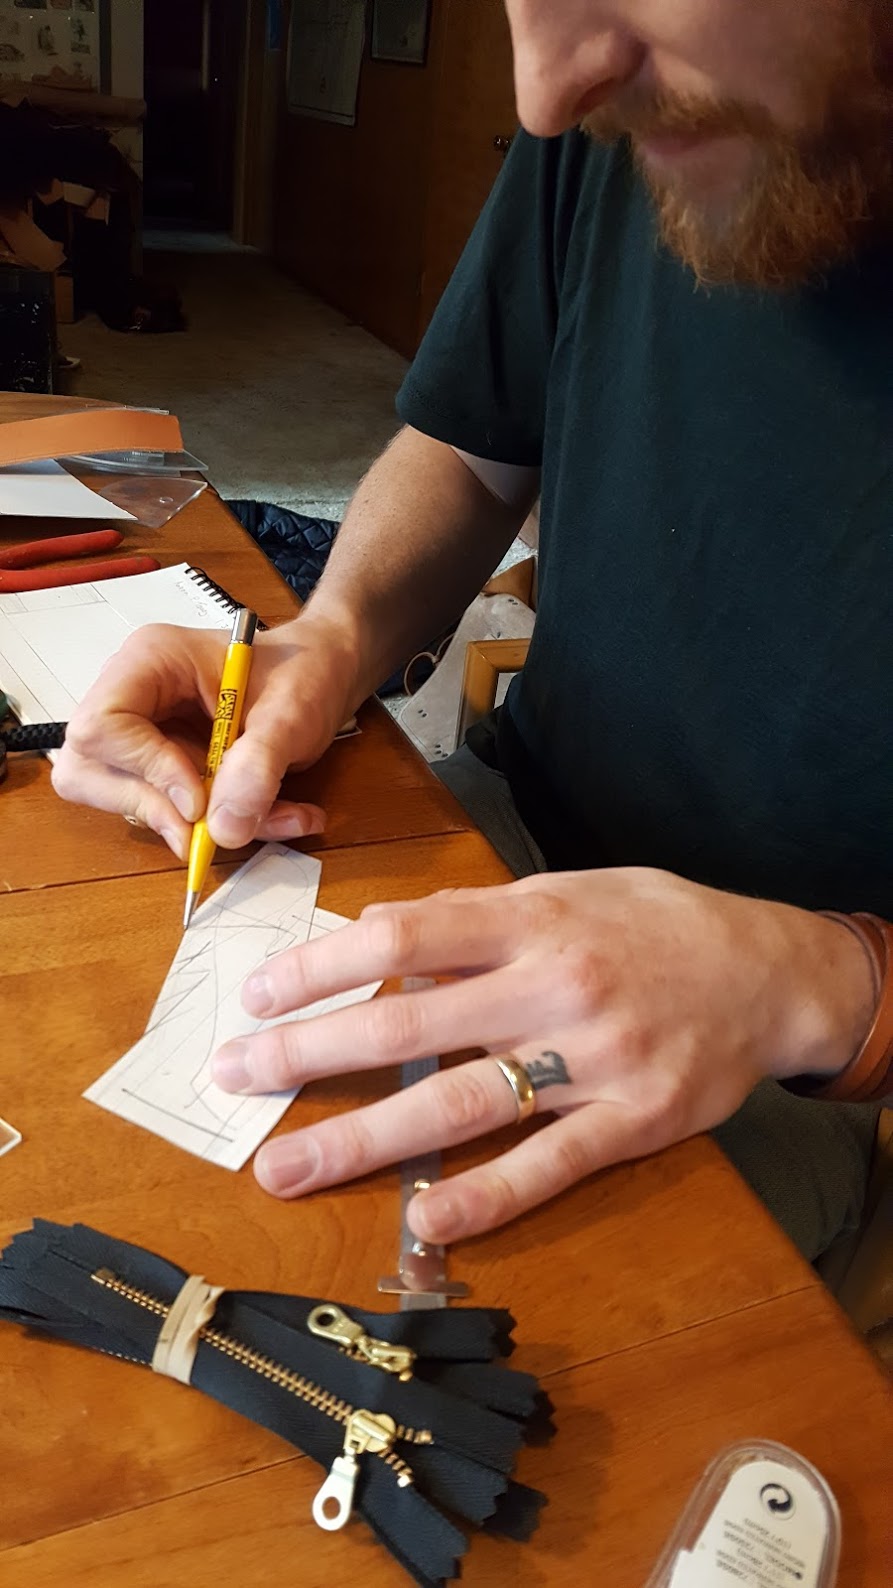
He started by talking to me about what I wanted and why I wanted it. It was an amazingly familiar process, just a bit odd as I am used to being on the other side of things. Then we started sketching different designs out of paper.

cedrus_p1

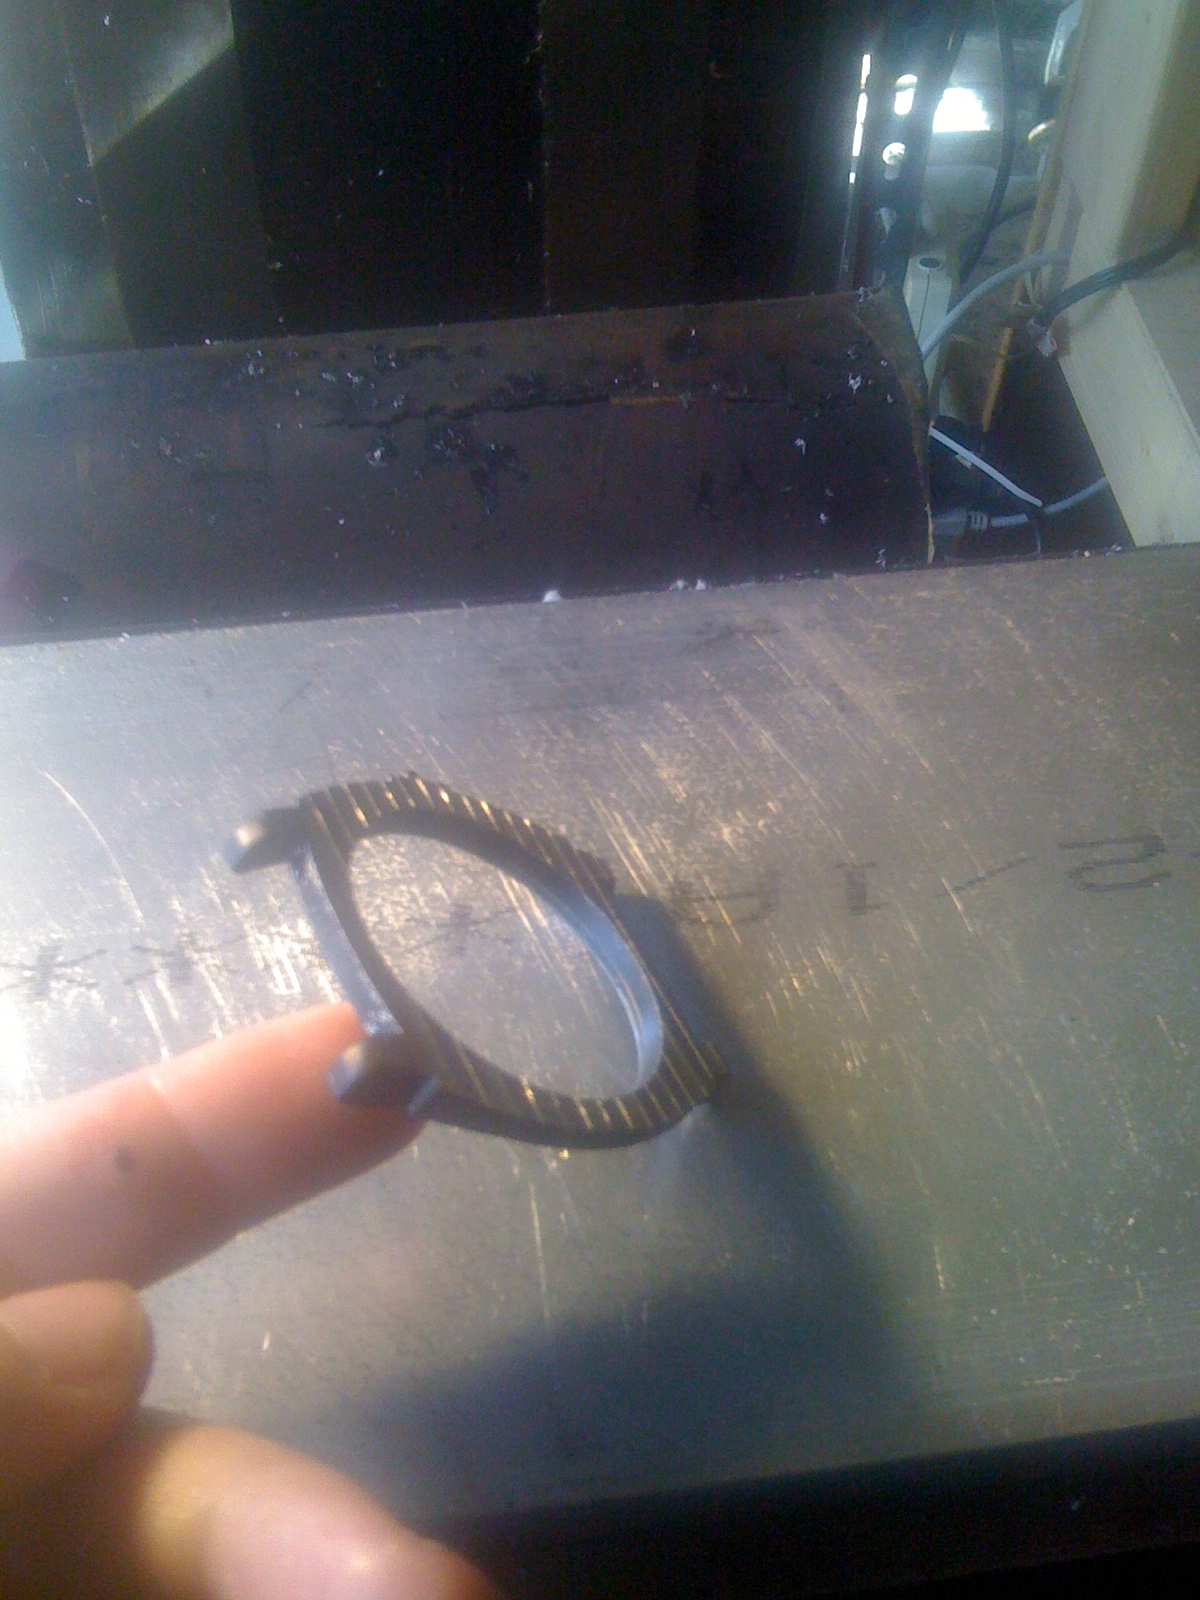
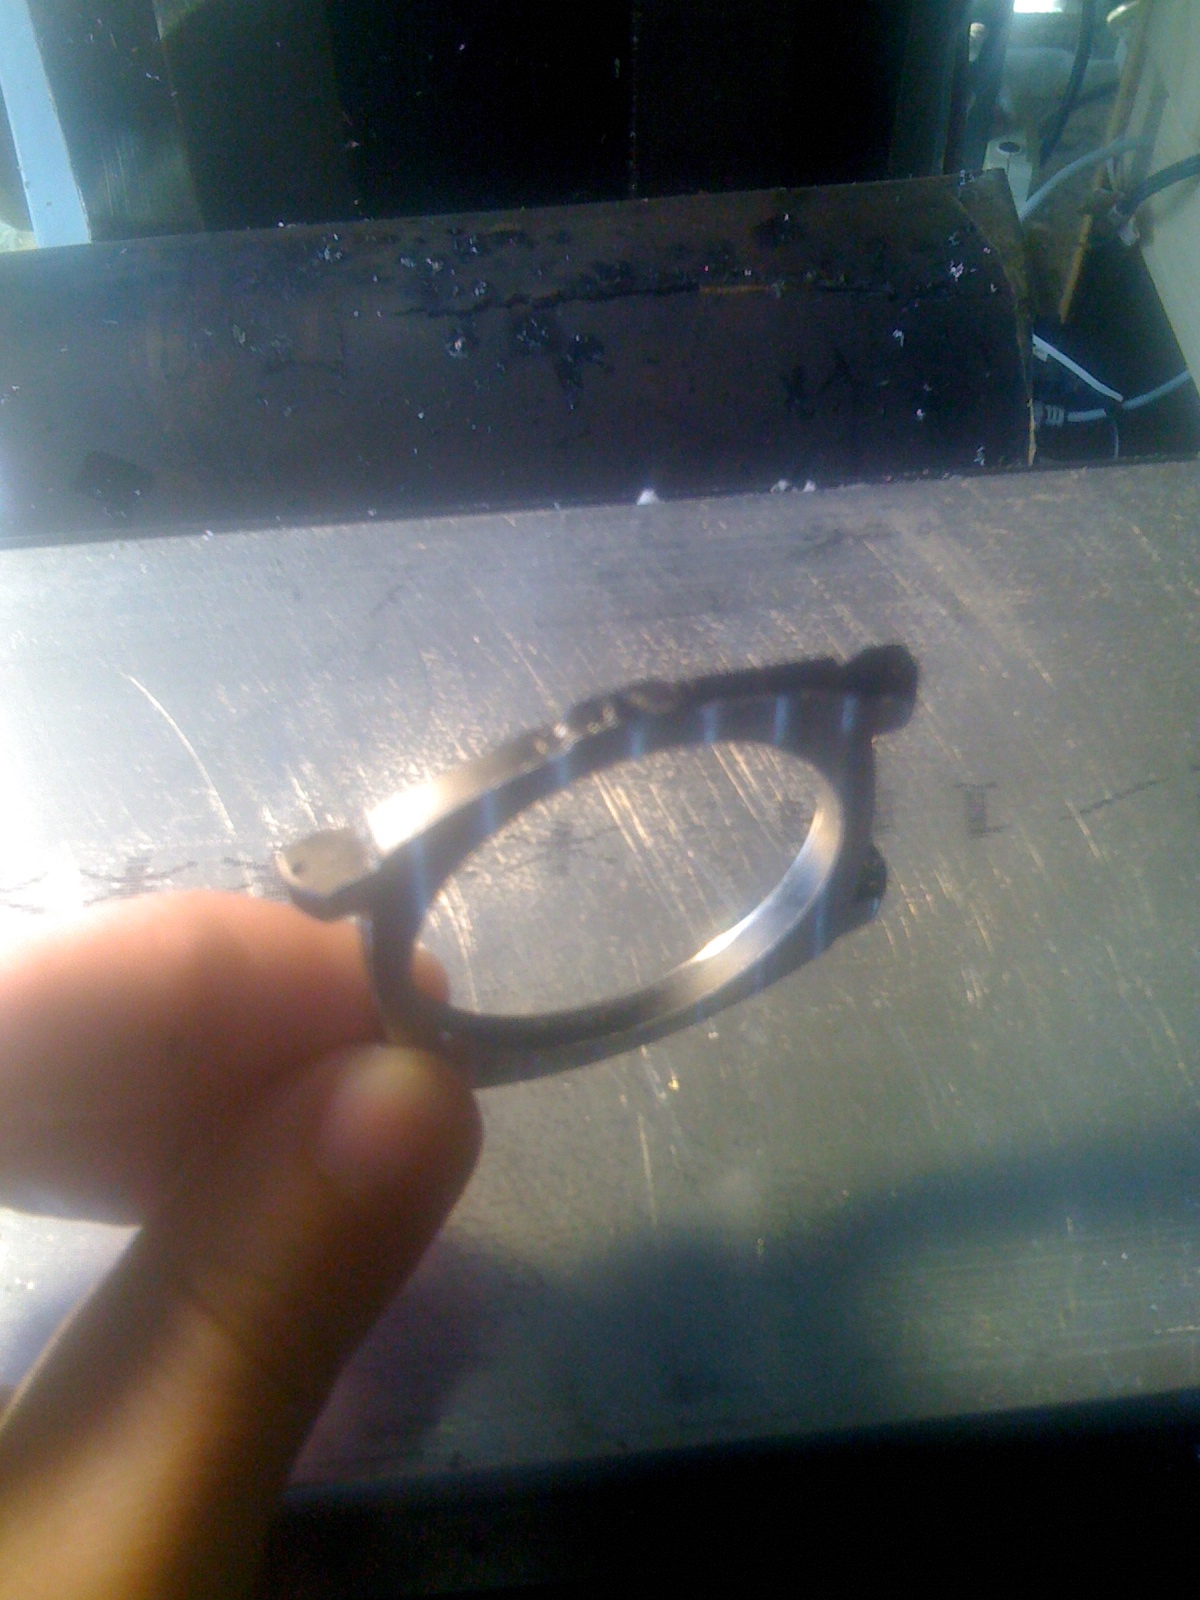
From there he cut the template pieces out of leather, and stitched it together. Probably a dozen hours of trial and error to get something similar had I attempted it myself, all done while I watched.

cedrus_p3b

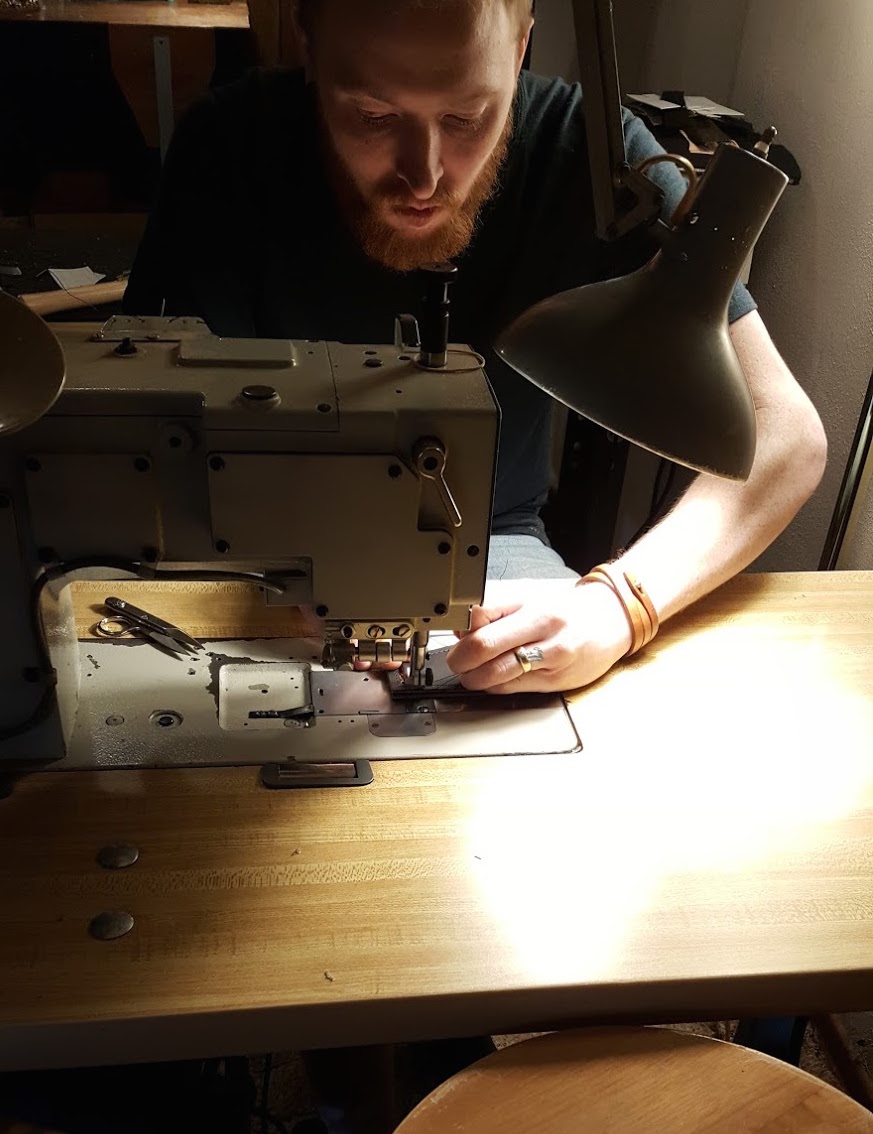
I always love watching a crafts person, who knows what they are doing, in their own shop just cranking through a project. Shows me just how much is left out there to learn. If you have never had something custom made for you, I can’t recommend it enough. This is already the best sheath I have worn. It is comfortable, and just disappears when you put it on. The angle of the knife handle is the angle of my hand as I reach for it. So using it just feels right. I even forgot I was wearing it when we went to clean up. If you have every worn a Kydex sheath ( a type of hard plastic), they are at best bulky and awkward and you never forget they are there. Best of all, we extended the leather with a strip so you don’t poke yourself in the back when you re-sheath the knife.

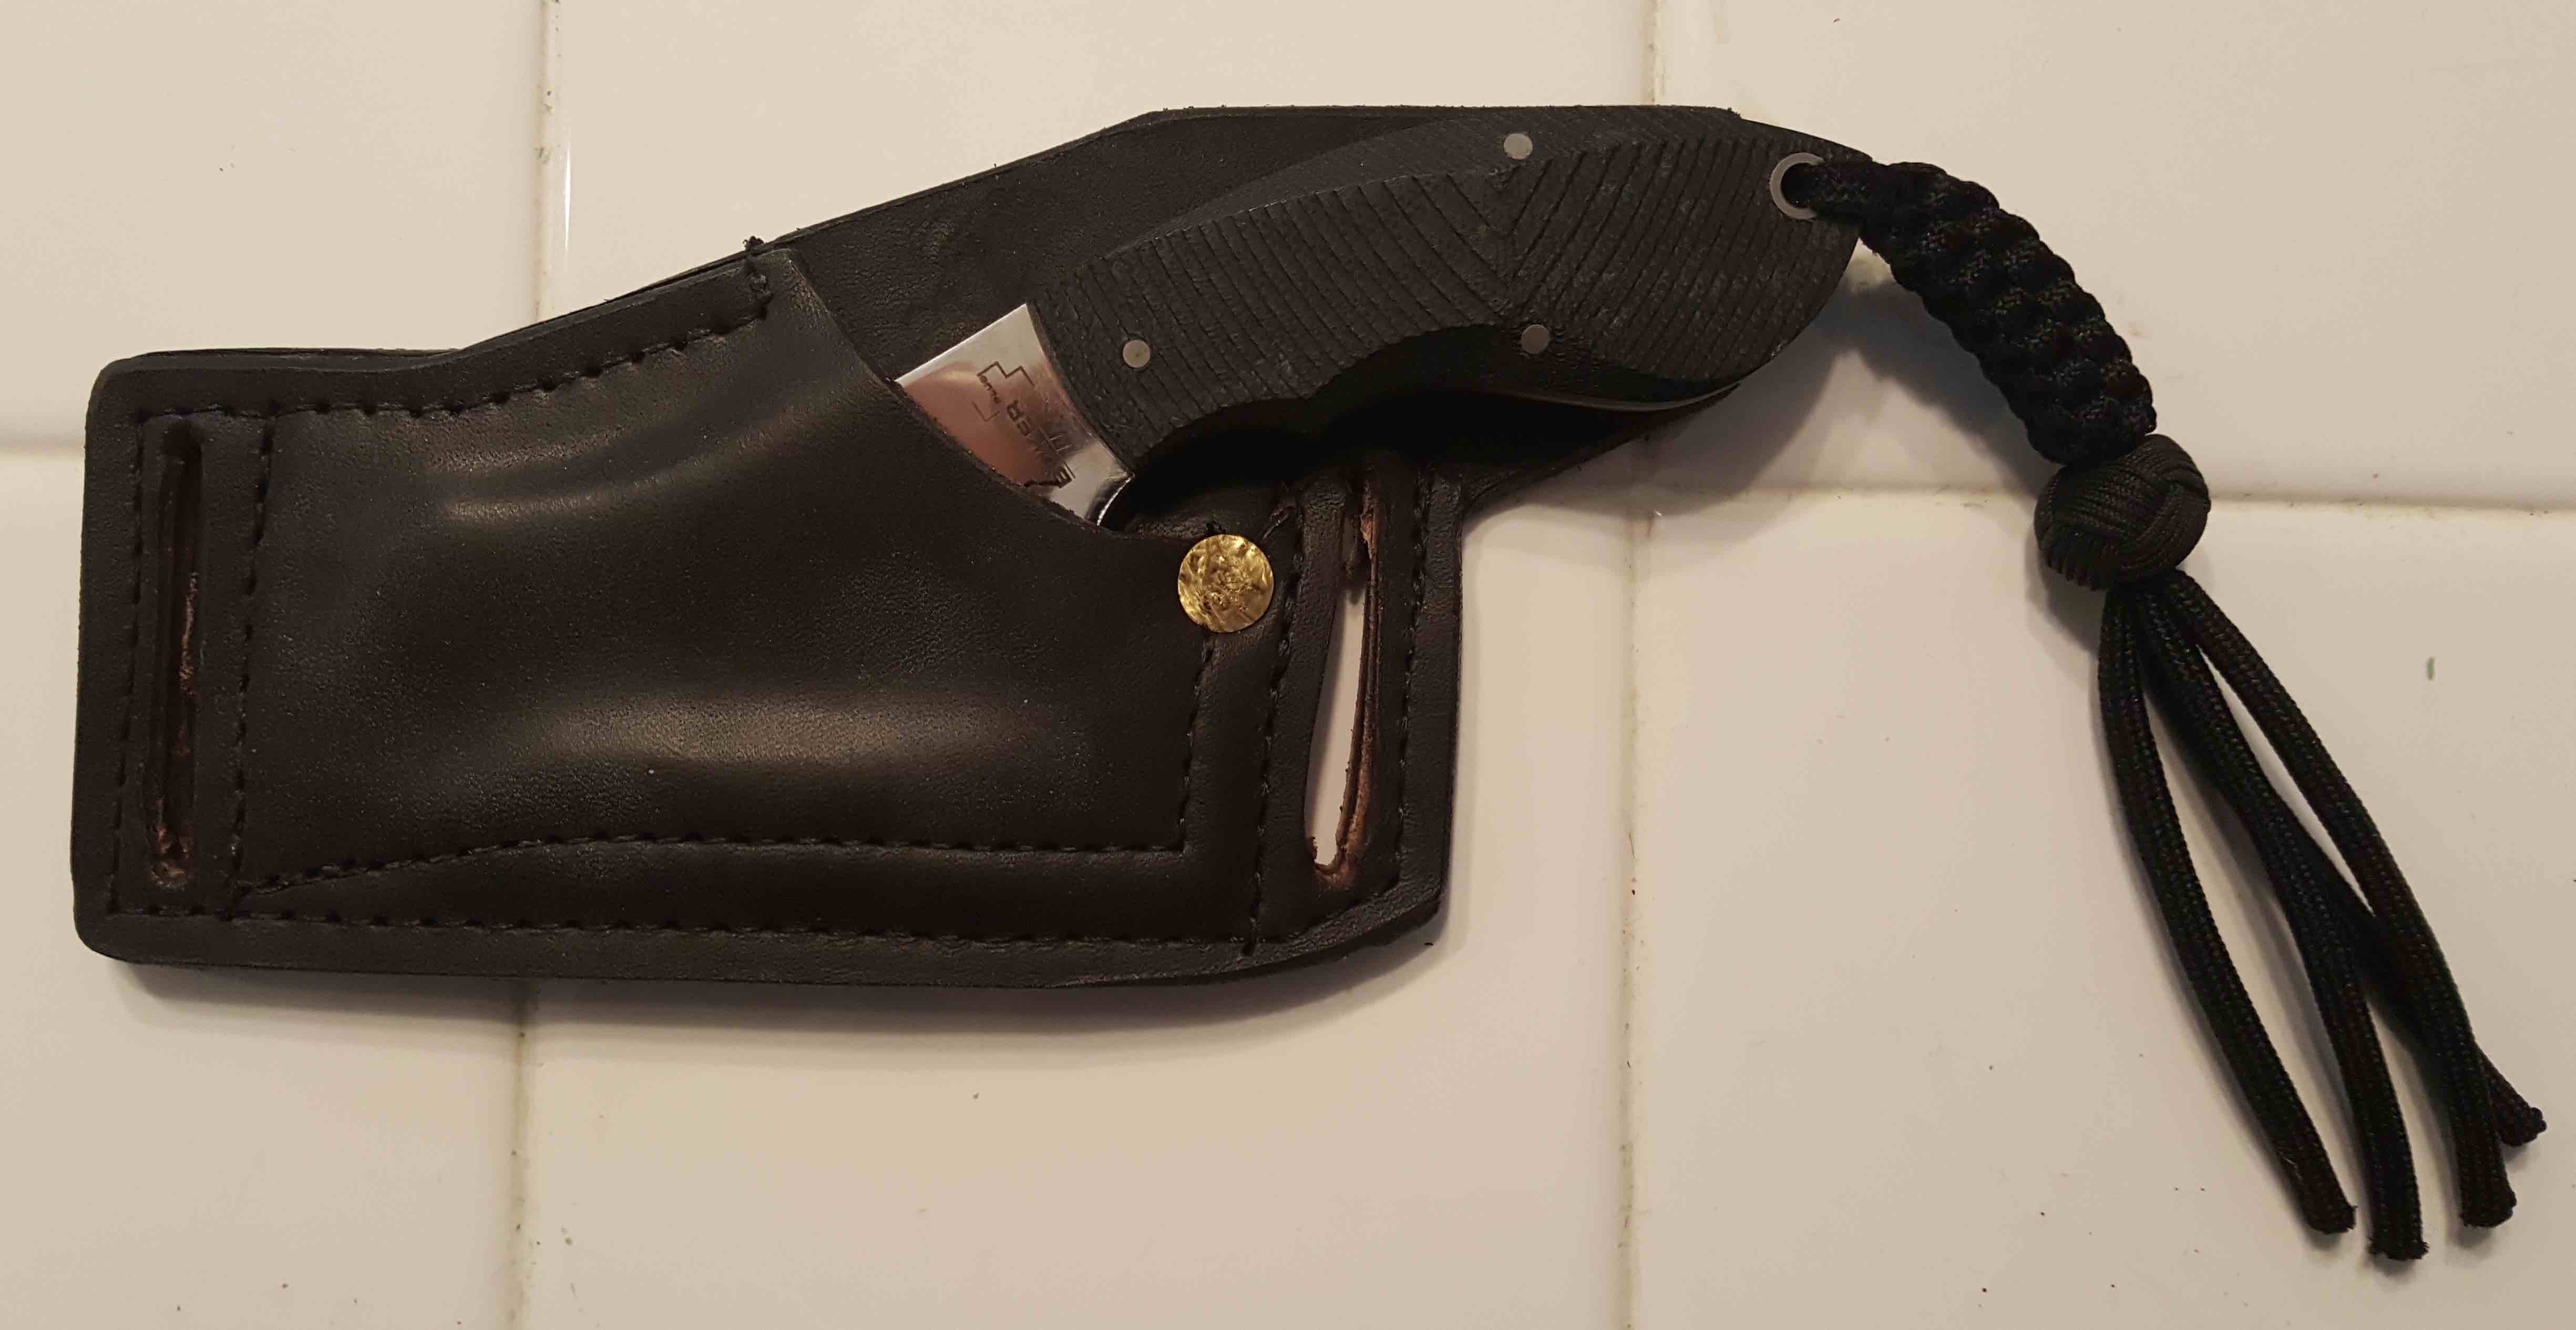
Here is the prototype we came up with. The knife is a Böker Rhino. It has a sheep foot curve to the blade and a thick spine. Best of all it is not that expensive. So it is great for heavy every day use and abuse. Best of all it does not look threatening. I love this design. It lets me horizontal carry a knife on the small of my back, without looking like I am some wacko who secretly want to be Rambo.

cedrus_p4

I’m really glad we prototyped this. I already found one or two small things I’d like to tweak for the final design, but it is already way better than I had hoped.

If you are looking for a sheath I highly recommend reaching out to Chris.

Categories
Prototyping

How to compliment an engineer….

Showing someone a design I came up with today I got the best of all compliments for an engineer:

I am paraphrasing but conversation went something like this:

“Thats weird!”

“So you don’t think it will work?”

“No, it will work, and we should definitely do it, but its just weird!”

And ladies and gentlemen, thats how you compliment an engineer.

Aaron

Categories
Prototyping

The changing face of prototyping

Cleaning up the shop I found my clay and wax working tools hadn’t been used in years! Not that long ago – just 8-10 years ago – before cheap access to 3D printers – and I used to have to make my initial physical prototype concept mockups by sculpting them from clay or wax.

Looking in the boxes is a weird dichotomy. On the one hand it seems like such a long time ago in the building of my skillsets, but against the backdrop of my life it seems like I was just carving up models.

obsolete_prototyping_tools

The icing on the cake was I then uncovered a wall of boxes of parts scavenged form old electronics from the days before you could easily order parts. While I do feel old now – my shop is much cleaner.

Categories
Prototyping Startup Ideas

I love the smell of Prototyping in the morning!

I love the smell of prototyping in the morning! Of course I am only ever seem to smell my prototypes cooking after a long day of hacking – but still there is nothing like the smell of prototypes in the early evening!

I am working on a small team prototyping a new IOT device. Over the last few days we brought up the prototype hardware I designed, getting the components stuffed, tested, and the main control chip successfully programming and running debugging software. The MKW40Z160 is just an awesome chip – I am looking forward to using it on a lot of projects. They integrated everything but the kitchen sink when designing it – Bluetooth, DC/DC converters and battery charger, capacitive touch sensors, and a boatload of peripherals.

The one problem with prototyping around the MKW40Z160 is that its pin pitch is a on the small side. The suggested footprint has a 3-mil inter pad spacing. For hand stuffed prototypes that had me nervous. A 3-mill spacing is not a problem when using a hand solder paste dispenser and hot air nozzle to reflow the chips one at a time, however testing this design required making make a small volume runs by hand. It turned out to not be a problem at all.

We got the boards from SeedStudio, and were pleasantly surprised by the board quality. We ordered a solder mask stencil with the order, and used the stencils to pull solder paste onto our boards.

Pulling_solder

The stencils were welded to an aluminum frame, and intended to be used with a stencil alignment jig. We were able to get by making a red-neck jig from some PCB off cuts, and angle iron. We used score and snap taps on our panelized design. We glued the snapped off pieces down to a sheet of metal to hold the boards in place. We then aligned the frame over the PCB under the microscope. Once the stencil was aligned one of us held it in place while the other glued 1/4 inch aluminum angle iron around the frame to hold it in place. It worked surprisingly well. Once the glue dried we could pull and reseat the stencil over boards quickly and accurately.


Inspecting_solder_pull_p2.jpg

When pulling solder past onto the boards it is important you get a clean, slow, pull when putting the paste down. You can not easily go back and fix a bad pull. We had some luck using a clean metal squeegee to scrape the stencil at a right angle from the previous pull, then re-pulling the solder past, but the results – while usable – were never as good as just getting it right the first time.

Reflow_oven

The next step was reflowing the boards. Despite what you will read online – avoid the solder skillet technique; it is garbage. Toaster oven reflow actually works really well. I never had much luck with my own toaster oven reflow attempts until I made two small modifications.

The first oven modification was adding aluminum foil to the front window of the oven. You loose most of your heat out the glass front of the oven, and adding a layer of aluminum foil, held down by Kaptan tape, reflects a lot of the heat back into the oven. I initially cut a small viewing hole in the foil, but I would not recommend that as it creates a huge thermal stress on the glass. The second oven modification was adding dual temperature sensors to monitor the inside of the oven directly. For $60-70 from amazon you can pick up a dual probe temperature sensor, and it negates the need for the “window” in the aluminum foil.

With these modifications you can reflow conventional solder pastes, but we experimenting with low temperature solder paste, but so far the stuff is proving awesome – you only need to heat things to 160C as opposed to 250C. So much faster and easier to use.

Second_board_run_8units

Categories
Projects Prototyping Smart Matter

Finishing the extruder mechanical assembly…

I love long weekends. The rest of the parts I ordered finally showed up Friday, and I was able to finish assembly of the main extruder body. Well “finish” is a bit of a stretch. I’m going to tear it down to machine some of the metal parts, and then re-assemble it – but I’m happy with the design expect to be able to start installing the electronics.

Its nice to see things finally shaped up the way I designed them in SolidWorks.

SmallBodelTableAssembly

IMG_20150905_235601

Its weird, you can make and test incredibly complicated designs in CAD, and these days 3D printers even let you hold versions of the parts as you design them, but most times it is not until I do the physical assembly of the first prototypes that I really feel a sense of accomplishment. There is feeling of transformation from virtual to the real that takes place somewhere during assembly, and it is a transformation that I have been unable to satisfactorily quantify or capture.

As an HCI researcher that elusiveness is a problem I have been chewing on, trying to figure out how to attack for a while now. We are about to see an explosion of virtual and augmented reality technologies release for public consumption – and it seems like understanding what drives that magic transformation will be critical. It is however, not the problem I am working on currently – so back to work.

Categories
Projects Prototyping Smart Matter

“The Turn”, my favorite part of prototyping

One of my favorite moments in bringing an idea to life is when the assembly bench is loaded with parts, and you are about to start assembly of everything for the first time. I never thought of it in these terms before – but it is actually like “The Turn” in a magic trick. You are, as you assembly the various bits, taking a bunch of ordinary things and transforming them into something extraordinary.

Christopher Priest explains the parts of a magic trick in The Prestige:

Every great magic trick consists of three parts or acts. The first part is called “The Pledge”. The magician shows you something ordinary: a deck of cards, a bird or a man. He shows you this object. Perhaps he asks you to inspect it to see if it is indeed real, unaltered, normal. But of course… it probably isn’t. The second act is called “The Turn”. The magician takes the ordinary something and makes it do something extraordinary. Now you’re looking for the secret… but you won’t find it, because of course you’re not really looking. You don’t really want to know. You want to be fooled. But you wouldn’t clap yet. Because making something disappear isn’t enough; you have to bring it back. That’s why every magic trick has a third act, the hardest part, the part we call “The Prestige”.

smart_matter_prototype_Aug31st2015

Pictured here is the proof of concept I am currently working on for a smart matter extruder. So far it has been about 80 hours of non-stop printing, and I am waiting for the last mechanical part to finish printing so I can start assembly.

Categories
3D Printing Prototyping

Impressions of the Printrbot simple

The prototypes I am building required enough printing that I decided to get a second printer. Looking at what was available I decided to go with the Printrbot simple, and all and all I have been impressed with it.

Since I was in a hurry I spent the extra $50 and bought the printer pre-assembled and ready to print. Surprisingly it really was ready to print. I just slid it out of the box, plugged it in, and was printing 20 minutes later. Hey, I read the directions.

Even with the heated bed upgrade the printer was only half the cost of the Replicator Mini – so I was pleasantly surprised to see the print quality rivaling any Makerbot I have used. It definitely is better than the uPrint printers I have used. Given that, and that it does not use proprietary filament I have to say I am quite happy with the printer.

printrbot_2_23_2015.jpg

So what I was not happy with was my first real print turning into a blob of molten plastic. It is not as bad as it looks, just 2 hours with a hot air pencil to clean the head up. Recalibrating the auto leveling Z sensor fixed things and the printer has been running non-stop.

printrbot_jam_2_23_2015

The one horrible thing is the Cura software they suggest using for the printer – so I am planning on at least switching to something like Pronterface soon.

So all in all I am very happy with the printer. The blob was my rushing things because I was impressed with the printer and wanted to play with it. I’ll probably build it an enclosure, and swap out the hot end eventually, but it was well worth the $750.

Categories
Prototyping

A quick trick for prototyping watches that look like watches

So I have seen a lot of really cool watch prototypes lately, and most of them have been horribly finished. So I figured I’d post about this trick I’ve used prototyping watches a number of times. It lest you pretty quickly make a watch prototype that looks like and off the shelf watch. While the trick delivers really nice looking prototypes, it is about more than just vanity. For a watch prototype, the mount is critical. It’s the foundation everything will be built atop. The mount be comfortable, well balanced, and robust enough to actually survive on someone’s wrist without them having to consciously change how they go about their day. The trick, is for a prototype to achieve all those attributes by repurposing an existing watch.

Basically you can buy a cheap (say $20 watch) for its case. You want to pick out out a watch with enough size to house your intended electronics. The watch I am demonstrating the technique with here is one of the huge ugly watches that were recently popular, but the trick works with watches of all sizes.

Mounting the watch case

Once you picked out your watch you want to remove the band and the glass, and mount it to a backing plate. Make sure that the watch you are buying actually has a removable band, not all of the cheaper ones do. As for the glass, some of the cheaper watches glue the glass in place – but for this trick you can usually just tap it out with a tiny hammer.

For mounting, believe it or not, with light cuts 3M heavy duty double-sided foam tape has enough strength to hold the watch during machining. The watch pictured here is just taped to a ½ inch thick block of aluminum.

Machining down the case

At this stage you can just take light cuts, milling the watch down to expose the movement cavity. You can see here something weird about the cheap import watches. A lot of manufactures of cheap watches use a single small movement in all their watches regardless of size, and then use a plastic insert to hold the movement in place. Be careful milling out the case, that insert can catch on the endmill and go flying.

I didn’t remove the movement from this watch prior to milling, as the back was actually glued shut. Like I said it was a really cheap watch. Once you mill off the top you can remove the movement out the front, and then fix the back so it opens.

Exposing the movement

So when you are done – you are left with something like this. A base piece that is watch shaped, with mounts for attaching a watchband. With a little caliper work at this point you can design a 3D printable top that is pretty arbitrary, to hold your prototypes guts. With a few iterations of hitting the print with high build spray on primer and sanding, and matching the paint color to the frame, you are left with what looks like a single cast watch frame.

Watch_Prototyping_Trick_Finished_P2

Watch_Prototyping_Trick_Finished_P1

I have found this trick yields very reliable, solid, wrist worn prototypes that actually end up looking like watches. Unfortunately, all the prototypes I have done this for were under NDA, but I think this post should give enough of the idea that people can repeat the process. Happy prototyping.