Categories
3D Printing Projects

Filling 3D printed parts with epoxy

Interesting paper on filling 3D printed parts with epoxy resin, which is what I am already thinking of doing for casting a pressure hull. So well worth a read.

The paper is: “Strengthening of 3D Printed Fused Deposition Manufactured Parts Using the Fill Compositing Technique”.

Categories
3D Printing

Making a Nerf Scope

For the last few years I have been working with my nephew on concepts like drawing things you want to build, making schematics, and keeping a lab notebook. We started when he was six, so at almost 8 he is comfortable with the processes. Still I was pretty blown away bow how comfortable he had become with the design process. He showed up for the visit with a bunch of designs. After a Nerf battle, we ended up designing and printing up a scope for his Nerf rifle.

Main thing that blew me away is that he drove the design process, iterating through a bunch of pretty different scope designs on paper before talking to me about what he wanted to build. Then when we were talking, we were able to refer to his drawings, even to the point where he merged two previous ideas coming up with a new one. It was actually really similar to how I normally work with professional designers. It was very cool.

scope_measurements

Something I really liked about projects printing up my nephews designs is that he gets to work though failures, and learn about the power of iteration and value of measuring twice. In this case we designed the scope, but since we were not designing it to fit against a model of the gun – we were not checking clearances. So our first version looked good – but didn’t fit on the support rail.

scope_fail

My nephew got to figure out what was wrong with the design, then how to fix it. After that we revised the design and printed out a new scope, which you can see being tested here. Again, I was impressed that he was not paralyzed by disappointment, we just set to figuring out how to fix things.

scope_test_1

Here’s an action shot of the scope.

scope_p2_mounted

All in all I plan on doing a lot more projects like this. Pretty much the only problems were the boring parts for my nephew. Watching the printer was cool, but after a while that changed into “hurry up and print”. Also my doing the CAD modeling while he watched was hard. I explained stuff and asked him questions so he was engaged while I implemented what he told me to – but it still taxed the attention span of a 7-8 year old. Still, over all we both had a lot of fun and learned a lot. I highly recommend projects like this if you have a printer and a little person.

Categories
3D Printing Toy making

A $6 Nerf Grappling hook

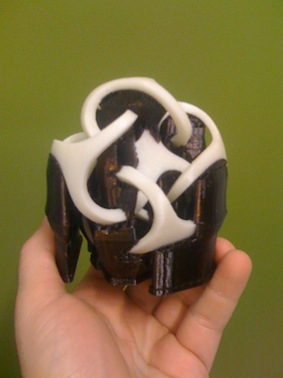
Started printing this version, which prints both the hook and the dart body. Problem with that is the printed dart body does not work with the compressed air spring driven Nerf guns or the electric Nerf guns dart accelerators. It was kind of a disappointment for my nephew.

http://www.thingiverse.com/thing:360571

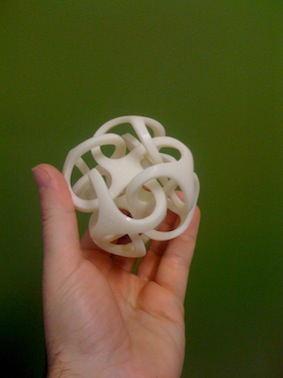
My nephew and I did find this version of the grapping hook. It required cutting up a Nerf dart, but it worked amazingly well. It was also fast to print.

http://www.thingiverse.com/thing:604853

nerf_grapplinghook_dart

We bought a Nerf Jolt to use to launch the darts. Amazon has them for $6, and it works perfectly with the grappling hook dart. They also sell them in groups of 4, which would let parents and adults watching kids to stash them around the house. You know, in case you wanted to retaliate to any surprise Nerf attacks.

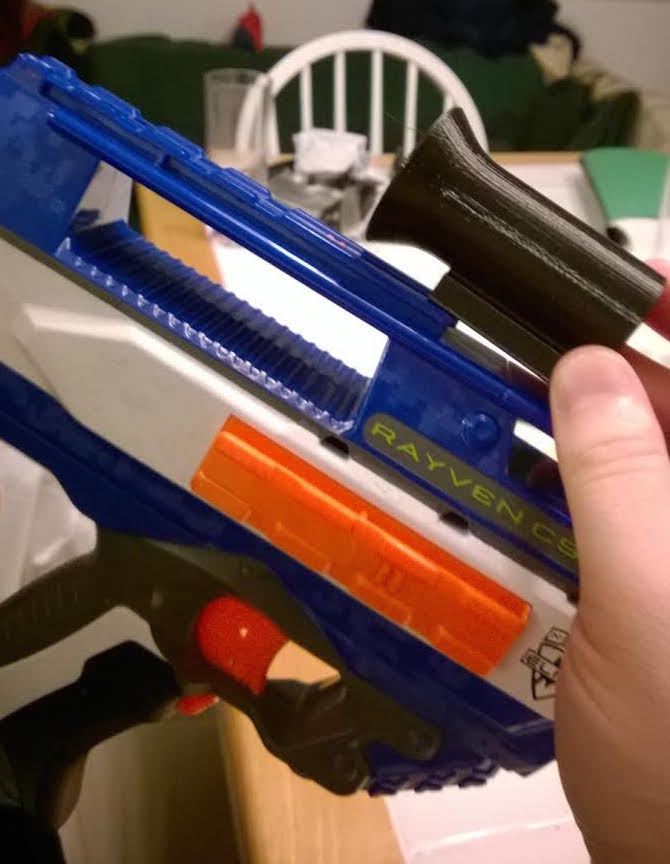
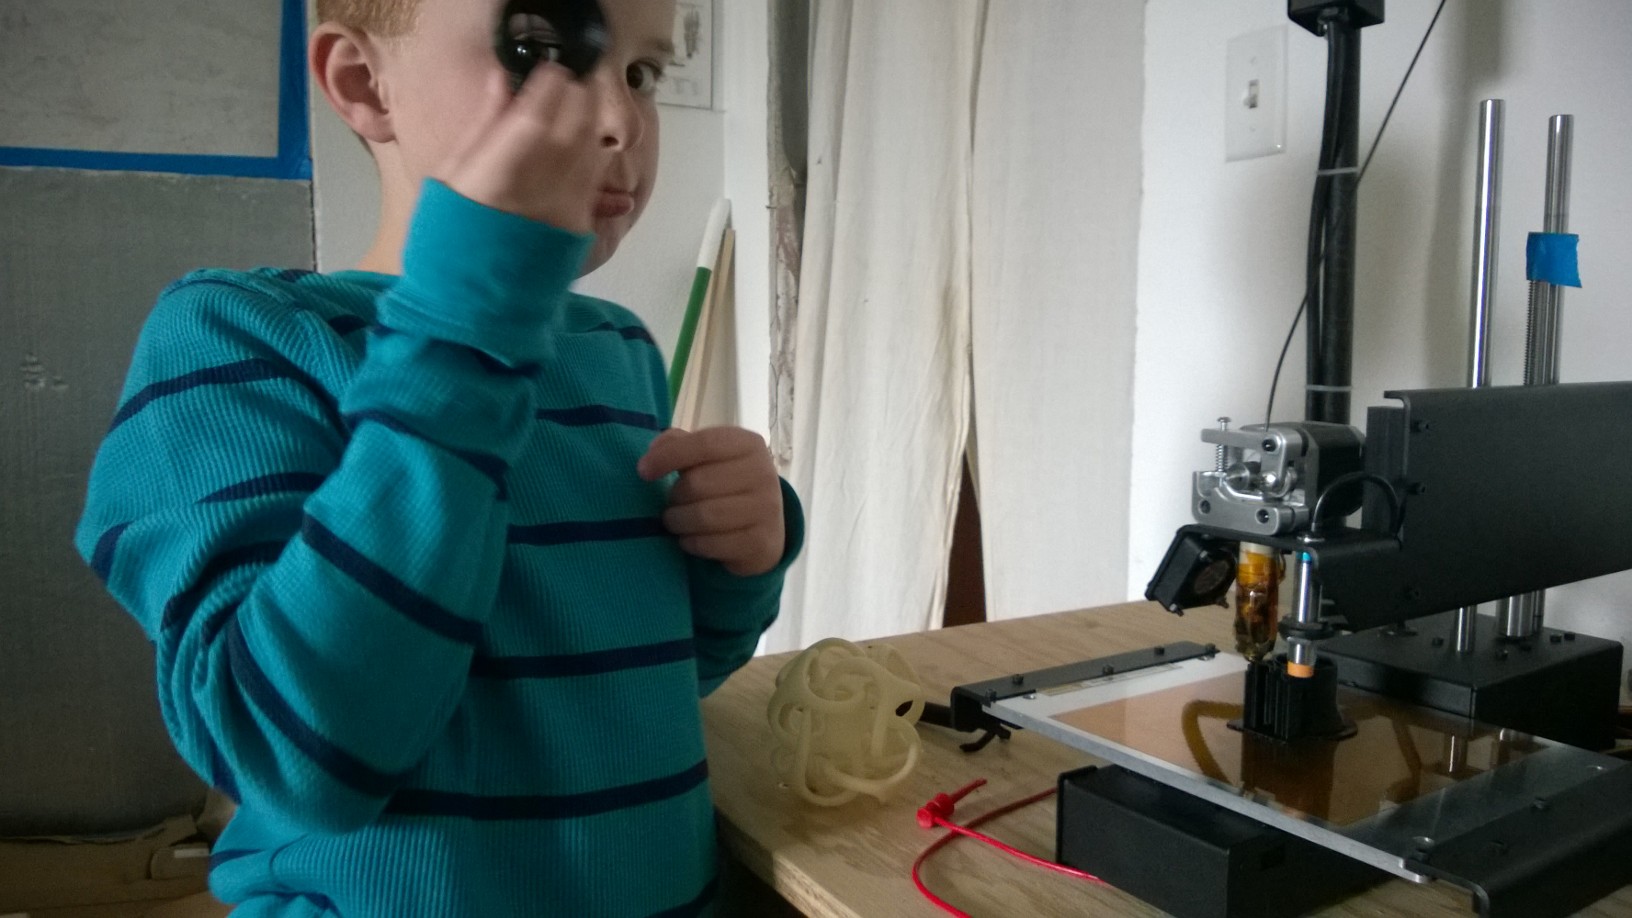
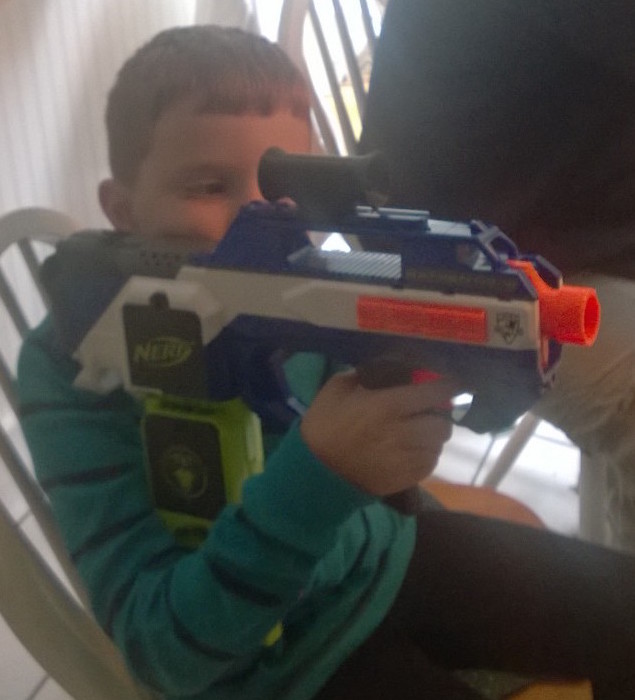
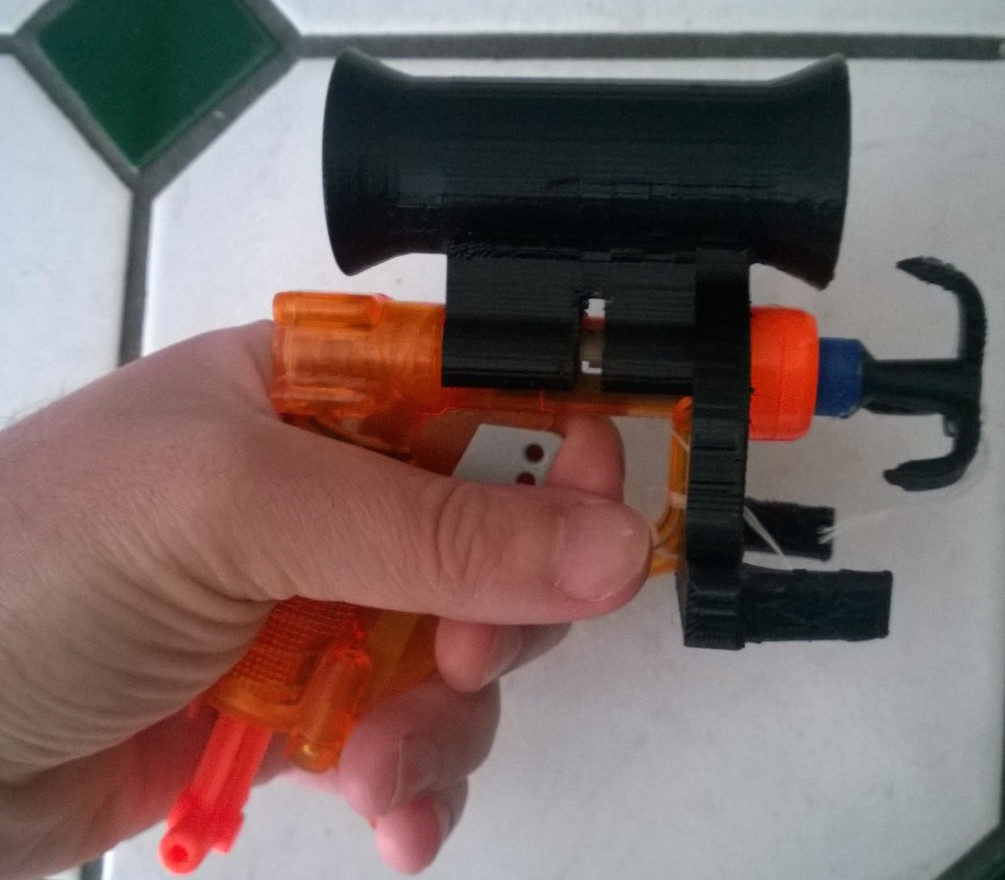
After we made the grappling hook, we designed and printed up a modification to the Nerf scope we designed so it clipped onto the Jolt. My nephew did the design and used calipers to take the needed measurements, and I did some translation into Solidworks for him.

jolt_scope_measurements_1

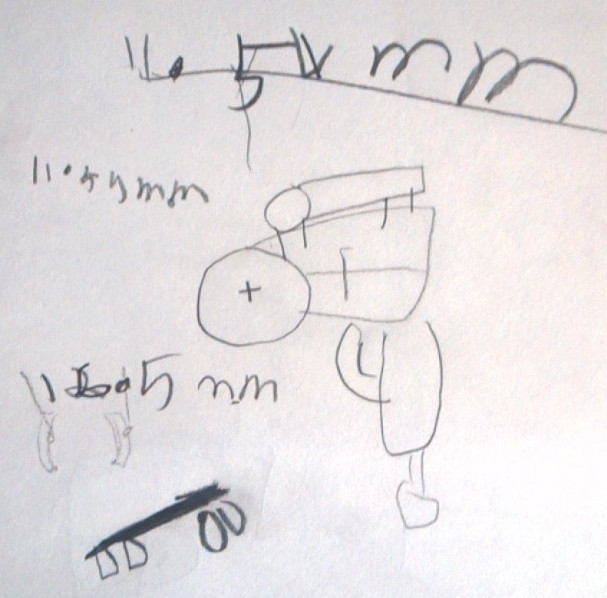
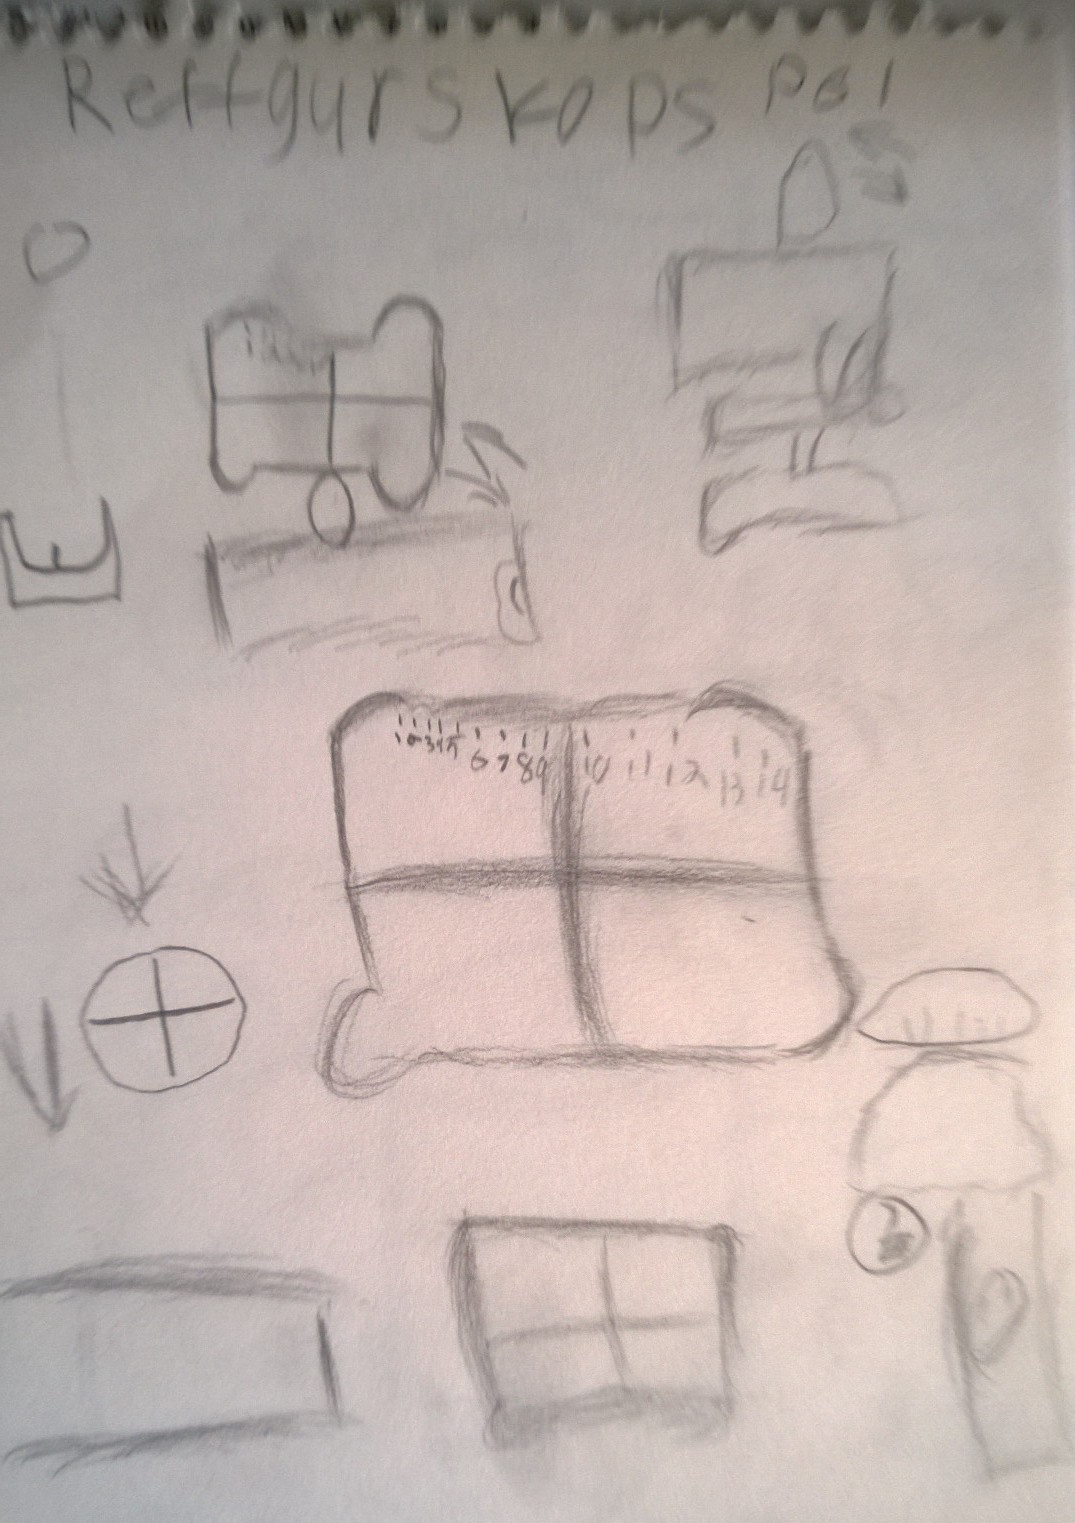
With printers, VR, and AR all taking off someone seriously needs to make a decent CAD package targeted at kids. My nephew is a pretty impressive kid, but I was still surprised by how he walked through designing his scope. This was actually the second scope we built, so I’ll talk about his designing in another post, but I was impressed. He iterated a bunch of really specific designs on paper before telling me exactly what he wanted his scope to look like. He even tried out different lollipop and crosshair designs.

For “rope” we used a 15 foot section of dentil floss. Use the un-waxed type if you have a choice, it helps keep it from knotting. I added a front cross bar and spars to hold the “rope” on the grappling hook. Firing the dart would cause the “rope” to unspool as the dart flew, and winding up the rope kept it from getting tangled when not in use. Still, using the spars also meant that the kid firing the grappling hook had to re-wind after every shot. So I think I should have not added anything to my nephews design. It did provided an opportunity teach him what feature creep on a spec was, and that it is not your friend.

nerf_grapplinghook

All in all we spent a good hour playing with the grappling hook, launching it at different things and trying to reel them in. The calipers we used to take measurement were also a bit of a hit in their own right. In retrospect though I would wait until the child in question was 9-10. The CAD modeling takes a good while even if you are keeping things simple and attention spans can begin to get exceeded.

Categories
3D Printing Projects

Round Two on Printed Lego Walkers

The first LEGO walker was really cool, however it was more a single printed toy of the same size and scale of a LEGO mini-fig and not a LEGO toy in its own right. Looking around thingiverse a bit more my nephew and I found this walker design, which snapped together as a series of four custom LEGO pieces.

Lego_Walker

http://www.thingiverse.com/thing:462844

It is hard to make out details because I printed it in black ABS, but this walker really came out pretty sweet. I think I will modify this design before my nephew visits next, making the legs more easily detachable – but still – it was still really cool to be able to sit down with my nephew, pick out one toy to make from hundreds of possible options, and then just print it. I mean this is what the world is like when he is 8, he is growing up with that kind of magic being the reality of his world. How cool is that.

Categories
3D Printing Toy making Uncategorized

(3D printer + awesome nephew) = Toys!

So I have be playing with 3D printers for the better part of a decade – and I cant believe I never though of this! Most of what I do is making parts for prototypes – I haven’t been making toys.

My nephew is in town and I wanted to show him what you could do with a 3D printer. He’s 8 – and awesome – so we made some accessories for a Nerf gun under his direction. Once we were done with that though, we found this guys design for a mini-fig walker. (Design here http://www.thingiverse.com/thing:171087).

WP_20150313_012

The designer painted his, which looks better, but I don’t really want to give kids painted parts to play with. They tend to end up in their mouths. Turns out there are a bunch of interesting designs for mini-figs out there.

At this point I pretty much need to design and make my nephew some new toys, but until I have time to sit down and design something for him myself, these designs look neat.

Lego Walker http://www.thingiverse.com/thing:462844
MiniFig Mech http://www.thingiverse.com/thing:22834
MiniFig Mech 2.0 http://www.thingiverse.com/thing:22835

Categories
3D Printing Prototyping

Impressions of the Printrbot simple

The prototypes I am building required enough printing that I decided to get a second printer. Looking at what was available I decided to go with the Printrbot simple, and all and all I have been impressed with it.

Since I was in a hurry I spent the extra $50 and bought the printer pre-assembled and ready to print. Surprisingly it really was ready to print. I just slid it out of the box, plugged it in, and was printing 20 minutes later. Hey, I read the directions.

Even with the heated bed upgrade the printer was only half the cost of the Replicator Mini – so I was pleasantly surprised to see the print quality rivaling any Makerbot I have used. It definitely is better than the uPrint printers I have used. Given that, and that it does not use proprietary filament I have to say I am quite happy with the printer.

printrbot_2_23_2015.jpg

So what I was not happy with was my first real print turning into a blob of molten plastic. It is not as bad as it looks, just 2 hours with a hot air pencil to clean the head up. Recalibrating the auto leveling Z sensor fixed things and the printer has been running non-stop.

printrbot_jam_2_23_2015

The one horrible thing is the Cura software they suggest using for the printer – so I am planning on at least switching to something like Pronterface soon.

So all in all I am very happy with the printer. The blob was my rushing things because I was impressed with the printer and wanted to play with it. I’ll probably build it an enclosure, and swap out the hot end eventually, but it was well worth the $750.

Categories
3D Printing

3D printing and support

So with 3D printing finally gaining main stream awareness I get a lot of requests to explain exactly what it is. People generally quickly get the slicking up a model into layers and building up the model a layer at a time. What tends to be harder to visualize is the use of support.

Support is used to support the print material during printing. It is then removed after printing is completed, enabling impossible looking parts to be printed. I think the best example is the artwork of Bathsheba (http://www.bathsheba.com).

What you see here are two pictures of the Metatron model, both with and without support. The support is the black material and it is dissolved away in a solvent tank. The white material the model is made from is just ABS plastic.

Some printers are built the model from a powder which is blown away once the model is done being printed – but most of the fused deposition modeling use this style of support.