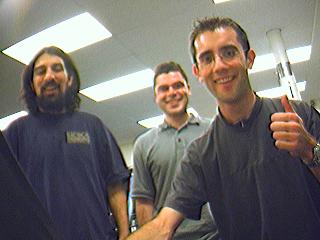
Wayne and Ross actually researched the problem, ordered the chip, and were ready to go ahead with the project while I was out of the country; when I got back though they stepped aside to let me do the soldering. Glad they got me involved. out.
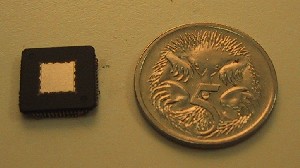
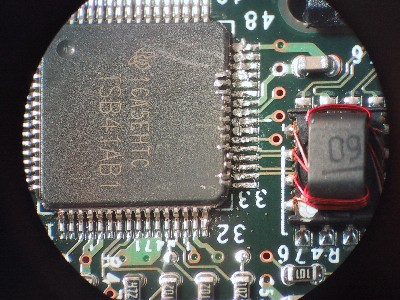
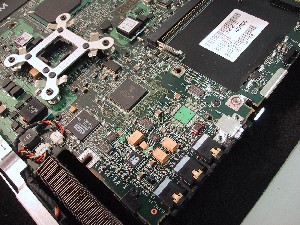
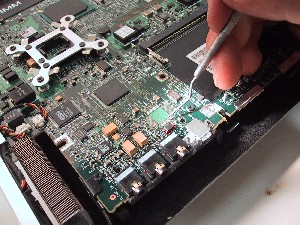
Most people do not have a good idea of just how small these chips are. The TSB41AB1 chip we removed is pictured left next to an Australian five-cent piece. A coin about as large as an American dime. There are 64 pins on the chip, 16 on a side. While that is actually a pretty large package it does get a little cramped working on it in the middle of a board populated with other parts.
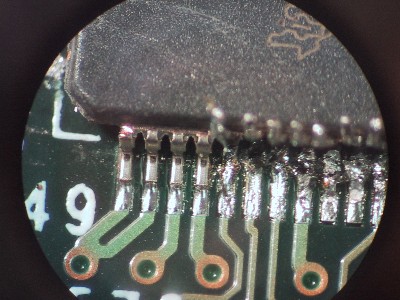
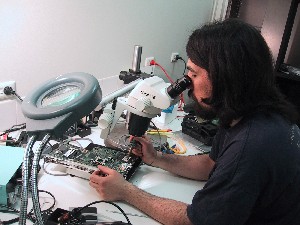
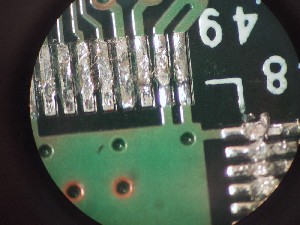
These pictures were taken midway through the removal. Each pad needs to be gently heated until the solder is molten. The color of the surface of the metal will change acquiring an almost rainbow effect. Once the metal is molten the pin is lifted back with a dental pick. It is critical at this stage that the pad not be either over or under heated. If the metal is not molten picking at the pin is likely to lift the track off the board and most likely ruin it. If the pad is too hot however the board can burn or be damaged in other ways ruining the pad. I recommend practicing a lot of scrap boards which you do not care about before even thinking of trying this on something live.
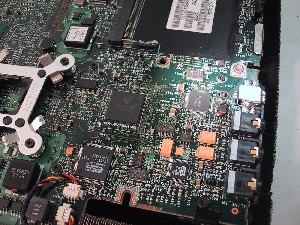
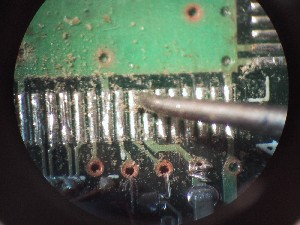
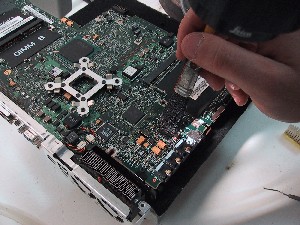
This picture was taken about half way through removing the chip. About two hours into the project. You can see the type of crap that can be generated. You want to make sure you clean all of this off of the board as even if it does not fry your board the next time power is applied it can migrate around the laptop over time and be cause of future failures.
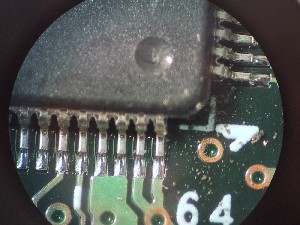
About 2.5 hours to get to here. At least an hour of that time was spent warming up and practicing on scrap boards. I do not advise skipping the warm-up it will just cost you more time, if not a fried board, in the end.
I like to use a vacuum desolderer and a hot air pencil for board cleanup. I let the hot air flow out of the pencil, over the part I want to heat, and then back into the desolderer. Working on heavily populated areas of a board this helps to keep the heat contained to the area you want it in while still getting the benefits of using the hot air pencil over a metal tipped iron. My gut says there is a better way to do this but as of yet I have not figured it out yet.
With the chip removed and the pads cleaned of solder you want to go back and add the same amount of solder to each pad. We didn't use an ideal solder for the job as it had a high resin content.
I pick the resin off the board carefully with a dental pick with a rounded nose.
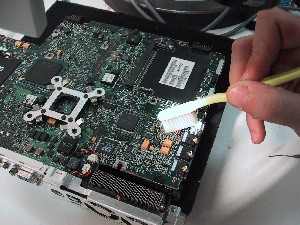
Once the resin has been broken up with a dental pick I go back and clean it up with a tooth brush and a small paint brush with stiff synthetic bristles. This works well for removing the resin, and it is also good for cleaning up the contamination I pointed out earlier. Use separate brushes though for the defluxing and for general cleanup. The flux makes the bristles sticky and after a point tends to just spread contaminates around the board.
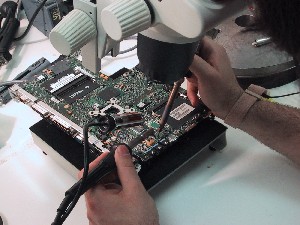
When doing a project like this you need to check your ego at the door. Periodically, and after each step I would take a few minute break. During that time Ross would review my work and the board looking for things I might have missed. This is a good way to catch both simple and subtle errors. After seven hours of detail work one person can get a little fried. If you can get an extra set of eyes on your work I highly recommend it.
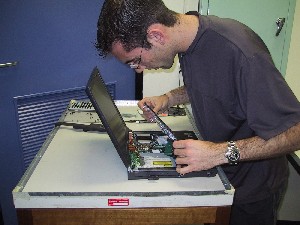
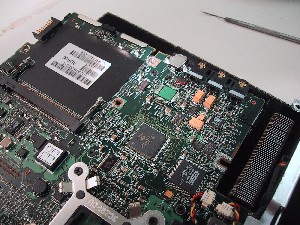
After about seven hours of soldering Ross and I tried not to hover too close as Wayne rebuild the laptop. Make sure you put the screws back in the right spot at this point as the laptop will have been apart for hours. Apparently two screws were swapped when the laptop was being reassembled and the slightly longer screw shorted out a resistor! Luckily nothing fried and it was an easy problem to fix.